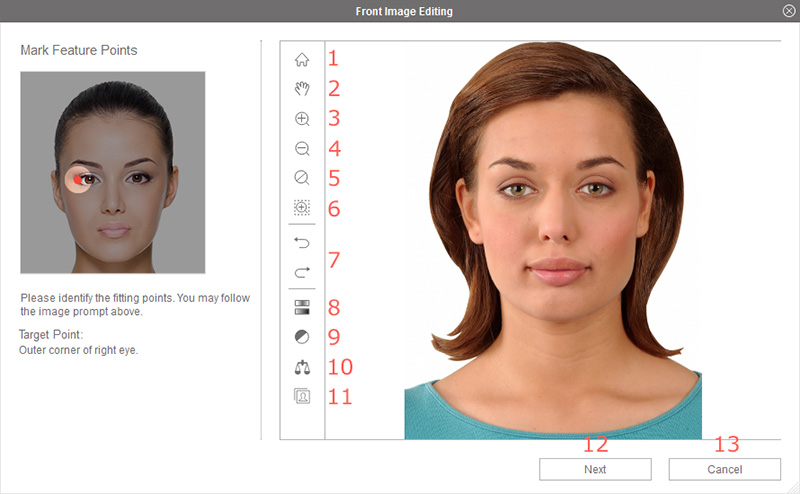
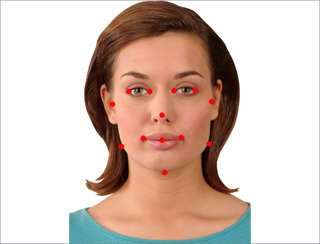
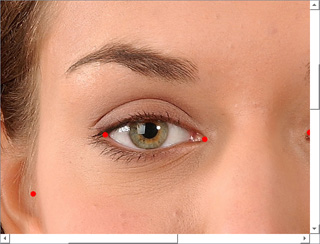
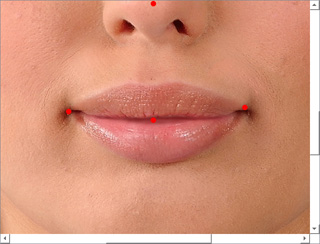
Introduction of Marking Facial Features Page (New for Version 8)
-
 Zoom Fit
Click this button so that the image will be zoom in or zoom out in order to just fit into the preview window.
-
Pan
After you zoom in the image, you may press down this button and drag the image in order to pan to the desired area for modifying.
-
Zoom In
Click this button to zoom in the image for better observing and modifying the details.
Before zoom in Zoom in for more easily modifying the details -
Zoom Out
Click this button to zoom out the image for observing more of the image.
-
Actual Size
Click this button so the image will be shown in its original resolution.
-
Magnify Tool
Press down this button and drag a rectangle around the desired area of the image in order to zoom in to the area for better observing and modifying the details.

Drag a rectangle to surround the desired area Zoom in with Magnify tool for more easily modifying a specific area -
Undo / Redo
Click these two buttons to undo or redo the last action.
-
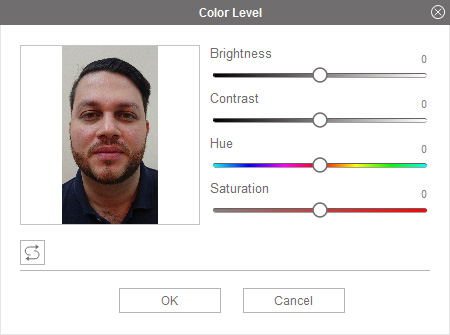
Color Level
To manually adjust the brightness, contrast, hue and saturation levels of the image. Use the sliders in the menu box to adjust the values, or enter the numerical values for each parameter in the boxes next to the sliders.
-
Smart Level
To automatically adjust the color levels of the image. CrazyTalk analyzes the color levels and adjusts the brightness, contrast, hue and saturation levels to achieve optimum image quality.
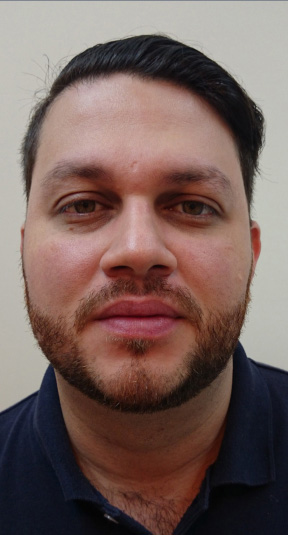
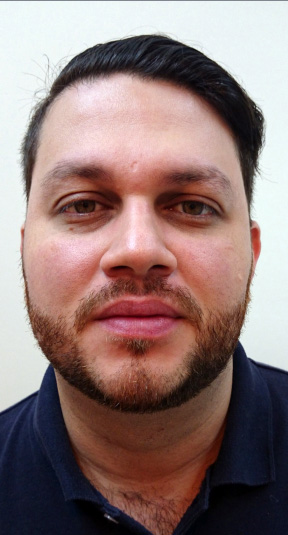
Before After -
Color Balance
To manually adjust the color balance.
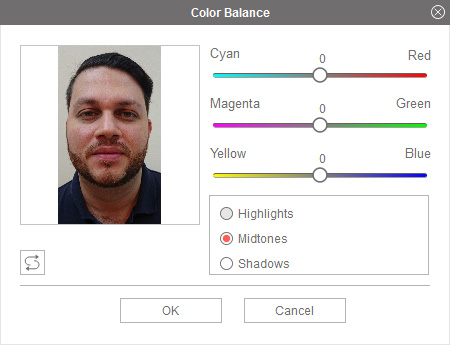
- Drag the sliders to adjust the Cyan - Red, Magenta - Green, and Yellow -Blue levels. The box next to each property shows positive and negative values; depending on the position of the slider. The center value is zero.
- Select the Highlights radio button to apply color settings to the image's brighter areas.
- Click the Midtones radio button to apply color settings to the image's normal areas.
- Select the Shadows radio button to apply color settings to the image's darker areas.
-
Import Image
If you want to import a new image, click this button for browsing your new photo.
-
Next
Click this button to move on to the next procedure for Selecting 3D Face Profile for the actor. However, if you have loaded a side image, then you will be led to a page for marking the fitting points on side photo.
-
Cancel
Abort the current procedure.