 Camera Record Mode button.
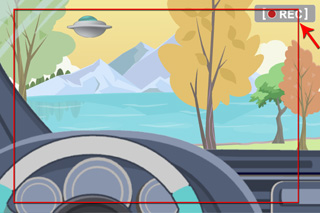
 Camera Record Mode button again to switch back to the Preview Camera view.
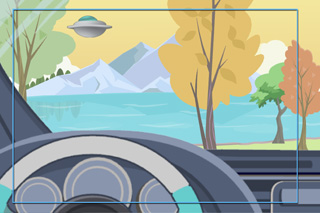
Most of the time you pan, zoom and rotate the Preview Camera to build a scene, and to add and edit characters and props without setting any keys to the camera. However, if you need to produce a story with camera movements for dramatic tension, then you can use the Live Camera.
Camera Record Mode button.
Camera Record Mode button again to switch back to the Preview Camera view.
In the Live Camera mode you can pan, zoom and rotate the camera to auto-set a transform key to the animation camera.
 Zoom,
Zoom,
 Move or
 Rotate buttons
to show the parameters on the Property Tool Bar.
Rotate buttons
to show the parameters on the Property Tool Bar.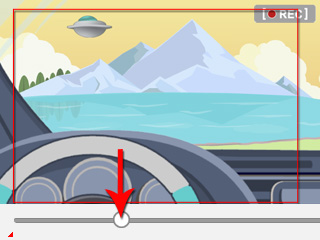
 Zoom: Alt + Both mouse buttons (or Alt + Rolling the mouse wheel - can not be undo)
Move: Alt + Left mouse button
Rotate: Alt + Right mouse button
Zoom: Alt + Both mouse buttons (or Alt + Rolling the mouse wheel - can not be undo)
Move: Alt + Left mouse button
Rotate: Alt + Right mouse button
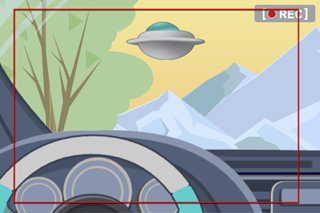
 Curve: Camera moves at a slow-fast-slow pace to smooth its movement.
 Linear: Camera moves at a constant speed.
 Reset Key button to set a neutral key to the camera.
|
Note: |
|