Render Style and Color Profile
CrazyTalk Animator 2 provides Render Styles so that you can change the color style of your characters.
In order to use the Render Style function, you need to use the Vector Grouping Tool to group
the sprites of your character so the right color value will be assigned to every element.
* Please note that the Render Style function only supports vector-based characters but not
image-based characters.
Grouping Sprites
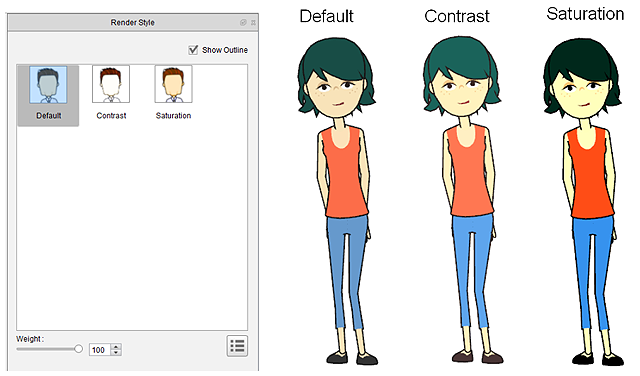
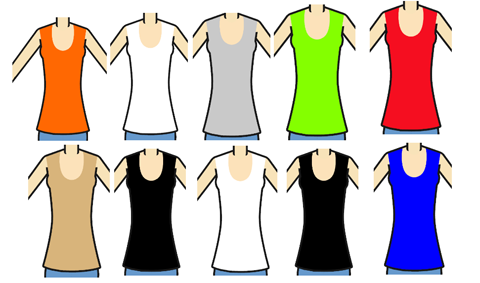
Once you have loaded the character .SWF successfully, it will only have 3 default render styles:
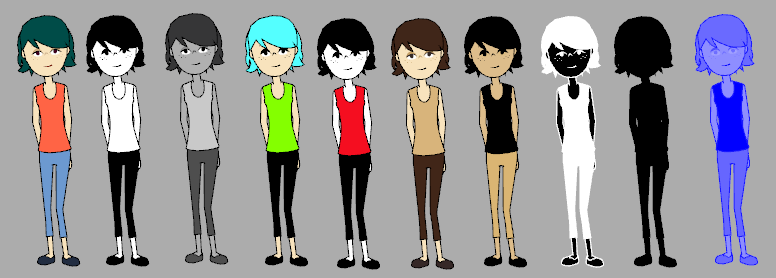
Please follow the steps below to assign 10 default render styles as shown in the illustration at the beginning
of this page.
-
Pick a sprite on the character and click the
 Vector Grouping Tool button.

-
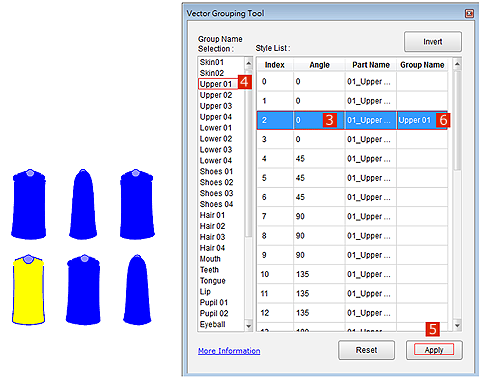
The Vector Grouping Tool panel will open and you will see all the poses of every angle (In this case, the forearm)
for the picked sprite on the stage.

|
Note:
|
-
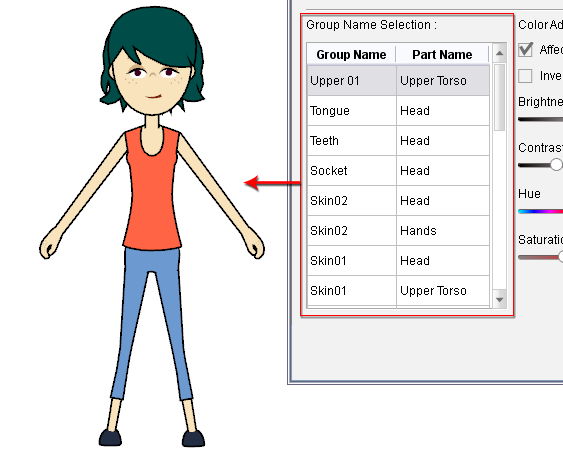
The Group Name Selection is the default group name where you can decide which group that part belongs to.
-
The same group name (e.g. Upper01, Upper02...) has
multiple numbers. This is because there are also many different shades and colors. For more
information on what the color group stands for,
please refer to the
Index Color page.
-
The Angle column displays the angles of the parts.
-
The Part Name column displays the names of the parts.
-
The Group Name column displays to which group a specific part is
assigned.
|
-
Click on the part in the Style List. You will see the corresponding part blinking on the stage.
-
Decide which Group Name Selection group you want and click on it.
-
Click on the Apply button.
-
The Group Name is assigned.
Setting Render Styles
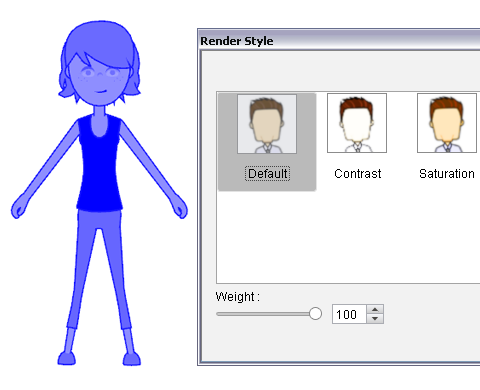
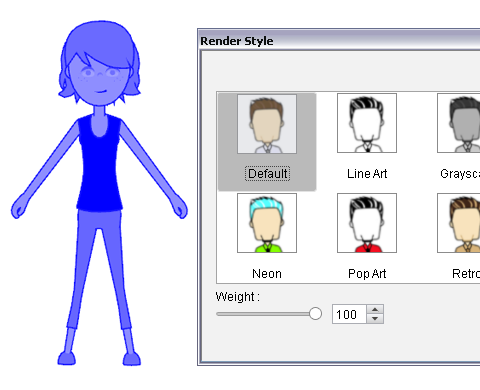
After you have used the Vector Grouping Tool to assign group names to the sprites
of the character, you will see that the sprites turn blue. This is normal.
It means that these sprites already belong to designated color groups.
At this point, if you click the  Render Style button to show the panel, you will only find three
default render style presets.
Render Style button to show the panel, you will only find three
default render style presets.
|
|
Only three render styles for a bluish character.
|
-
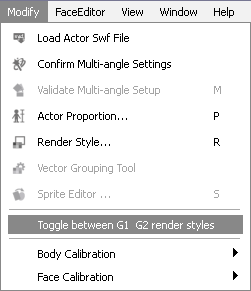
Click Modify > Toggle between G1 G2 render styles on the
Menu bar.
-
You will now see 10 render styles instead of 3.
*Please note that the Default render style currently shades the character with blue colors.
You need to retrieve the original color manually.
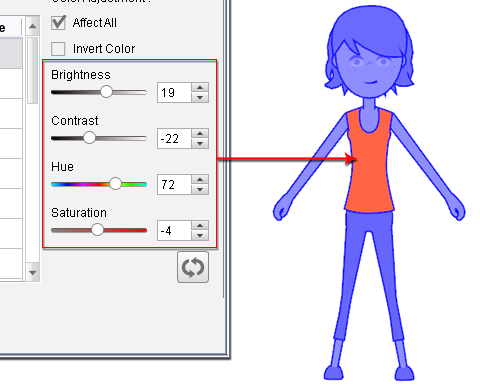
-
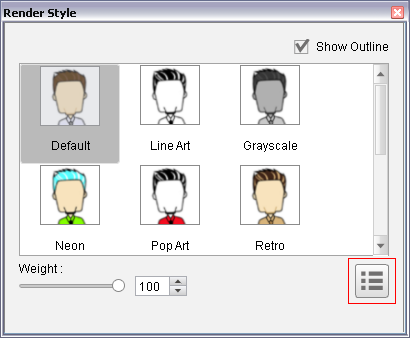
Select the Default render style.
-
Click the Advance Settings button to expand the panel for
utilizing more controls.
-
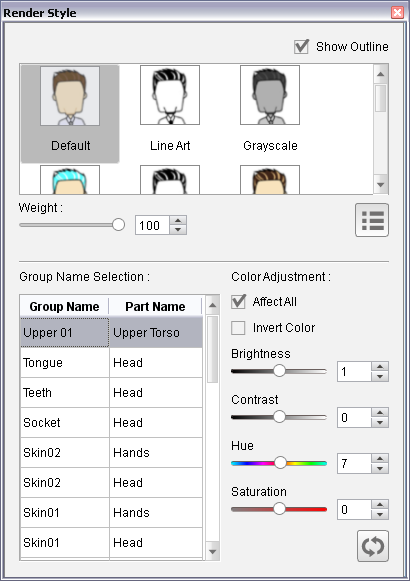
Choose the Upper 01 from the Group Name Selection pane.
-
Use the Brightness, Contrast, Hue and Saturation sliders to
change the color to your desired color.
-
Repeat the same steps until all the sprites have been returned to their original colors.
|
Note:
|
-
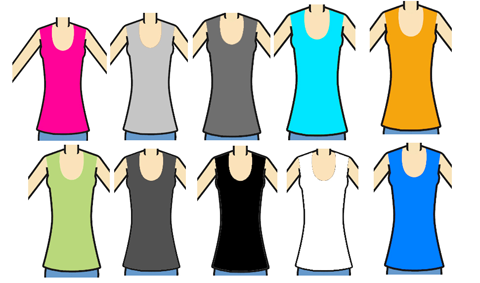
CrazyTalk Animator 2 will automatically assign colors for the other render styles
in accordance with the
Index Color.
You may switch these render styles to see if the results are ideal.
-
You are allowed to manually change the setting for
the 10 render styles.
|