Generating Front Images
With AI Image generator, you can generate a Front image with a simple prompt.
- Open the AI Image generator, go to Front tab > Generate.
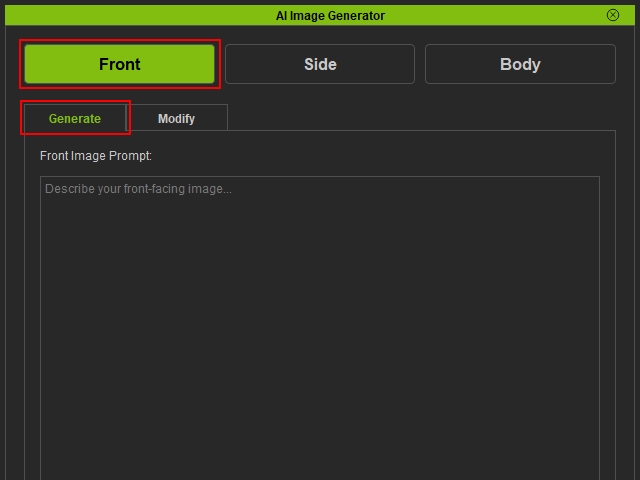
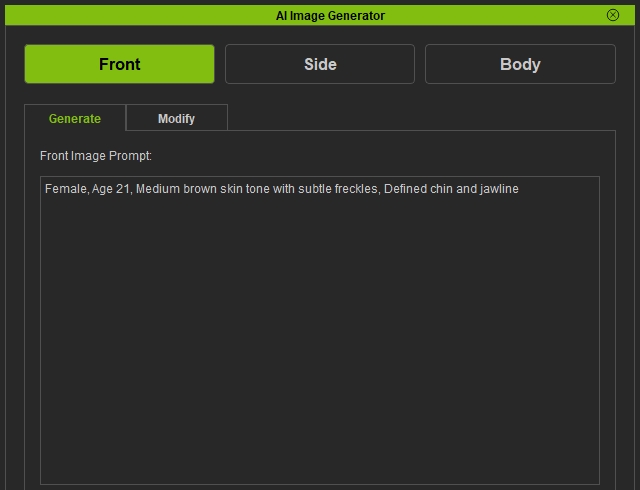
- Enter a simple prompt describing your character.
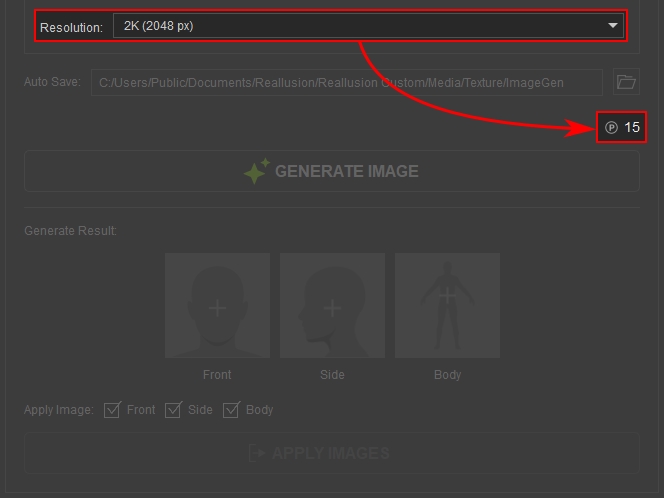
- Choose the resolution of the image to generate. Higher-resolution images produce higher-quality texture maps.
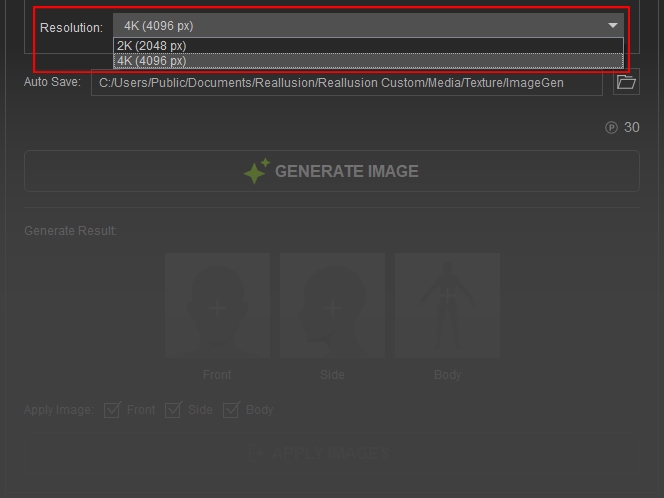
- Before starting the image generation process, check the Auto Save location where your generated image will be stored. The save path is assigned by default and cannot be changed directly.
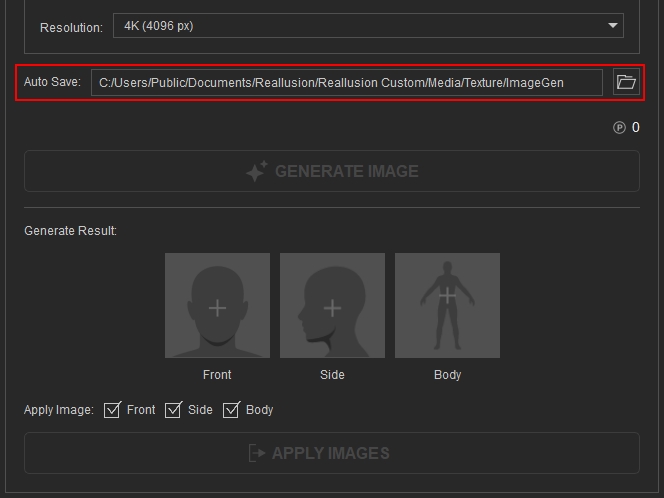
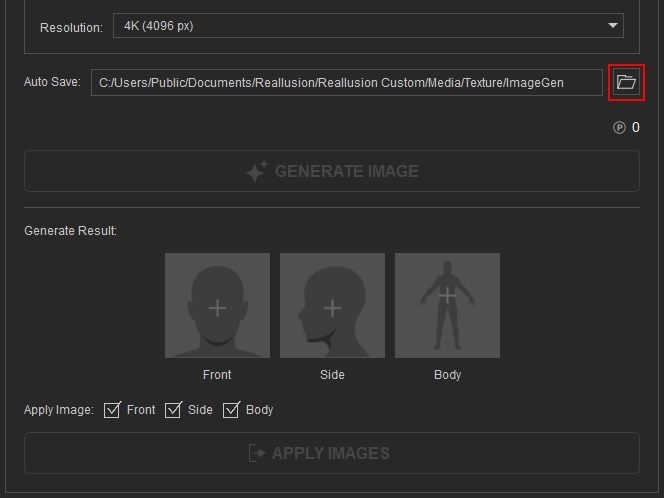
- You can open the directory folder and view the generated images using the file icon on the right.
 Note:
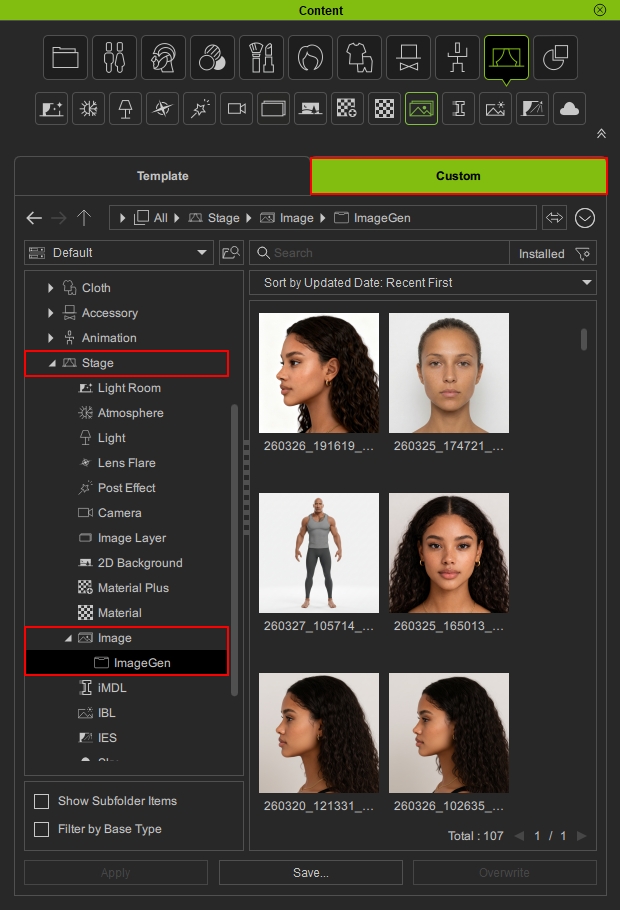
Note:The Auto Save location can be changed by setting custom folder locations in the content manager, refer to the Manual for Smart Content Manager for more information.
- This folder is the same folder located in Content Manager > Custom > Stage > Image > ImageGen.
- Press Generate Image to start the generation process. The cost is shown above the button, each 2K Image costs 15 points while each 4K Image costs 30 points.
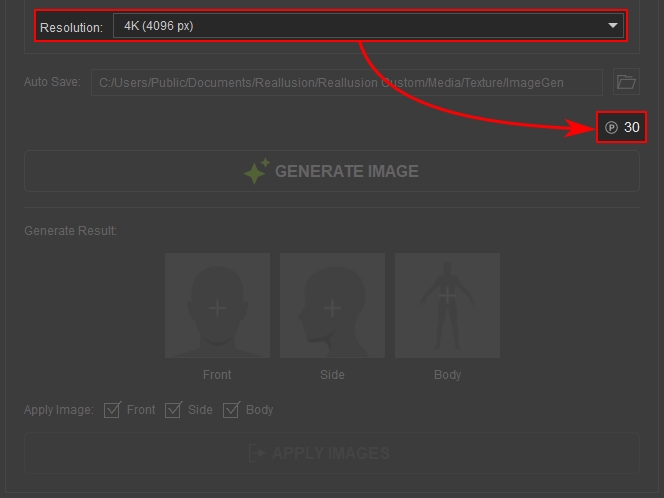
2K Resolution
4K Resolution
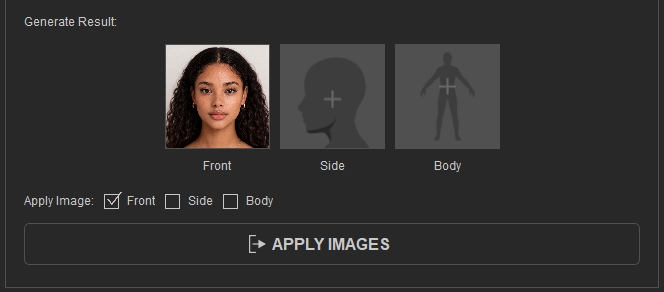
- The generated images are stored at the Generate Results common section.
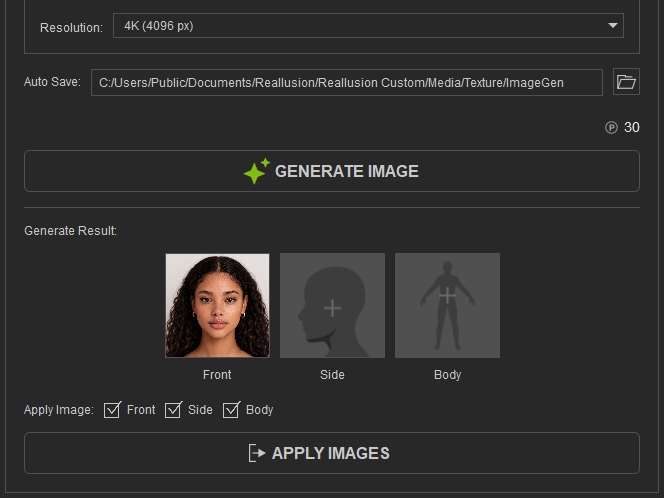 Note:
Note:Powered by Google Nano Banana, the AI Image Generator adheres to Google’s Privacy & Terms and Generative AI Prohibited Use Policy, which also apply to the Front Image Generation prompt.
Applying Generated Results
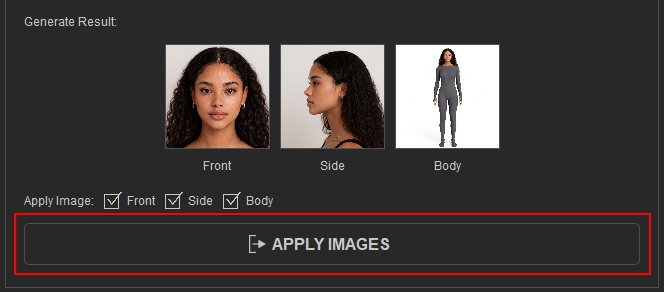
The generated results will be stored here before sending back to the entry point.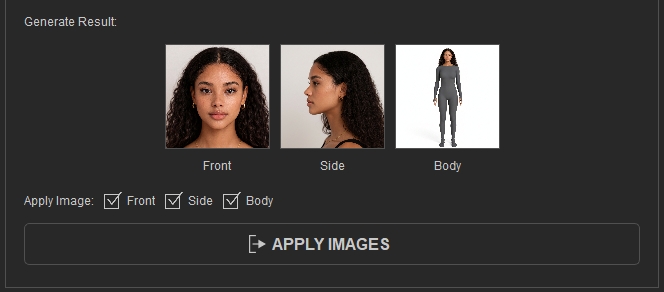
- View and select which image you want to apply back to the entry point.
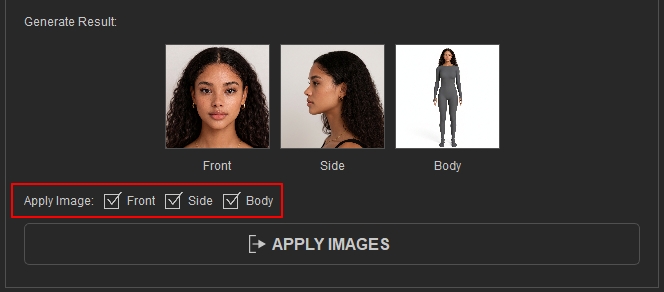
- After confirming which image(s) you want to apply to the send back to entry point with the Apply Image checkboxes, press the APPLY IMAGES button to proceed.
 Note:
Note:When entering from the Generate Character panel, it is recommended to untick the boxes without an image in it, otherwise the blank image will override the existing image if an image is loaded beforehand.