Using Clone Brush
For areas that are missing visible textures from both the front image and side image, the Clone Brush in Brush Tool (Stencil&Clone) can be used to manually reconstruct and extend nearby texture details. This is particularly useful for repairing occluded regions, filling missing facial features, or correcting texture artifacts that cannot be recovered from source photographs.
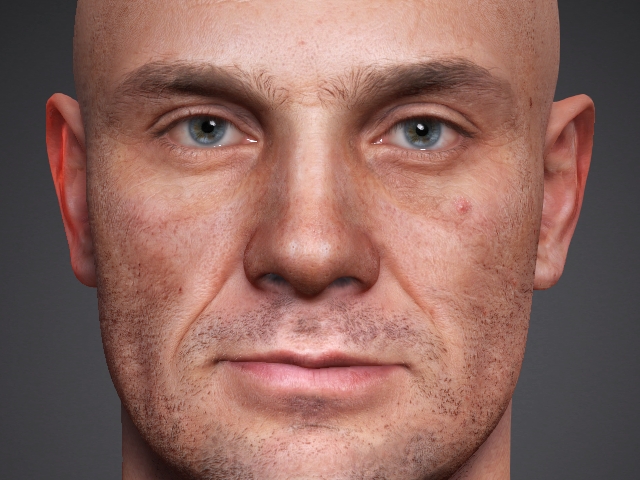
- Prepare a character generated with Headshot:
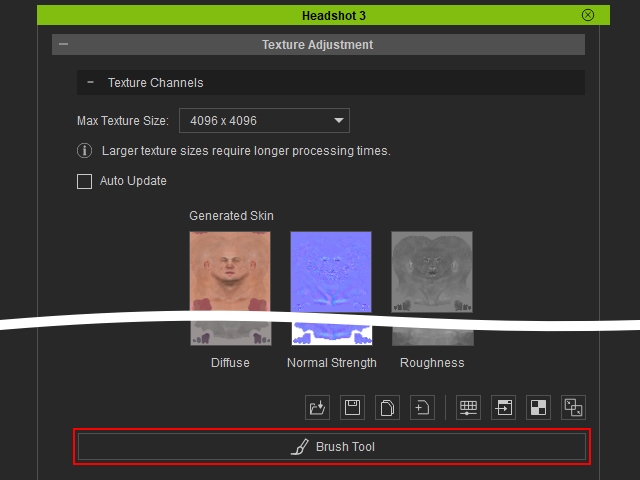
- Go to Texture Adjustment > Brush Tool.
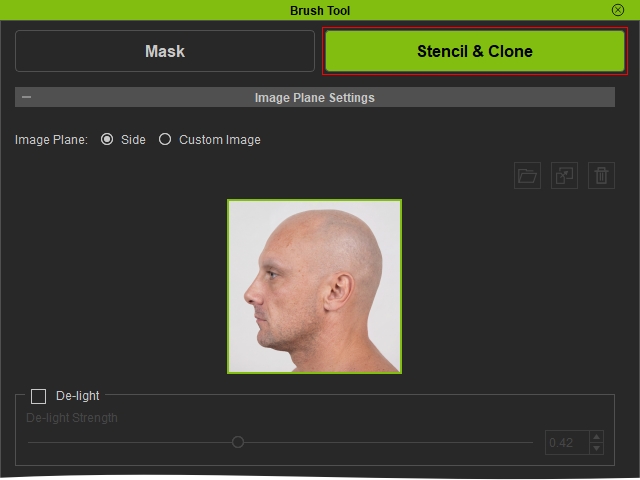
- Switch over to the Stencil & Clone tab.
- Adjust the brush settings according to your needs. For most facial texture repairs, a low Strength value and Seamless brush mode can help create smoother transitions.
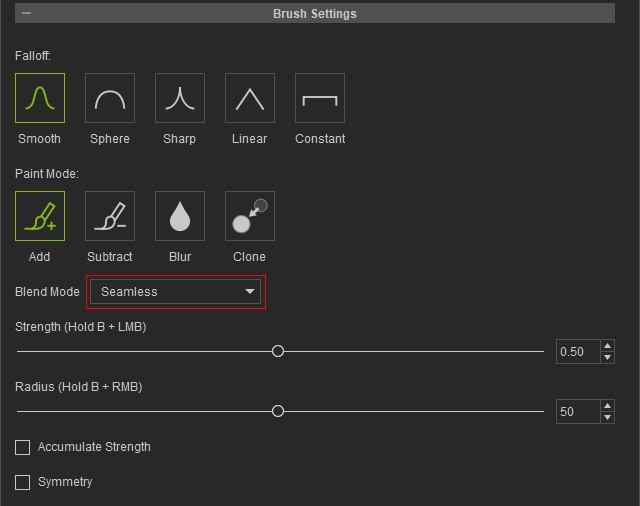
- Choose Clone from Paint Mode options.
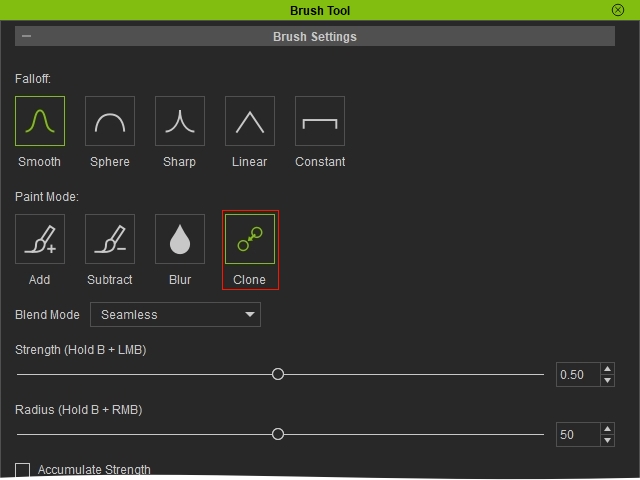
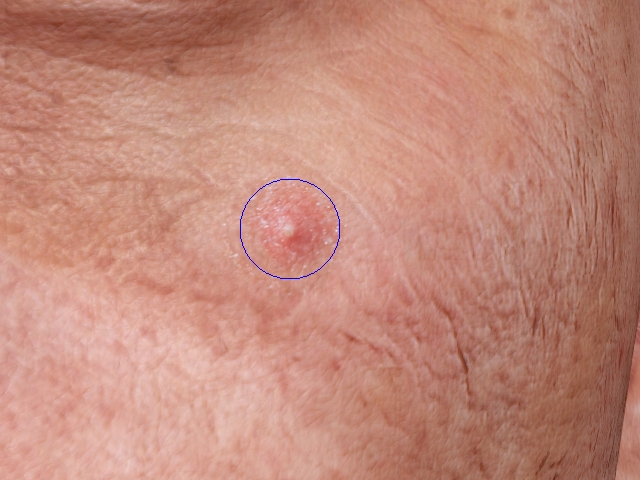
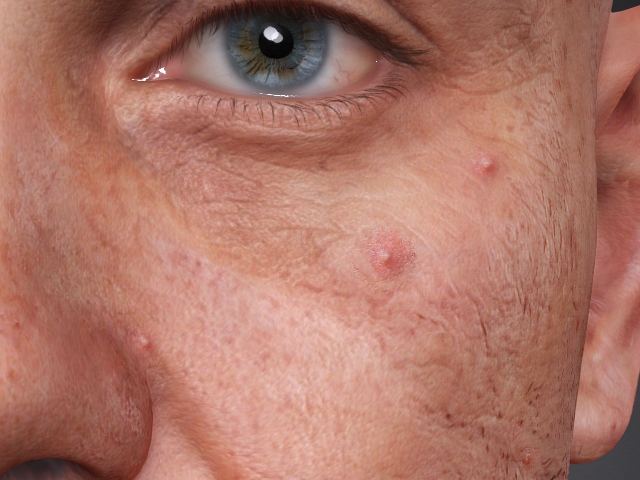
- Right-click a clean texture area to define the clone source. In this example, to duplicate a pimple, right-click on the existing pimple area.
- Hold down Left-click to paint over the missing or damaged texture area to copy details from the sampled region.
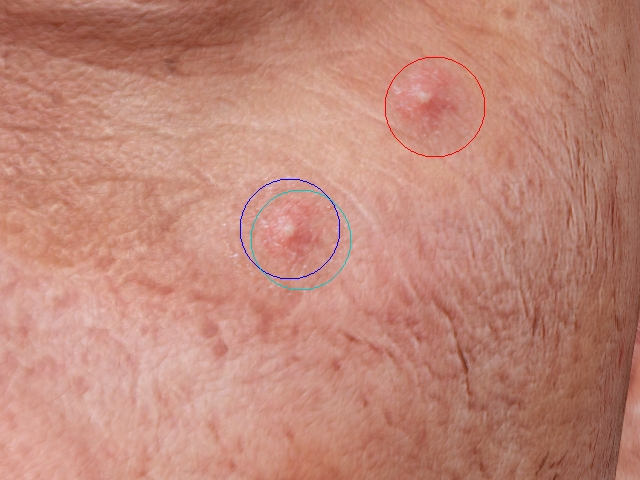
 Color Codes for the Circles:
When using the Clone Brush, colored circles indicate the cloning regions.
- Blue circle: The initial source area selected for cloning.
- Teal circle: The current source area that moves relative to the brush stroke.
- Red circle: The target area receiving the cloned texture.
- Exit the panel to apply the updated texture onto the diffuse map.
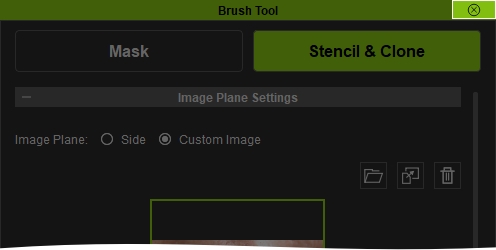
- By doing so, the diffuse map is updated, and the corresponding normal map and roughness map are automatically regenerated based on the modified diffuse texture.
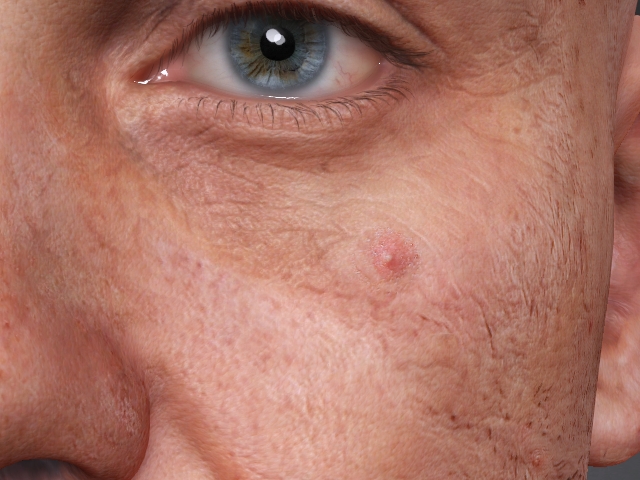
Before
After
Extending Existing Details
The Clone Brush can also be used to extend existing features. For example, forehead wrinkles can be lengthened by sampling nearby wrinkle patterns and painting them into adjacent areas.
See the following video for a demonstration.
