Image Matching Tool (Upgraded for v1.1)
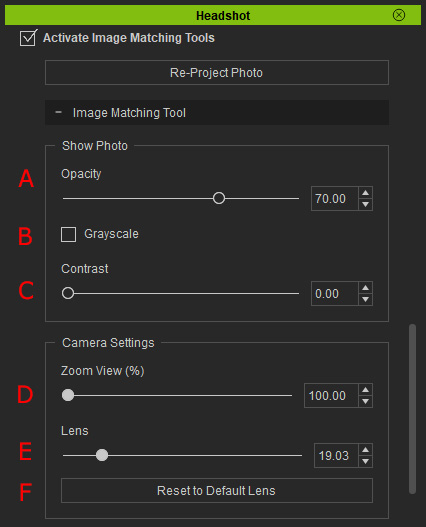
Once collapsed, there are five options in the Image Matching Tool panel:
- Opacity: Use the slider to change the opacity of the photo in the viewport. Finding a good value for photo opacity helps to clearly observe the head mesh underneath. Be aware that this value is in sync with the OPACITY slider on top of the viewport.
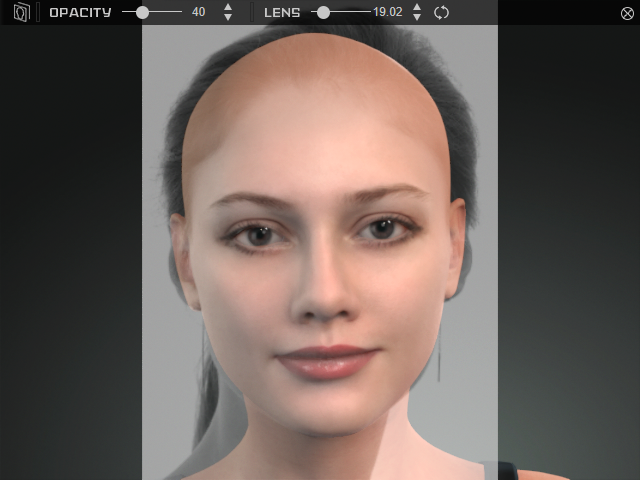
- Grayscale: Check the box to enable grayscale mode of the tool. The function desaturates the photo in the viewport so that face features are easier to tell without distraction from color information.
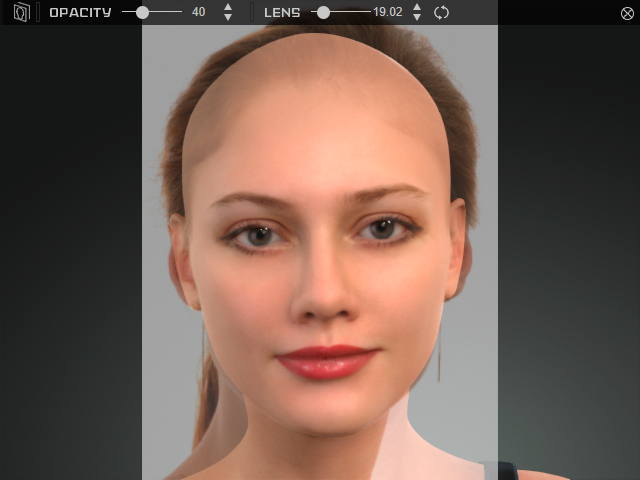
Grayscale: Off
Grayscale: On
- Contrast: Move the slider to the right to enhance the contrast of the photo. Face features are normally easier to see with stronger contrast.
- Zoom View: Drag the slider to zoom in or out the camera view.
 Shortcuts:
- Alt + Mouse Left Button + Mouse Right Button: Zoom In / Out
- Alt + Mouse Left Button: Pan
- Mouse Wheel: Zoom In / Out
- Shift + Mouse Wheel: Zoom In / Out in 10 times
- Lens: Once the Image Matching Tool is activated, Headshot analyzes the focal length of the camera which took the photo and assign a default lens value to the viewport lens. If you wish to change the value for a different perspective effect of the mesh, simply move the slider to a preferred value. Be aware that this value is in sync with the LENS slider on top of the viewport. Below is an animated example of how Lens value works:
- Reset to Default Lens: Press the button to restore the lens value default which was auto detected by Headshot.
