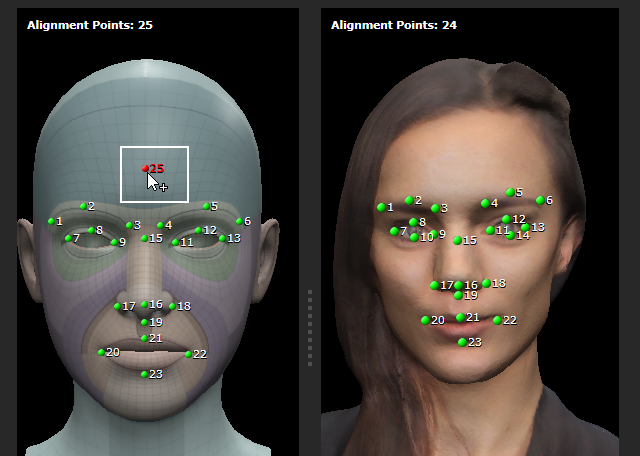
Rearranging Alignment Points
To achieve a close resemblance between the generated model and the imported model, manually arrange the points to closely match the point positions on the CC4 model. During the ALIGN POINTS stage, it is vital to maintain numerical order and positioning to ensure that the CC4 neutral head conforms to the shape of the imported head model.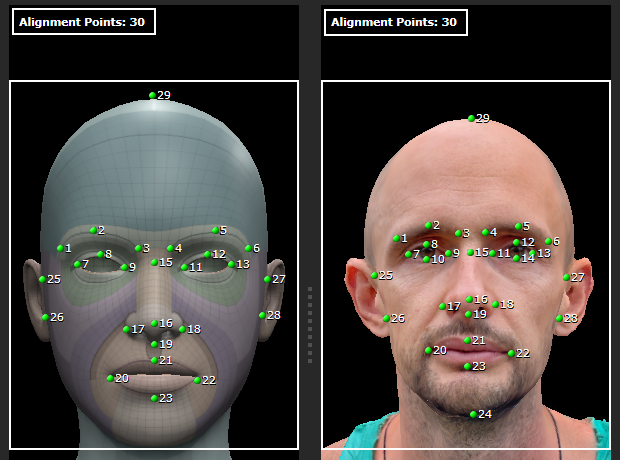
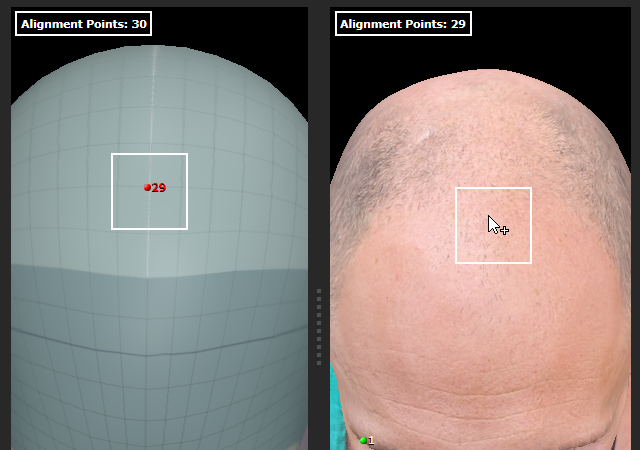
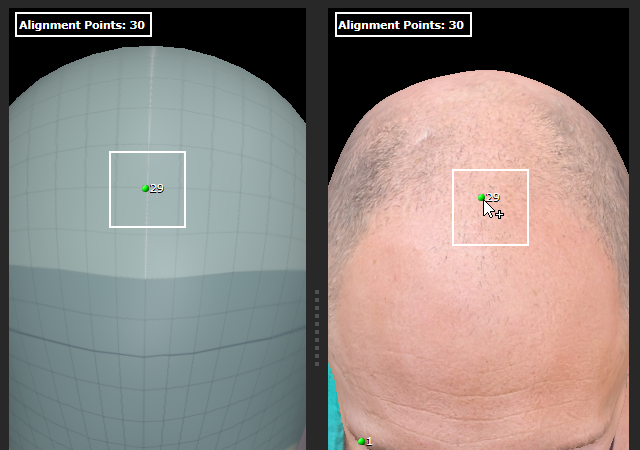
Adding additional points
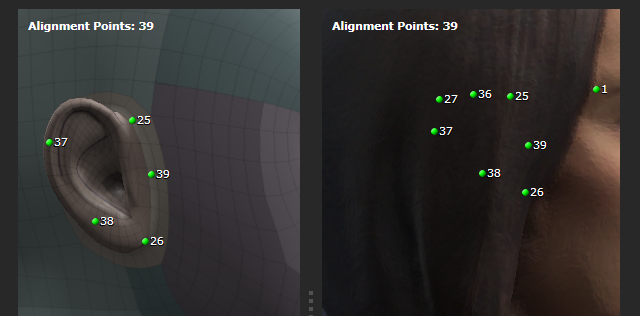
By adding additional alignment points to compensate for the delicately and uniquely shaped features of your mesh, such around the ears and nose, you aid in Headshot 2’s ability to model fit accurately. To add alignment points on your model, hover over the mesh until a “+” sign appears. Left-click to add an extra point.
|
|
|
Before |
After |
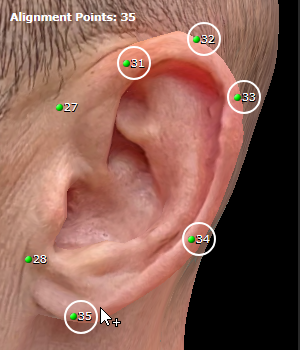
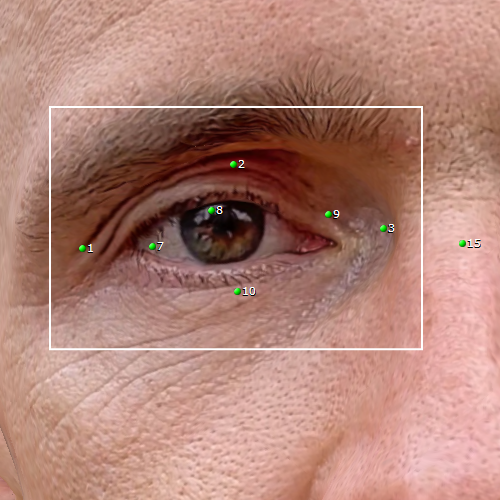
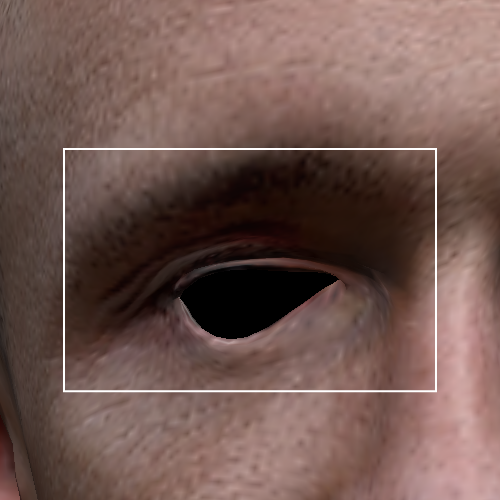
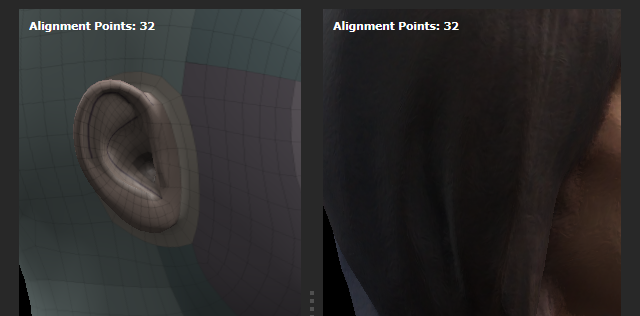
- Adding Points for Ears
In the following example, adding additional alignment points helps to achieve a more accurate representation of the ear.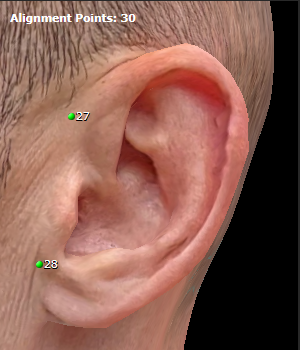
Before
After
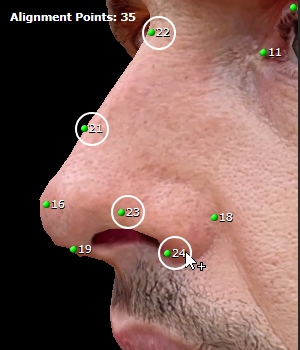
- Adding Points for Nose
In the following example, adding additional alignment points helps to achieve a more accurate representation of the nose.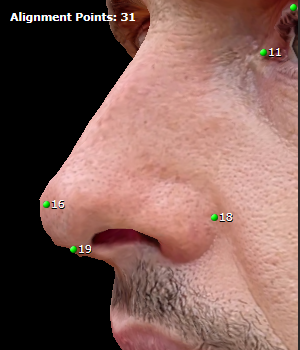
Before
After
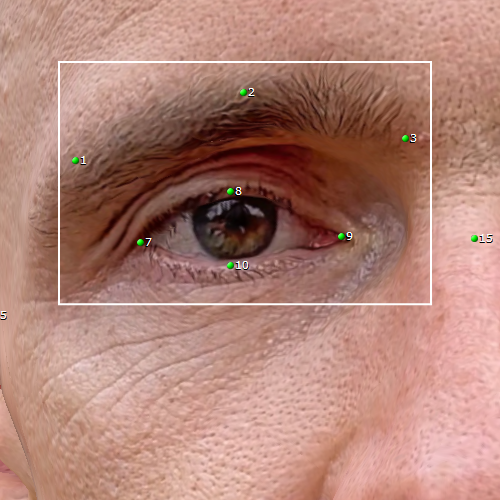
Moving existing points
By correctly positioning the points, the final result of the generated head shape will closely match your imported mesh. When the cursor hovers above existing points, the color of the point will change to purple and a move icon will appear. This indicates that you can move the alignment point to a different position.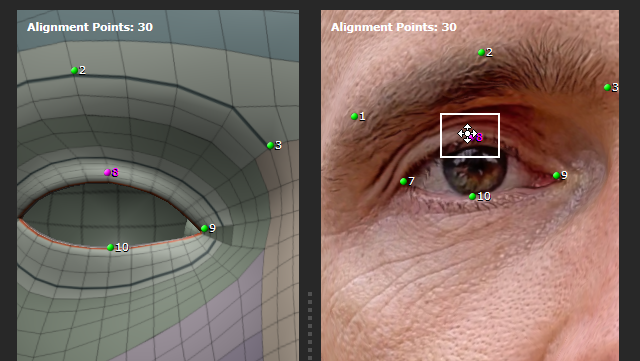
- Proper Point Positioning
When the points are correctly positioned the generated result in HEAD GEN will be accurate and precise.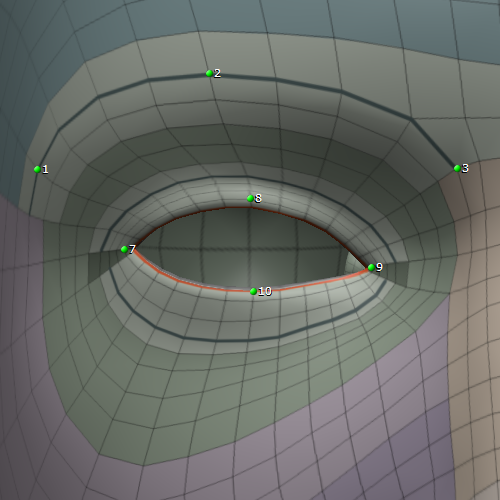
Neutral head reference
ALIGN POINTS
HEAD GEN
- Inaccurate Point Positioning
When the points are incorrectly positioned the generated result in HEAD GEN will be inaccurate and poorly shaped.
Neutral head reference
ALIGN POINTS
HEAD GEN
Removing Existing Points
Remove excessive points if their quantity becomes excessive, as having too many points does not necessarily enhance the final result. Moreover, if certain areas are obstructed or damaged, it is recommended to remove points in those specific areas as they are not crucial for the subsequent process.
When the cursor is placed on a point and the Ctrl key is held down, the point will turn purple, and a "-" sign will appear. This indicates that the selected point can be removed.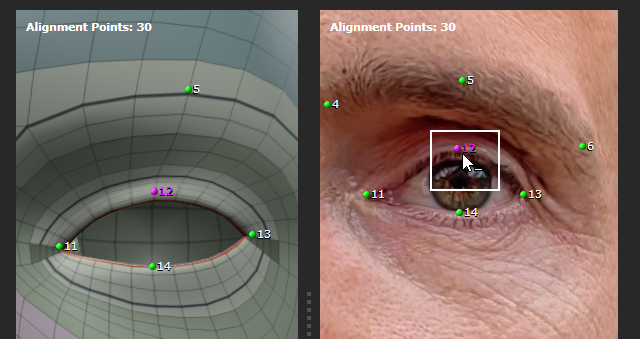
|
|
|
Before |
After |
Alignment Points and Matching Numbers
When adding or removing points, ensure that there is an equal number of alignment points in both models. If a point lacks a corresponding point, it will be marked in red, and you will need to resolve it by adding or removing points before proceeding to the next step.