Connecting iClone and Unreal with Live Link Plug-in
In order to send streamed animations (character, light and camera) from iClone to Unreal, you must first install the Unreal Live Link and iClone Live Link. After these plug-ins are installed, iClone and Unreal
can connect to each other.
Settings in Unreal
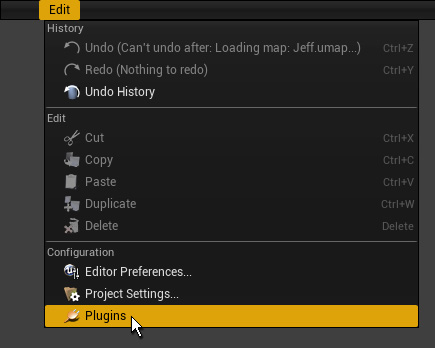
- Execute the Edit menu > Plugin command.
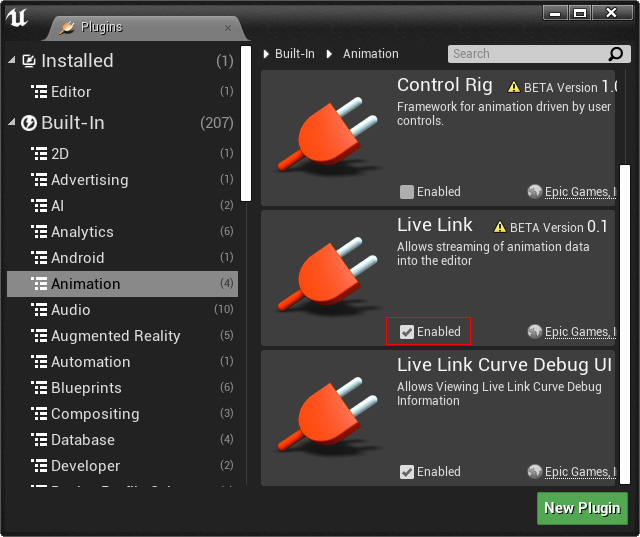
- Select the Animation item and enable the built-in Live Link plug-in.
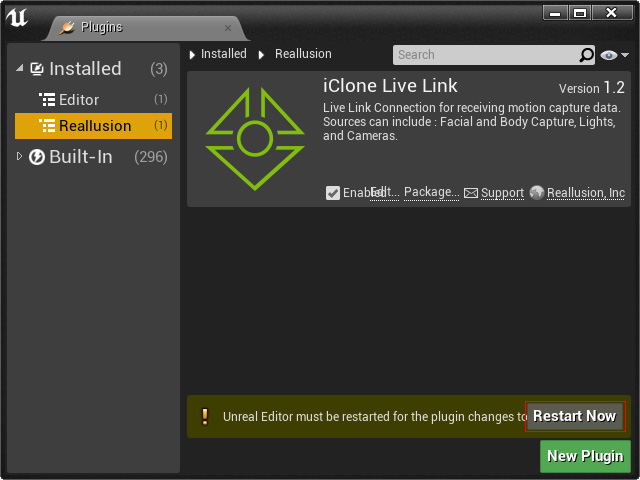
- Go to the Built-in >> Reallusion item and enable the iClone Live Link plug-in.
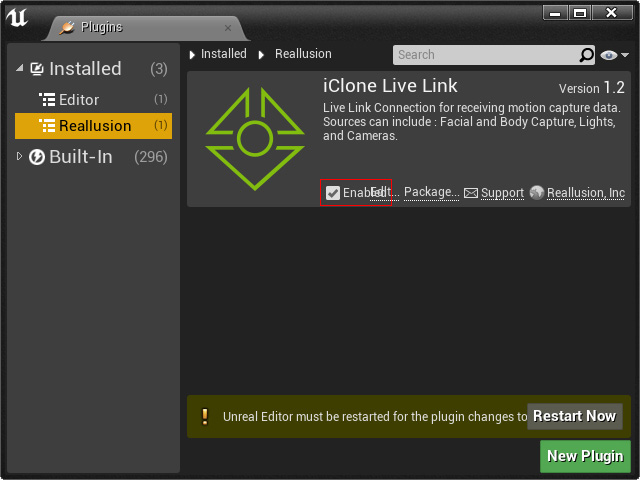
- Click the Restart Now button to restart Unreal.
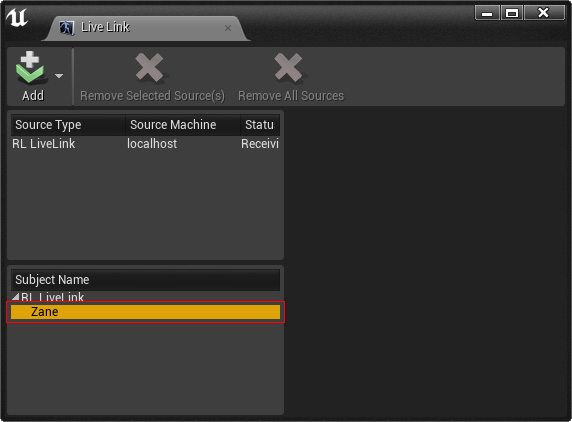
- After Unreal is restarted, open the Live Link panel in Unreal.
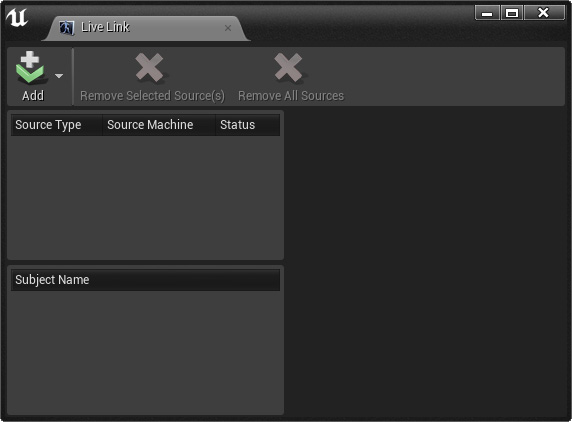
- Click the Add button and choose the iClone Live Link command. Set and remember the Port Number.

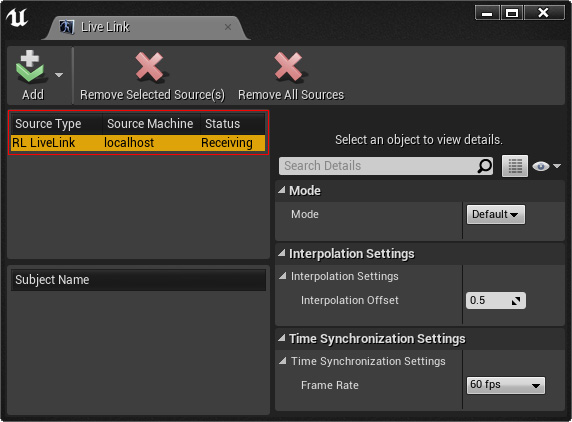
Click Ok button when you are done. - You will see a new source is added into the list with the status
of Receiving. Which means that Unreal is ready to receiving streaming animations from external applications.
- Prepare Unreal assets as the targets for applying the
received streamed animations. The Assets can be sourced from
the following:
- Transferred from iClone - Refer to the Animating Transferred Assets from iClone section.
- Created in Unreal - Refer to the Animating Custom Assets in Unreal section.
Settings in iClone
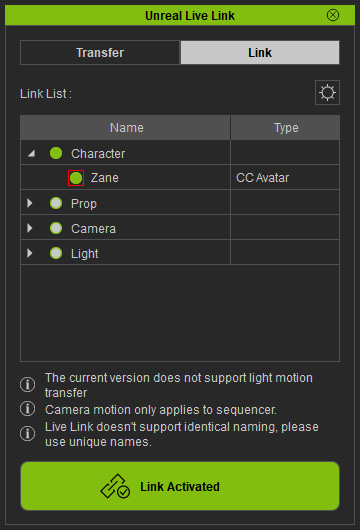
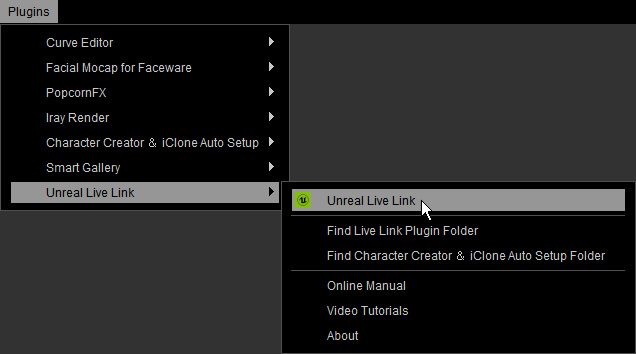
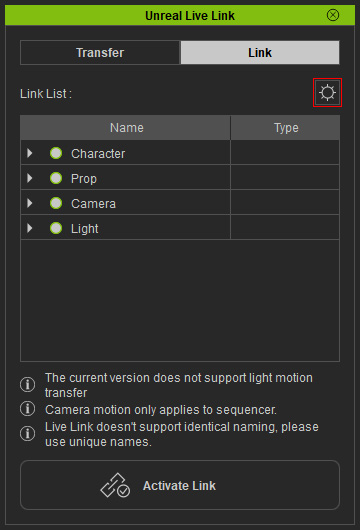
- Open the Live Link panel by Plugins menu > Unreal Live Link > Unreal Live Link command.
- Switch to the Link mode and click the IP Port Setting button.
- Enter the IP Address and the Port number previously put down in Unreal.

 Note:
Note:For the Unreal installed on the local machine, the IP Address is 127.0.0.1.; otherwise, enter the IP Address of the machine on the intranet.
- Close the IP Port Setting panel.
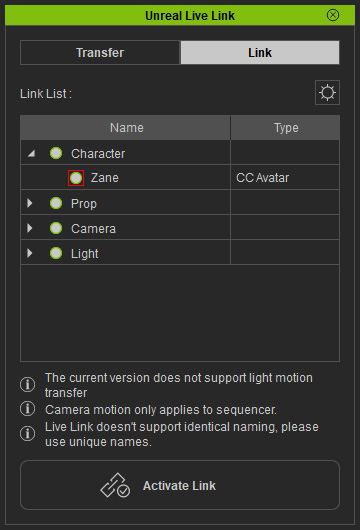
- Enable the green circles for the content that you want to use as the animation source.
 Note:
Note: :
Not used for sending streamed animations.
:
Not used for sending streamed animations. :
Prepared to send streamed animations to Unreal.
:
Prepared to send streamed animations to Unreal.
- Click the Active Link button on the Live Link panel to start sending animation to Unreal. You will instantly see the source listed in the Live Link panel in Unreal.
And the circle will turn solid green in the Live Link panel in iClone. It implies that the animation of the content is synchronized between iClone and Unreal.