Converting Facial Expressions from Video to CC Characters
After importing the CC character into Unreal, since it is fully compatible with Metahuman, you can use Unreal’s features to capture facial expressions from a video and apply them to the character, generating highly realistic facial animations.
Importing Character
- Make sure the Character & iClone Auto Setup and Character Creator UE Control Rig plugins are properly installed to Unreal Engine.
You will see the plug-in icons appear at the toolbar.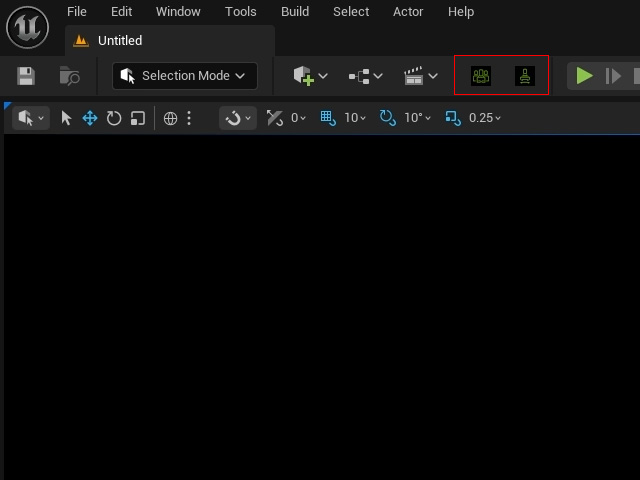
- Import the character's FBX file exported from Character Creator. Choose the HQ Shader radio button and click the OK button.

- Make sure the Morph is activated in the FBX Options panel and click the Import All button.
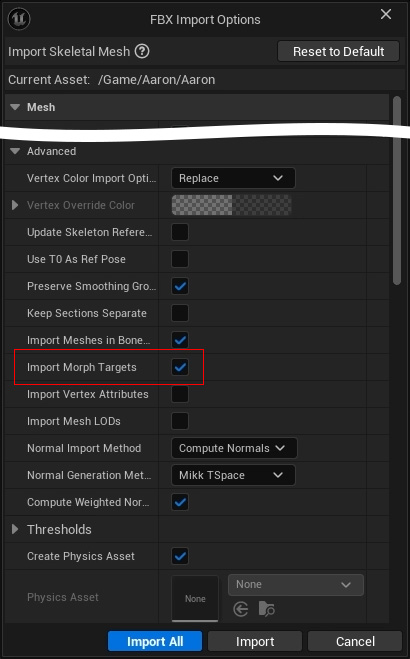
Note that the other settings can be default values. - Right-click on the Skeletal Mesh and choose Create CC Control Rig from the context menu.
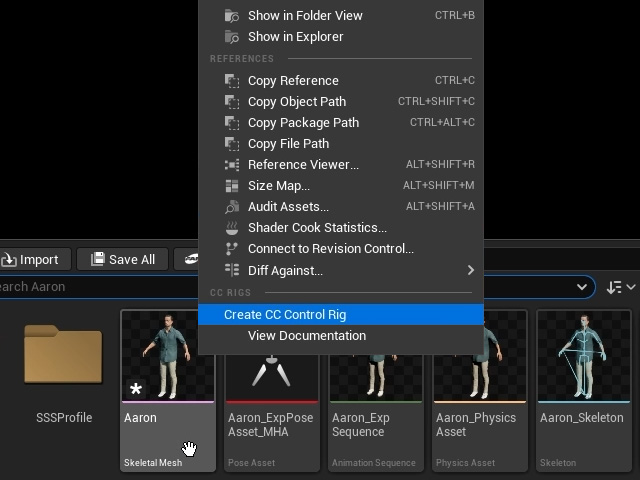
- The component will be created within the rig folder and will automatically separate the skeleton mesh into face and body sections (Unreal Control Rig Specifications).
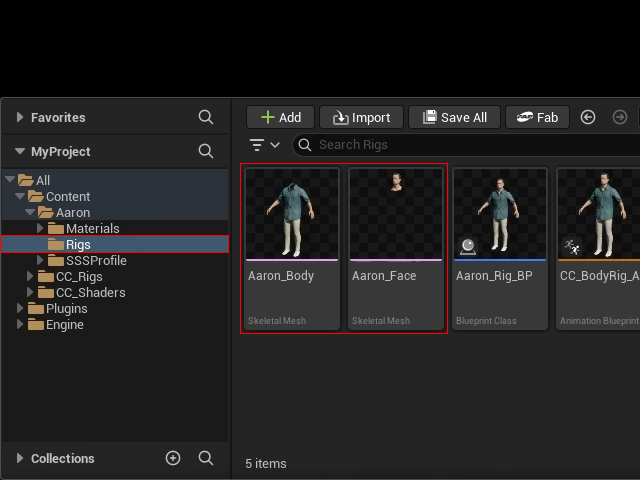
Environment Setups
- Open Live Link Hub from the Tools menu.

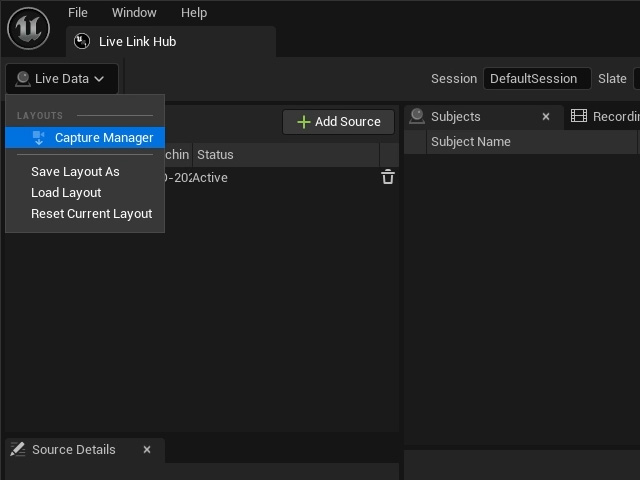
- Switch the working environment from Live Data to Capture Manager.
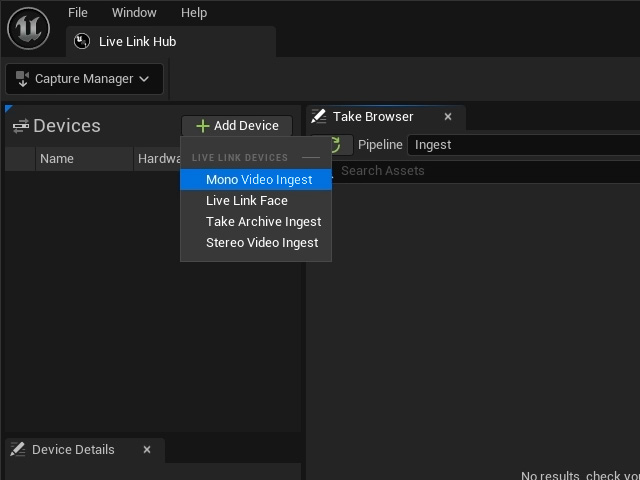
- Click the Add Device button and select Mono Video Ingest item to change the source.
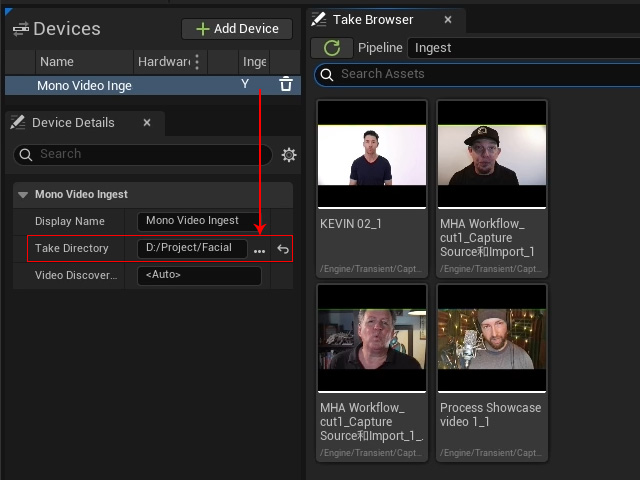
- Select the Mono Video Ingest, and for the Take Directory, choose the folder directory in which your videos sit. The videos will appear in the Take Browser at the right.
Capturing Animations from Video to Character's Head
- Select the desired video source, click the Add to Queue button to add it to the Jobs List panel, and click the Start button.
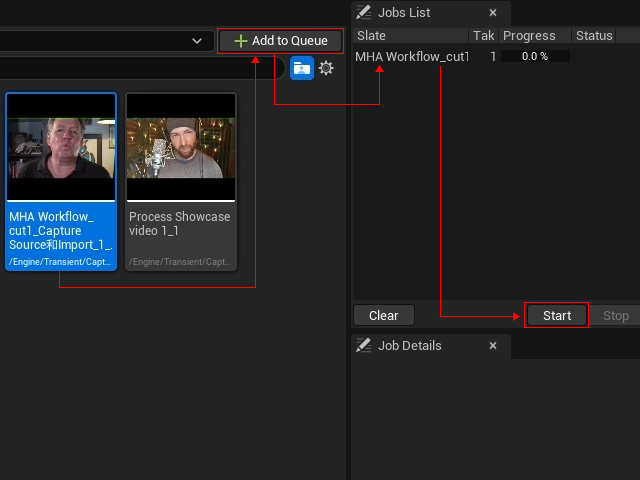
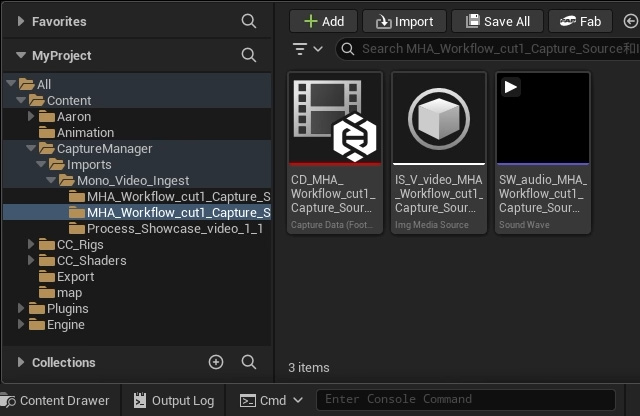
- Unreal will extract capture data, video, and audio assets from the video file and store them in the Capture Manager > Imports > Mono_Video_Ingest > [video name] folder.
- Right-click on the space area in the panel and choose MetaHuman > MetaHuman Performance command to create a new MetaHuman Performance item.
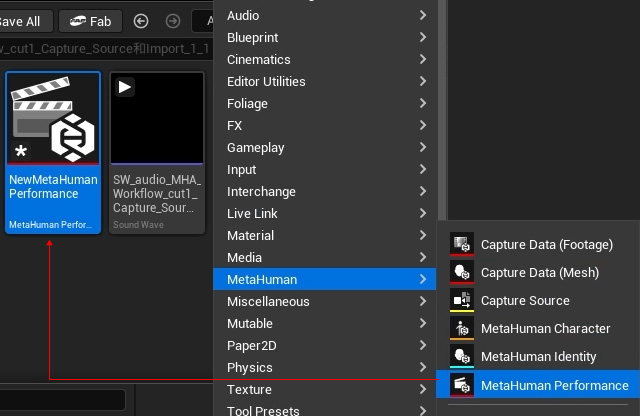
- Double-click on the item to open it.
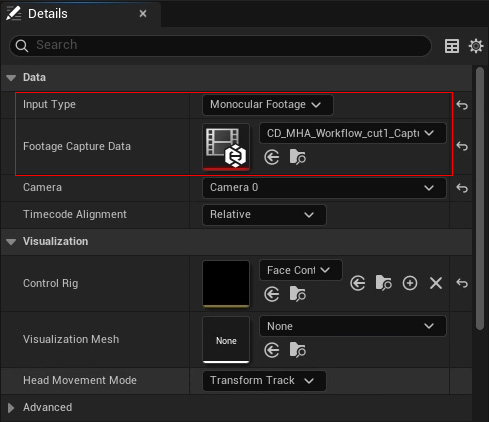
- In the Detail panel, set the Input Type to Monocular Footage, and for the Footage Capture Data, choose the data created in step 6.
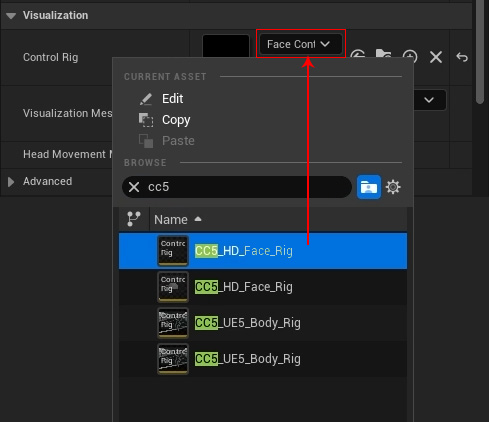
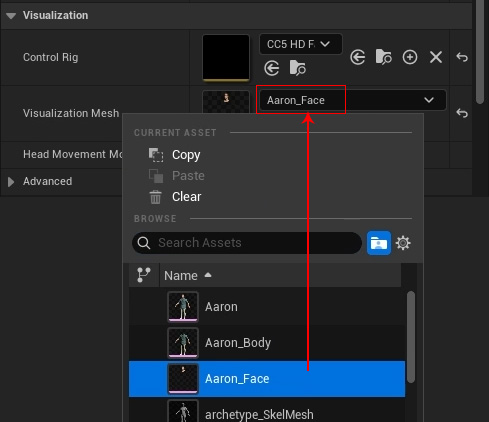
- In the Visualization section, set the Control Rig to the CC_HD_Face_Rig.
- For the Visualization Mesh field, choose the CC head mesh aforementioned in step 5, first section in this page.
The Control Rig panel will appear.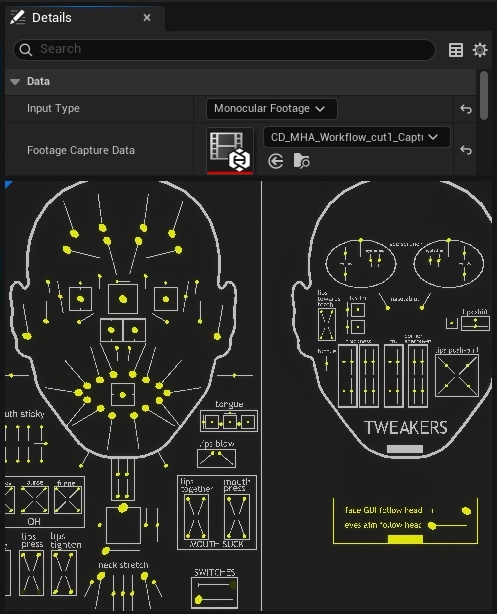
- Click the Process button on the toolbar to generate an animation from the video.

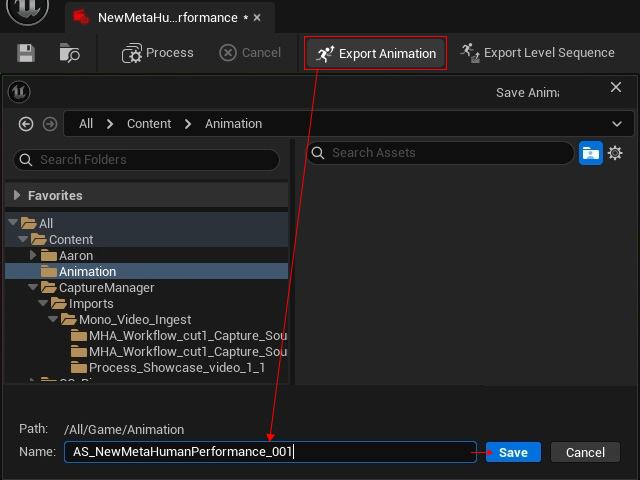
The computed animation is baked onto the control rig and faithfully reproduces the original facial expressions. - Click the Export Animation button on the toolbar and browse to the Animation folder for saving the entire sequence.
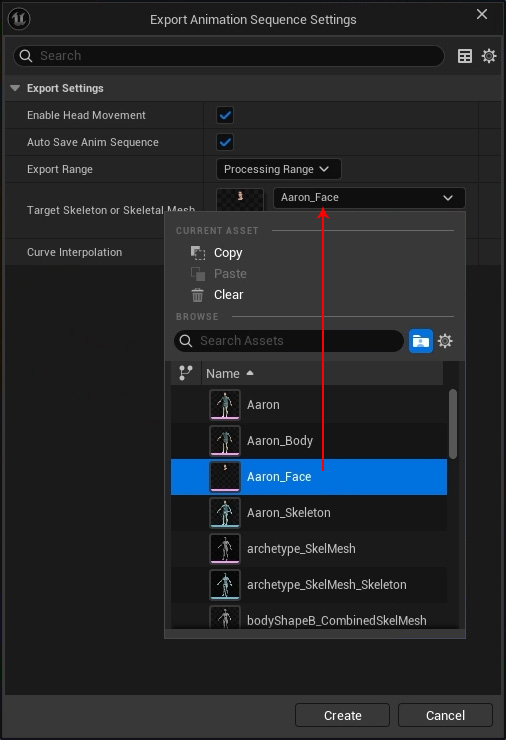
- In the Export Animation Sequence Settings panel, choose the character's face mesh as the Target Skeletal or Skeletal Mesh. Click the Create button.
- You will see the Animation Sequence in the Animation folder.
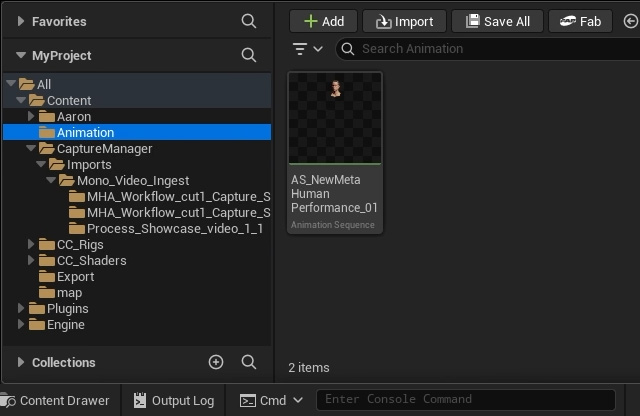
Double-click on it to open it and playback to view the animation result, which closely matches the source video.
