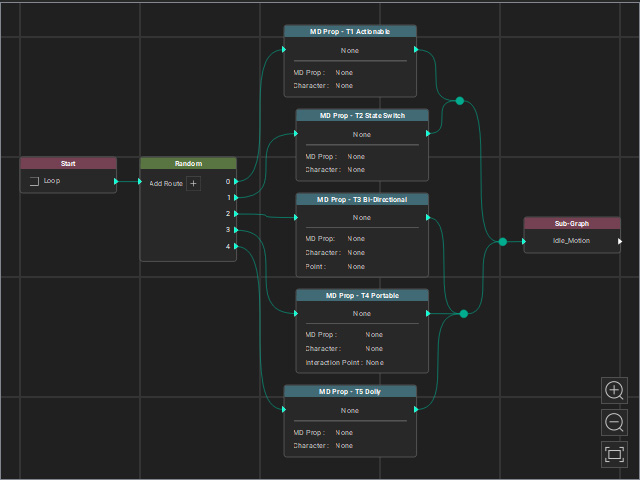
Using Joints to Organize Flow Lines
When a graph contains numerous nodes, the connecting flow lines can become cluttered and difficult to interpret. Joint nodes can be used to organize these lines. Additionally, you can consolidate output lines from multiple nodes into a single flow line to maintain a clean and readable graph layout.
Adding Joint for Organizing Flow Lines
- Prepare a node graph.
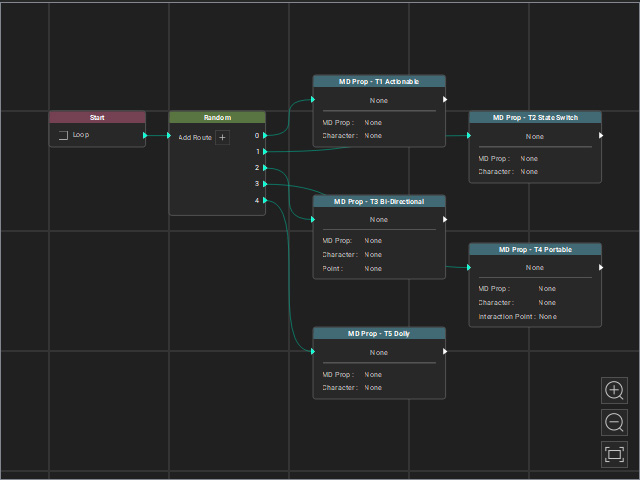
- Right click on either of the flow line and choose the Add Joint command from the context menu.
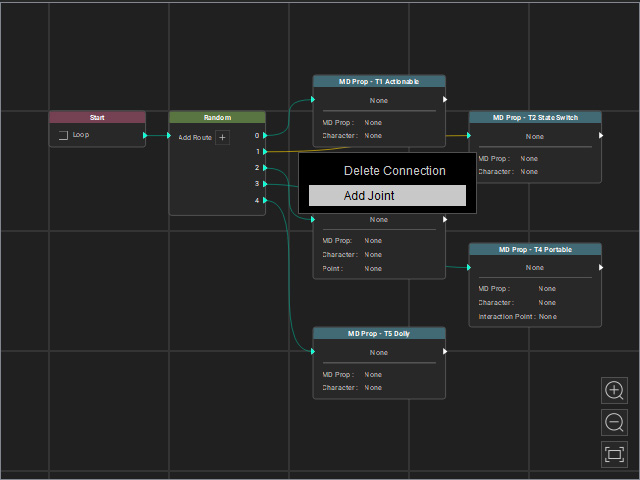
A new joint will be inserted on the flow line.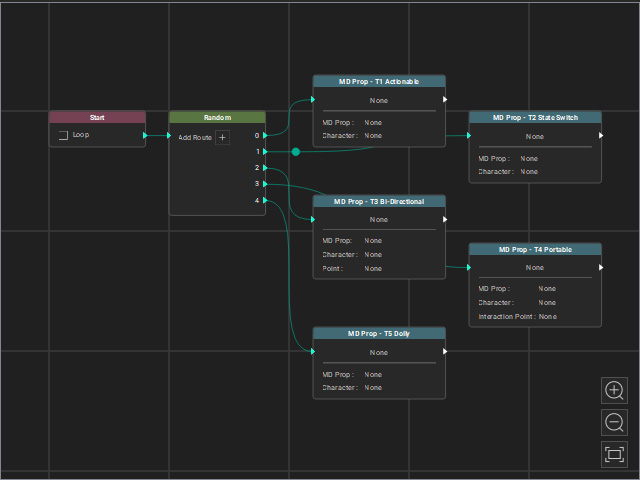
- Move the Joint node to organize the flow line.
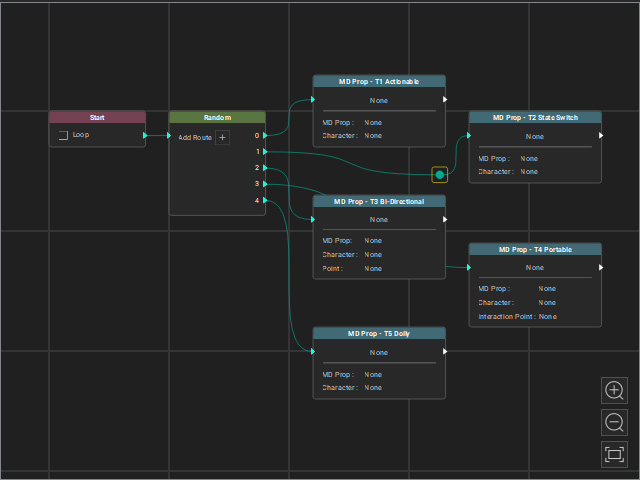
- Repeat the same steps to organize the rest of the cluttered flow lines and clean up the entire graph view.
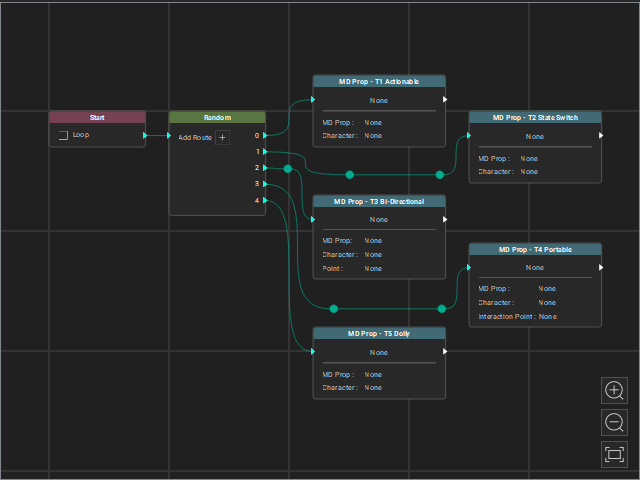
 Deleting Joint
There are two methods to delete joint:
- Select the joint and press the Delete key on your keyboard.
- Right-click on the target joint and choose the Remove Joint command from the context menu.
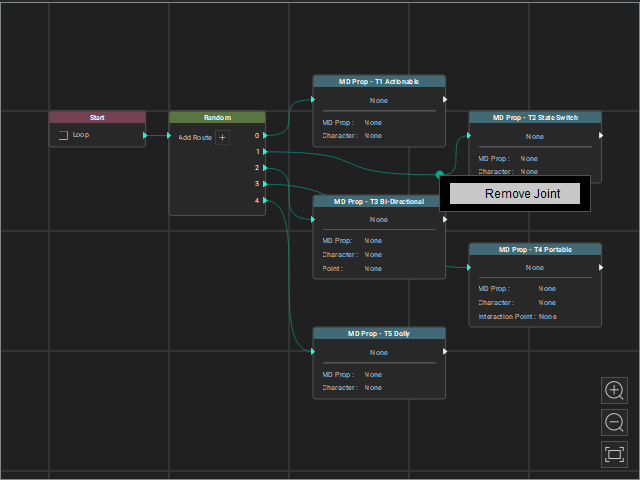
Consolidating Flow Lines
- Prepare a node graph.
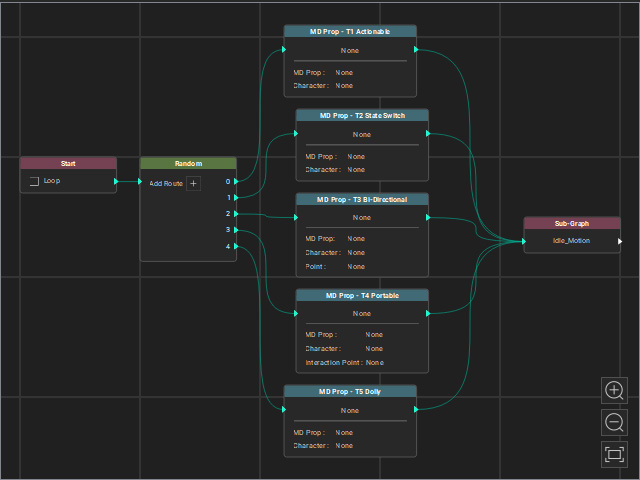
- Insert a new joint on one of the flow line.
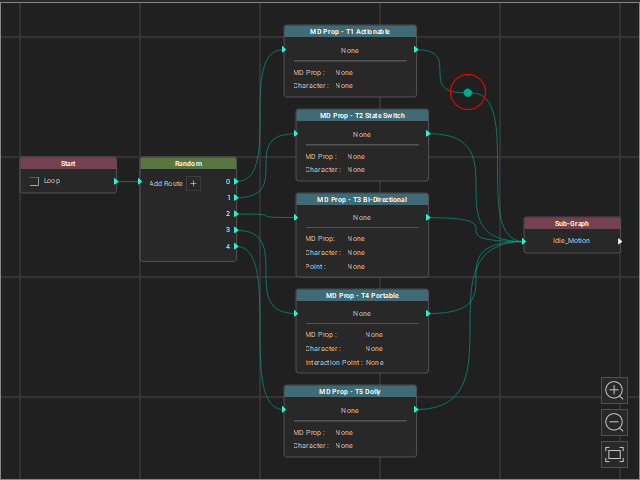
- Drag a frame to select multiple flow lines.
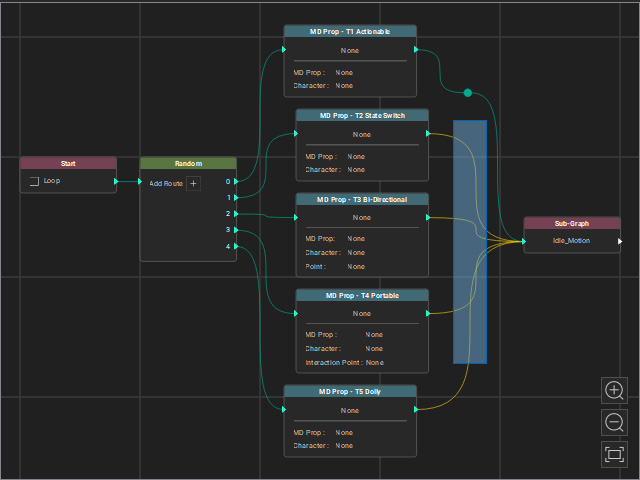
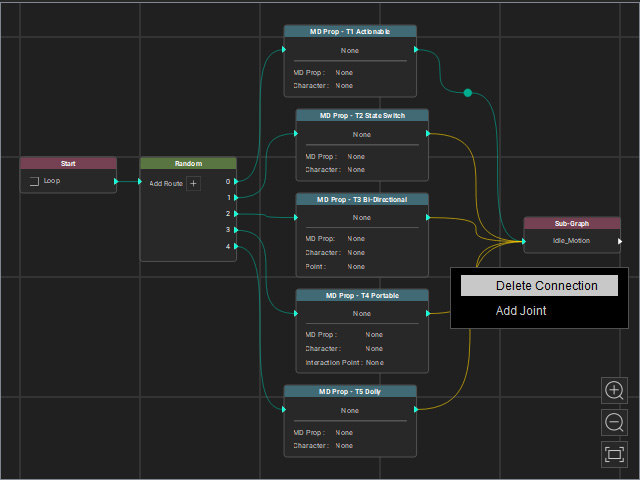
- Delete the selected flow lines:
- Press the Delete Key on the keyboard.
- Right-click on either of the selected flow lines and choose Delete Connection command.
- Drag a new flow line from the output pin of either of the node.
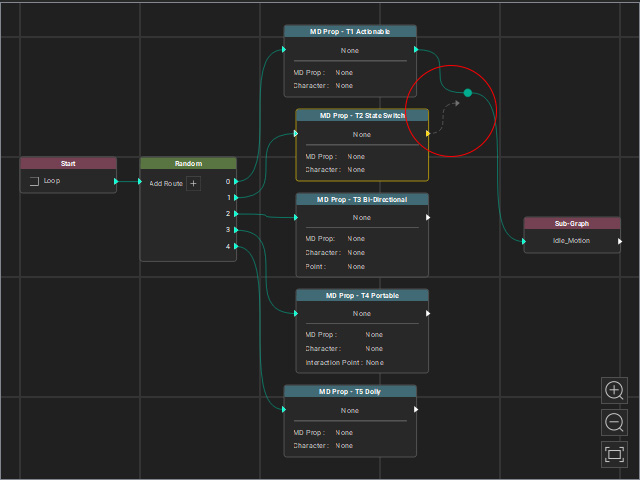
The output of the node will be connect to the joint.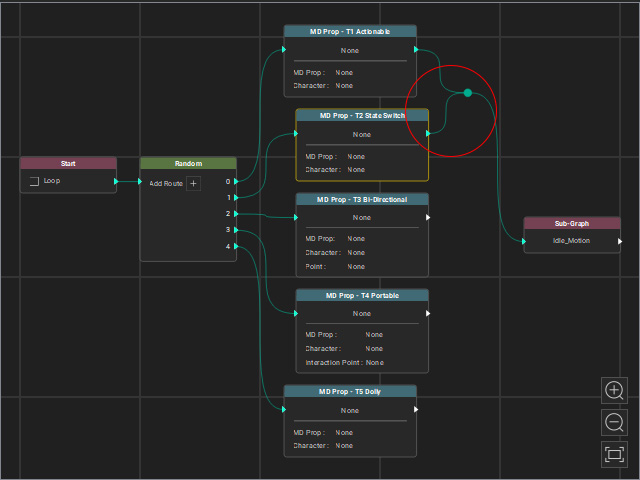
- Repeat the same steps to consolidate the rest of the cluttered flow lines.
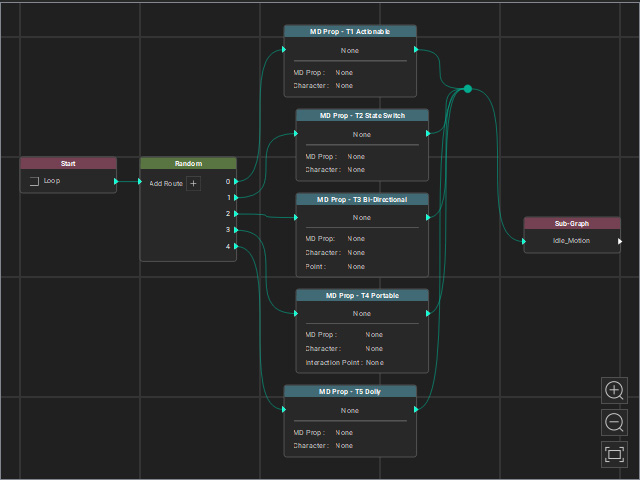
- Move the Joint to make the layout cleaner.
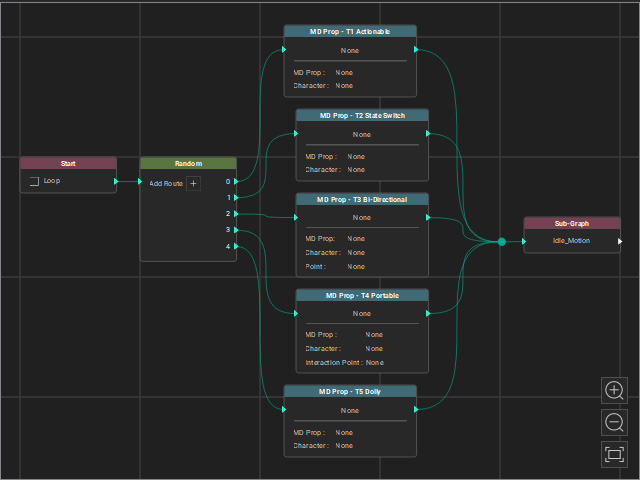
- You can repeat the same step to make the layout even more readable.