Device Settings - Perception Neuron (New for v1.1)
Motion LIVE 2D plug-in supports the Perception Neuron Gloves in Hand mode, which provides a complete mocap solution for production.
- Go to the Perception Neuron official web site, and download and install the Axis Neuron standalone application - Perception Neuron Studio or V2 and V1 edition.
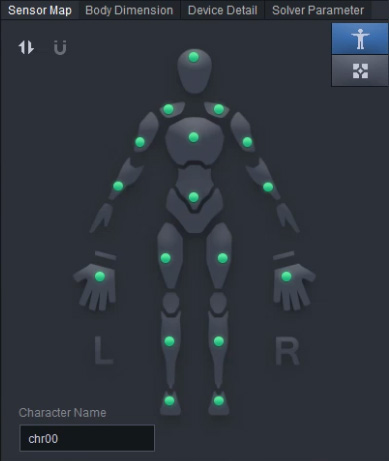
- Make sure that the performer has worn the Perception Neuron devices and Gloves correctly.
-
Launch the Axis Neuron, Studio edition for example.
-
If the Axis Neuron Studio application is installed on another computer within your intranet,
please note down the IP address and Port number shown on the Main Menu >> Settings panel for connection with Motion LIVE 2D.

-
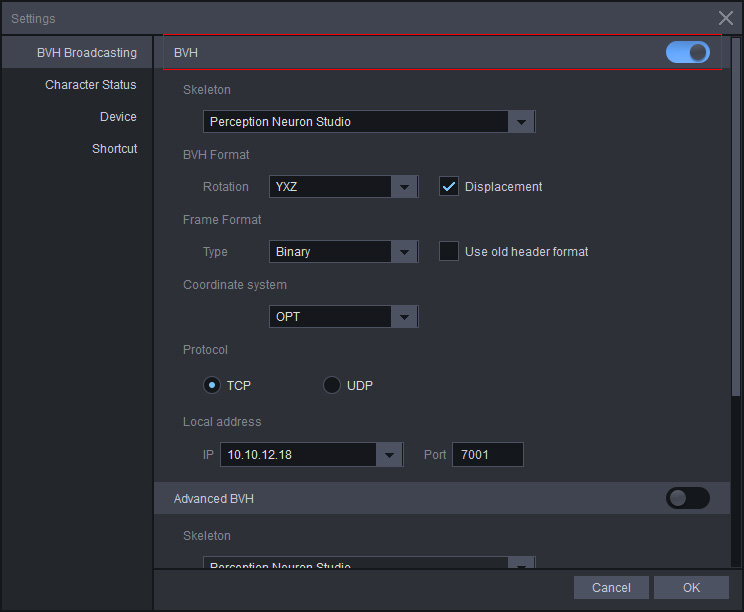
Because Motion LIVE 2D receives mocap data in BVH format,
please make sure the BVH option is enabled in the BVH Broadcasting tab.
Click OK.
-
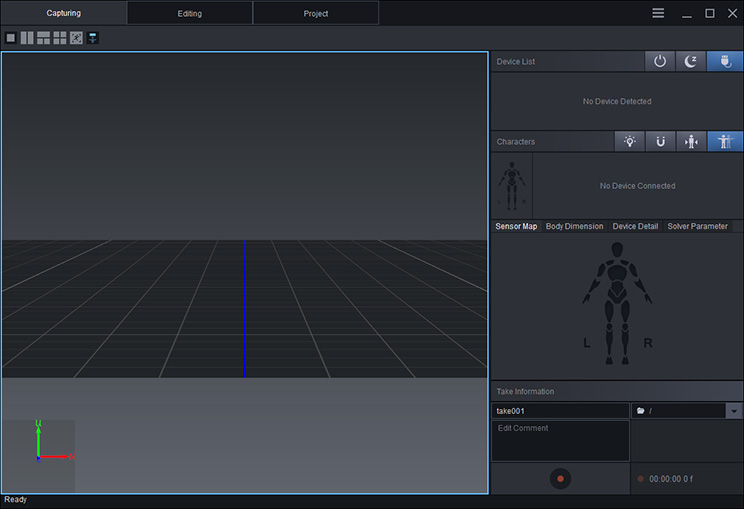
Click the Connect
 button under the Capturing tab.
Wait for the Axis Neuron Studio (the application) to connect to the Perception Neuron (the device and the gloves).
button under the Capturing tab.
Wait for the Axis Neuron Studio (the application) to connect to the Perception Neuron (the device and the gloves). -
Make sure that the lights on the right side of the application are activated in green, yellow or at least red.
If any of the lights are greyed out, then check the device to make sure it is worn correctly.
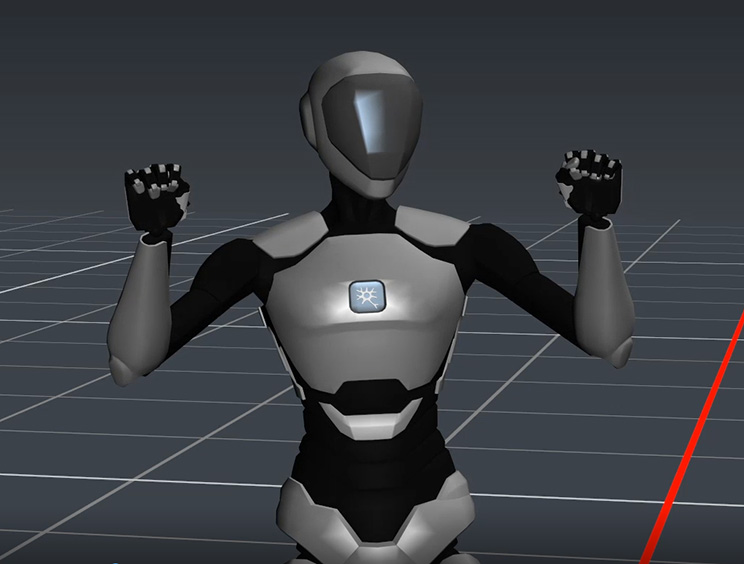
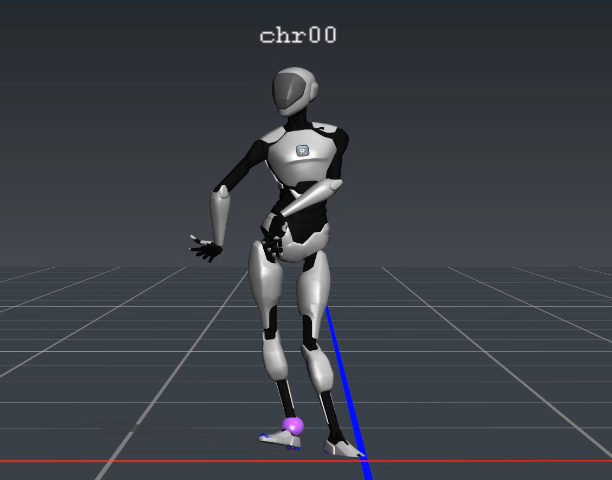
- In the Preview window, you will see that the dummy is all messed up.
-
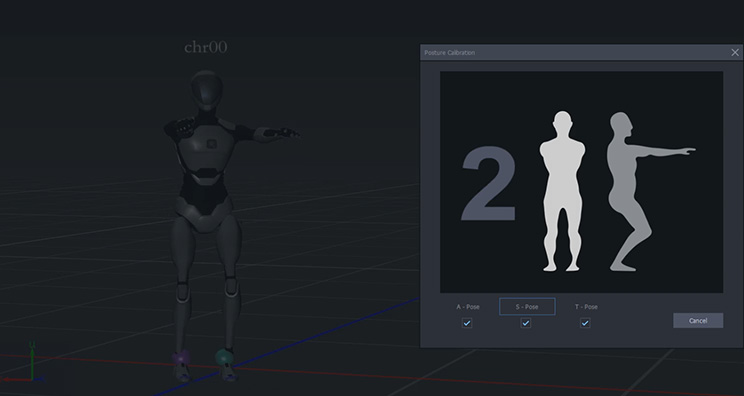
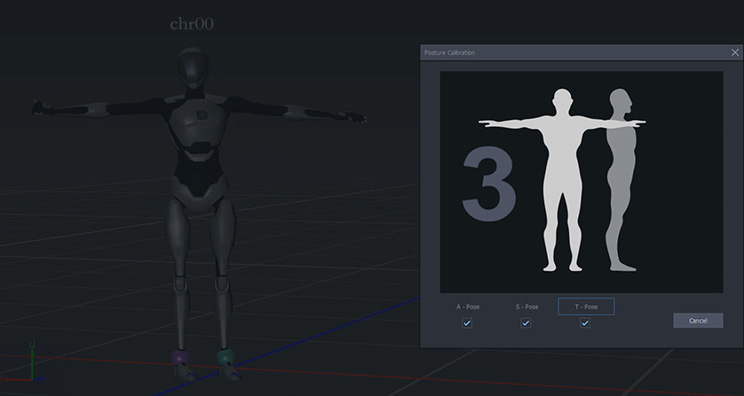
Before the Axis Neuron Studio receives correct data from the Perception Neuron,
you will need to click the Calibration
 button to start the calibration procedure.
Axis Neuron Studio will direct you to do three poses for calibration.
button to start the calibration procedure.
Axis Neuron Studio will direct you to do three poses for calibration.
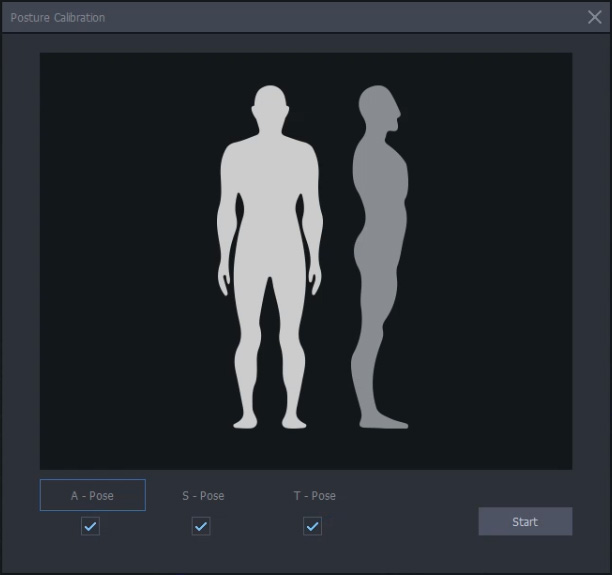
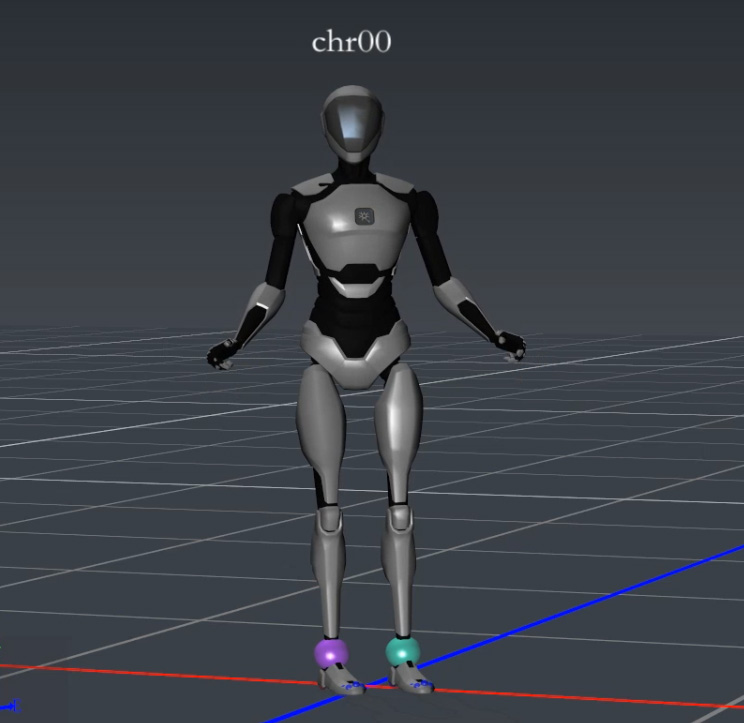
Click the Start button to start to calibrate. -
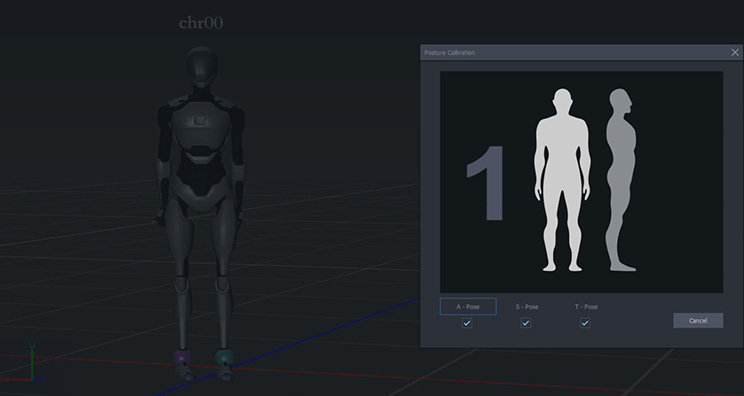
Have the performer hold the poses on the screen for each phase of the calibration and wait until Axis Neuron Studio finishes the countdowns.
-
Now the dummy in the Preview window stands up and your motions can be correctly received from Axis Neuron Studio.