Connecting AccuFACE 2 and iClone
This is a step-by-step guide on how to establish connections between AccuFACE 2 and iClone.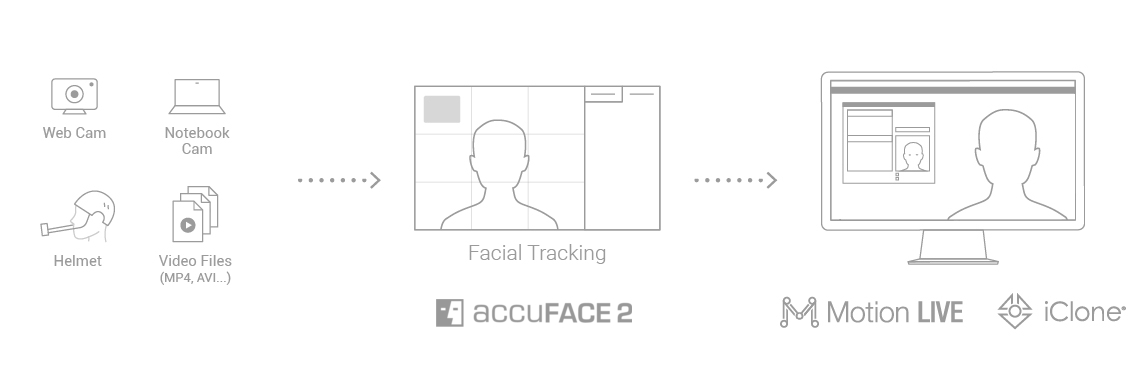
- Open both iClone and AccuFACE 2.

- In iClone, launch Plugins > Motion Live > Motion Live.
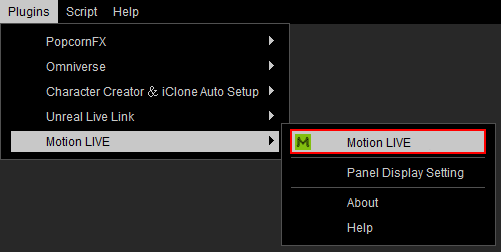
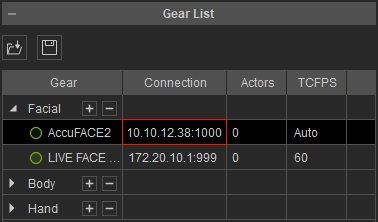
- The Motion Live panel will appear. Select the ‘Facial’ row in the Gear List section.
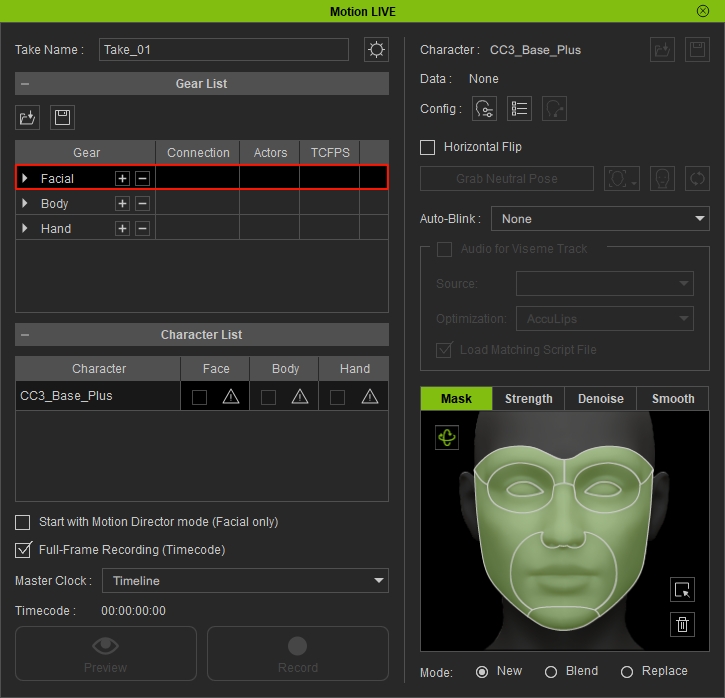
- In the Gear list, click the + button in the facial row to show the default supported devices. Select AccuFACE 2 from the pop-up menu.
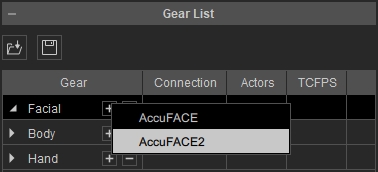
You will see the device is now under the Facial group with the green hollow circle.
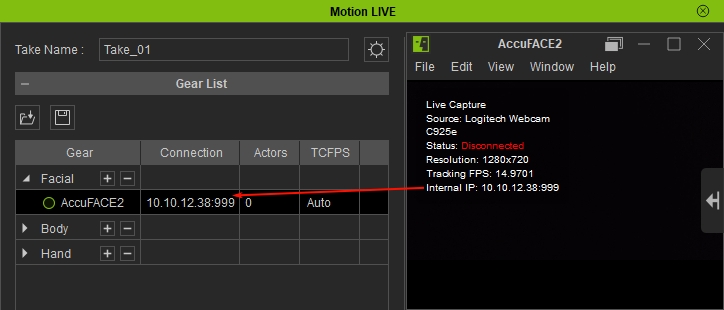
- In the Motion Live panel, under Connection type the IP address shown in your AccuFACE 2 application, and click the hollow circle to activate it.
 Note:
Note:The Connection field is automatically assigned to the AccuFACE 2 internal IP address on first launch.
Choosing a Different Port
If the current TCP port in AccuFACE 2 has already been used, follow the steps below to change it.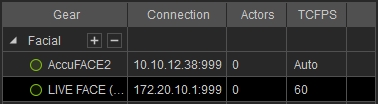
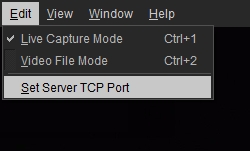
- In AccuFACE 2, navigate to Edit > Set Server TCP Port.
- Use the number field to change your AccuFACE 2’s IP address to a different one.
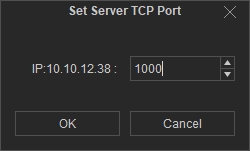
- Click the OK button to complete the changes, and enter the new AccuFACE 2 IP address into the Motion LIVE > Gear List > Connection column.
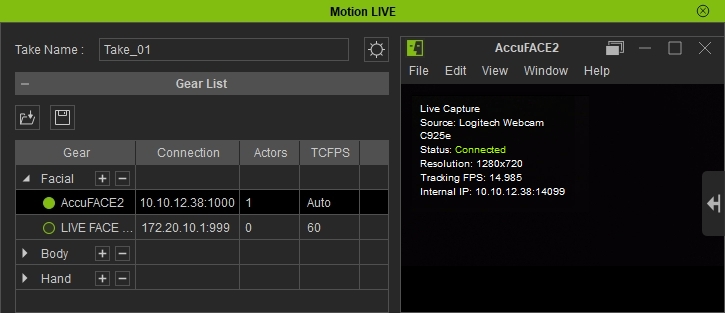
- The circle beside AccuFACE 2 will change to a solid one when clicking, indicating that AccuFACE 2 is now successfully connected to the Motion Live plugin.
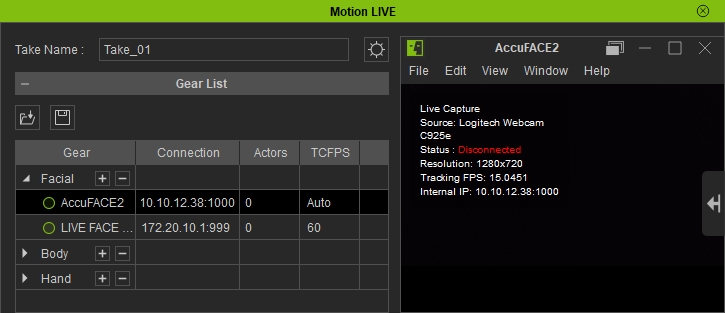
Before AccuFACE 2 is connected to Motion Live.
After AccuFACE 2 is connected to Motion Live.
