Camera Settings for Omniverse Viewport
(New for iC v. 7.93, CC v. 3.44)
There are more embedded viewport resolutions in iClone or Character Creator than in Omniverse applications. Subsequently, after cameras are transferred from Reallusion applications to Omniverse, several steps must be taken to match the perspective settings.
Viewport Resolution
- In iClone or Character Creator, set the viewport resolution from the Render panel.
The embedded selections are: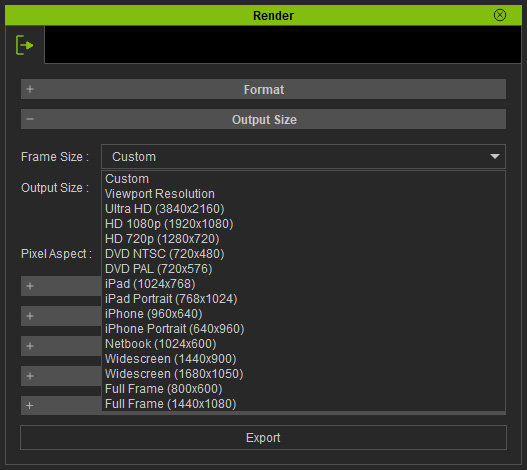
Custom resolution can also be set individually by entering the desired numbers for Output Size.
The viewport proportion can be set to 16:9, 4:3 or another custom ratio.- 16:9:
- 4:3
-
A custom ratio:
- 16:9:
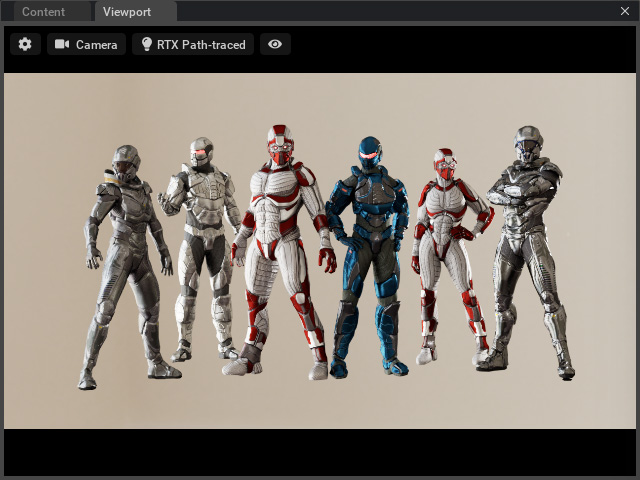
- Transfer the entire project to Omniverse in USD format.

- Open the USD file with Omniverse Create,
for example. By default, 16:9 proportion is referenced as the viewport size.
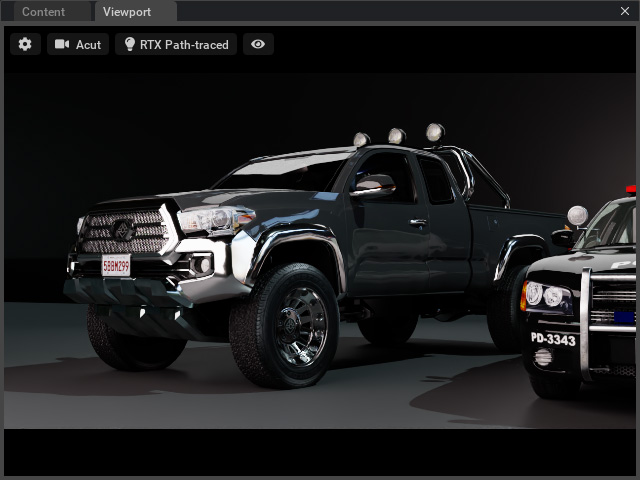
- Click the gear button at the top-left corner of the viewport.
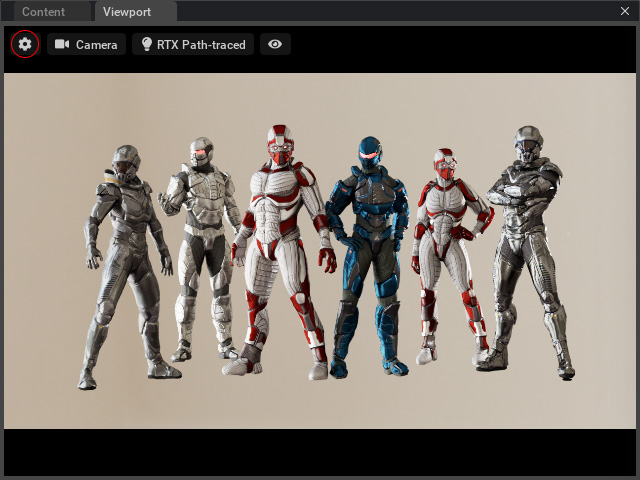
- You can choose the rendering size from the drop-down list. However, there are fewer options than you can find in Reallusion applications.
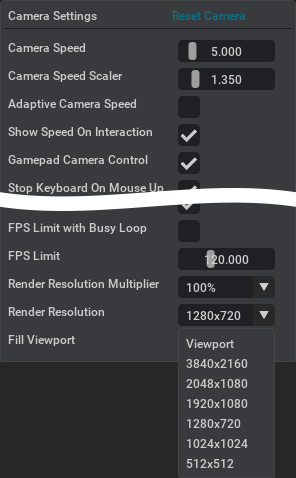
- 16:9 - 3840 x 2160, 1920 x 1080, 1280 x 720
- 1:1 - 1024 x 1024, 512 x 512
- Special Resolution - 2048 x 1080
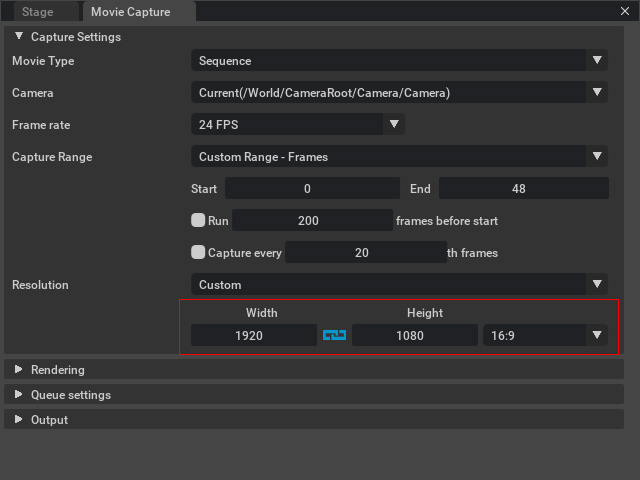
- Open the Movie Capture panel. You can manually set the resolution for
rendering in respect to the aspect ratio set in step 1.
Choosing Cameras
- In iClone, create several cameras (Character Creator supports one camera only).
- Transfer the entire project to Omniverse in USD format.
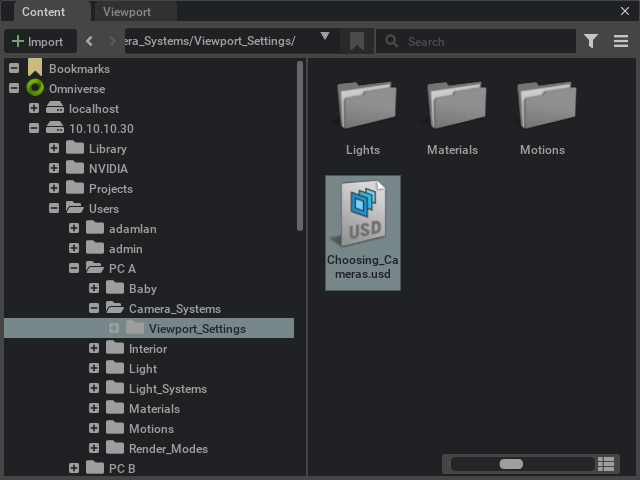
- Open the USD file with Omniverse Create,
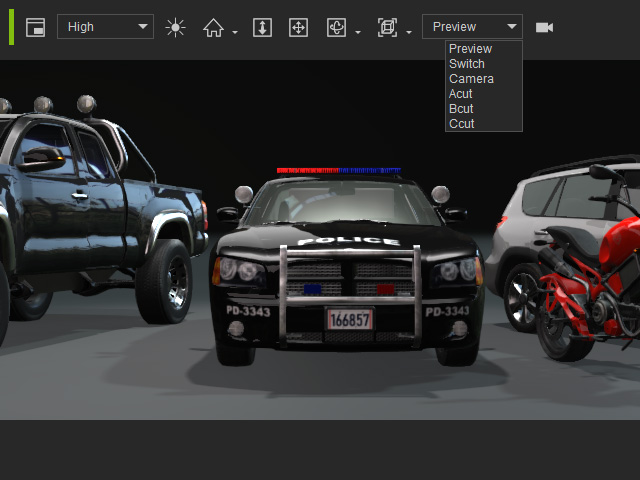
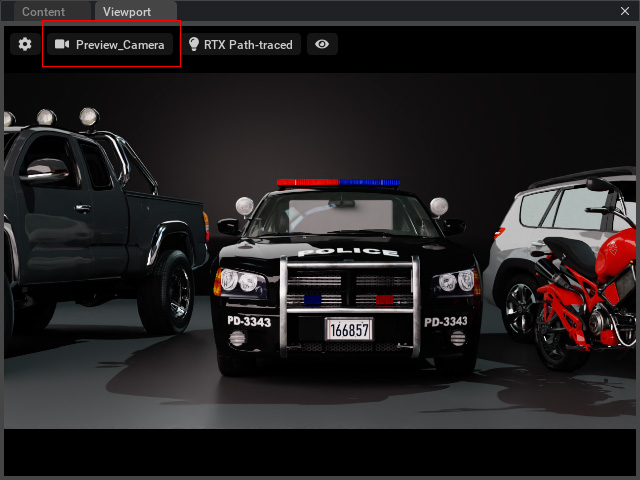
for example. By default, the viewport looks through the Preview Camera.
- Click that button to show all the cameras available, including the ones embedded in Omniverse (A) and the ones transferred from iClone (B).
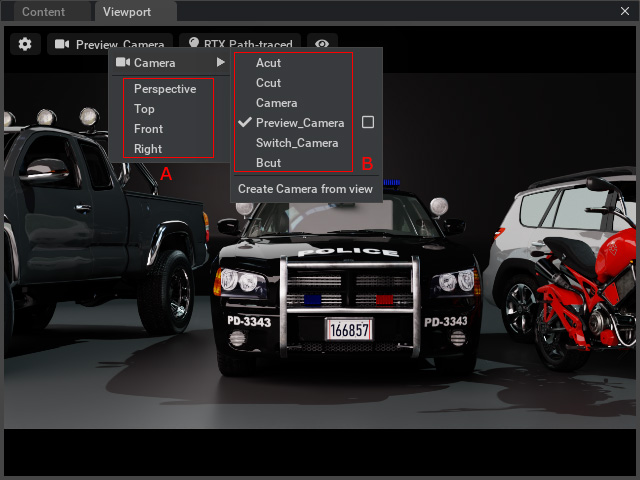
The Switch_Camera in B group is used for camera switch animation. - You can choose either one of the items in A or B groups to view from different camera.