Creating DOF Effects
(New for iC v. 7.93, CC v. 3.44)
In Omniverse applications, all cameras can have DOF (depth of field), the strength of which is determined by the easily controlled fStop parameter. You can transferred an iClone camera with DOF effect to Omniverse applications with an even more convenient method.
- Create a project.
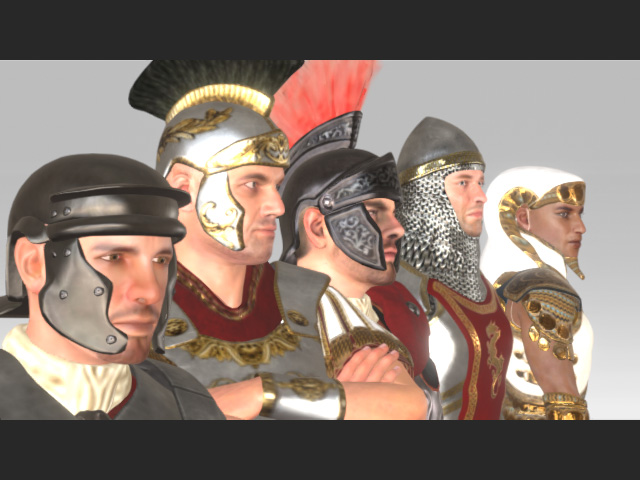
- Create a new camera with the same perspective and select this camera.
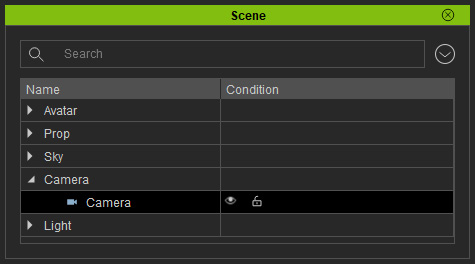 Note:
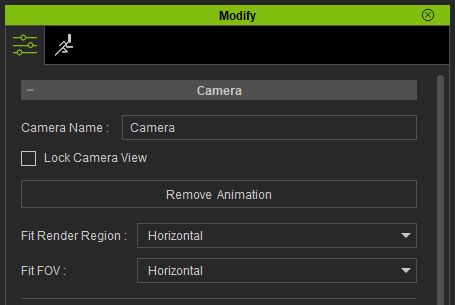
Note:Make sure the Fit Render Region and Fit FOV in the Camera section are both set to Horizontal to get the correct result.
- Open the Modify panel, in the DOF section, check up the Activate checkbox.
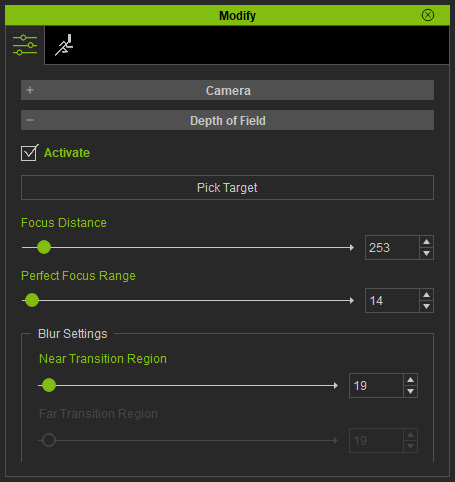
The entire project becomes blurry because there is no focus set for the camera.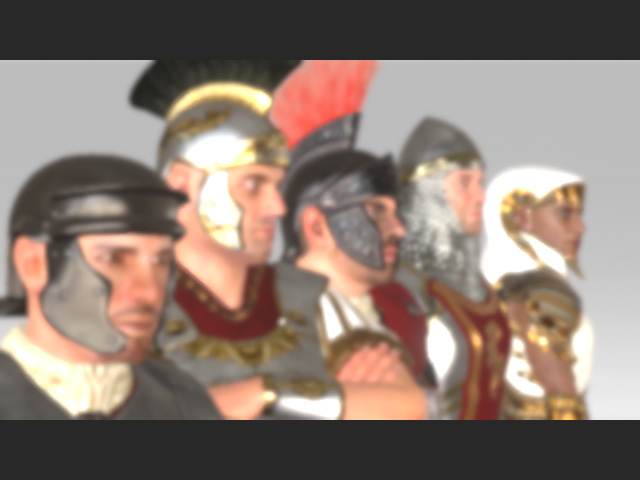 Note:
Note:Only the Focus Distance, Perfect Focus Range and Near Transition Region values are supported in and mapped to Omniverse applications.
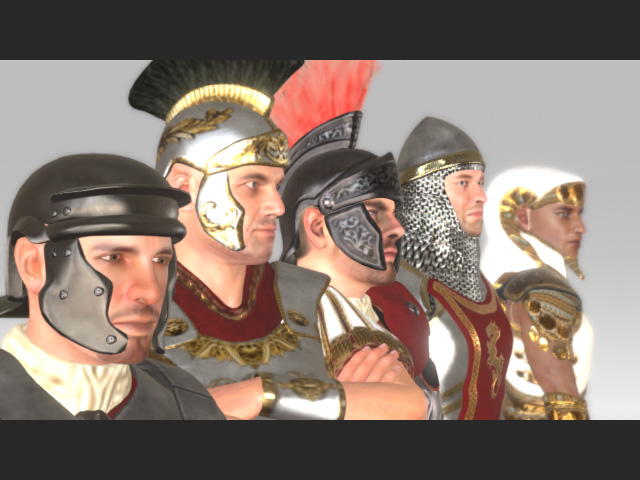
- Click the Pick Target button. Click on the object you want to set focus
on.
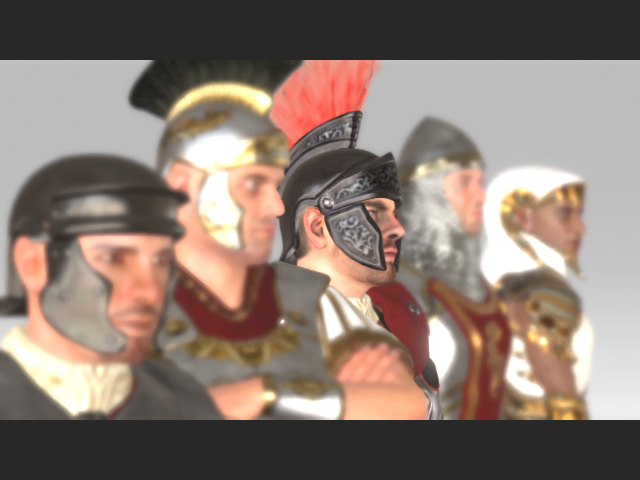
- Adjust the Perfect Focus Range and Near Transition Region values to increase the blurriness for the objects out of focus.
- Transfer the entire project to Omniverse applications in USD format.
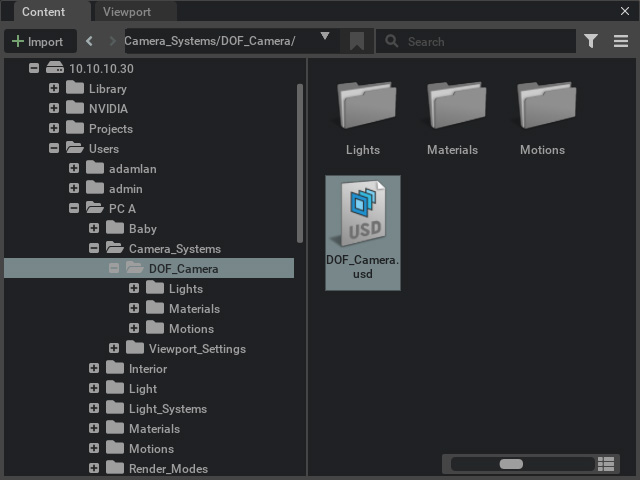
- Open the USD file with Omniverse applications, and change the view to the camera with DOF effect.
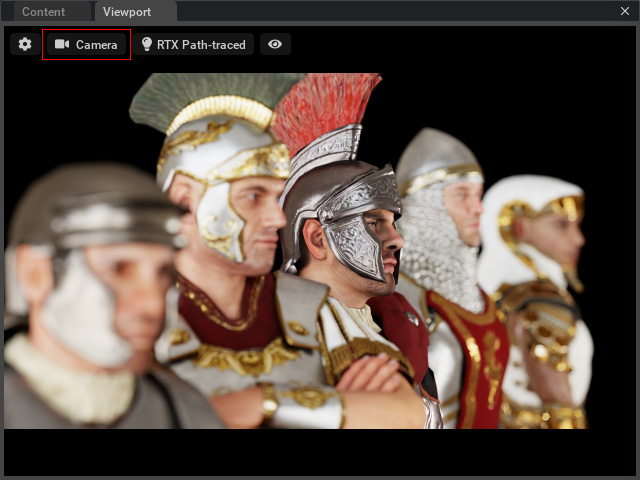
- Select the camera from the Stage panel.
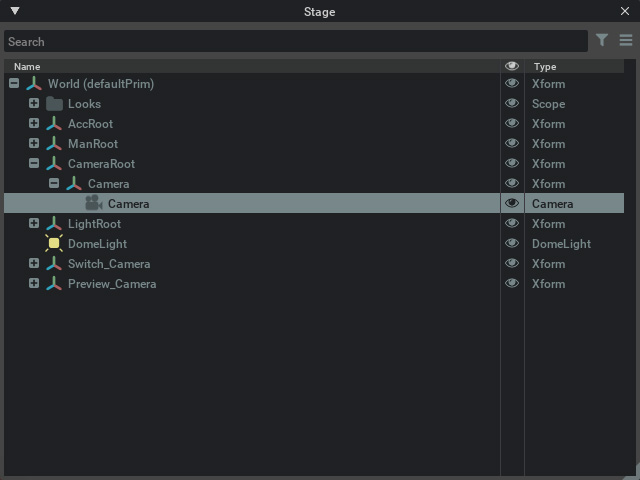
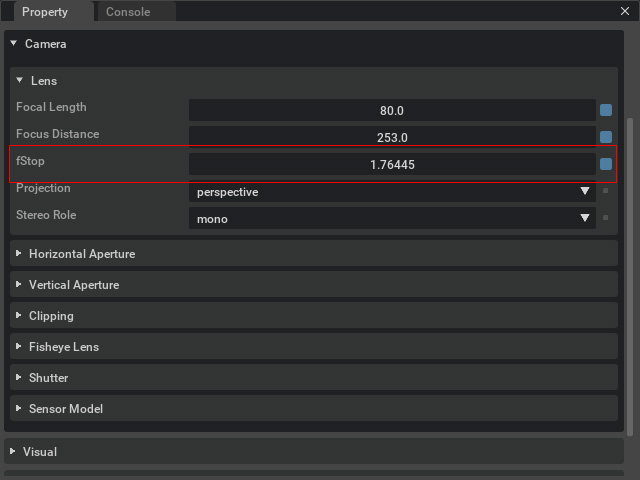
- Adjust the fStop value (not recommended, unless you are very familiar with the theory
behind it) to increase or decrease the DOF effect.
The Blurry effect is then tweaked.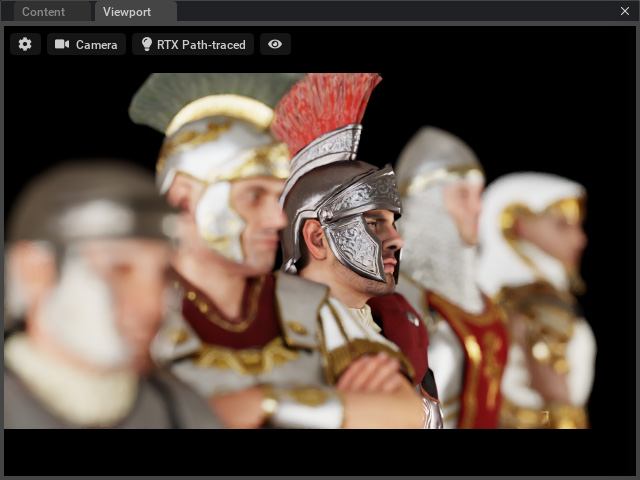
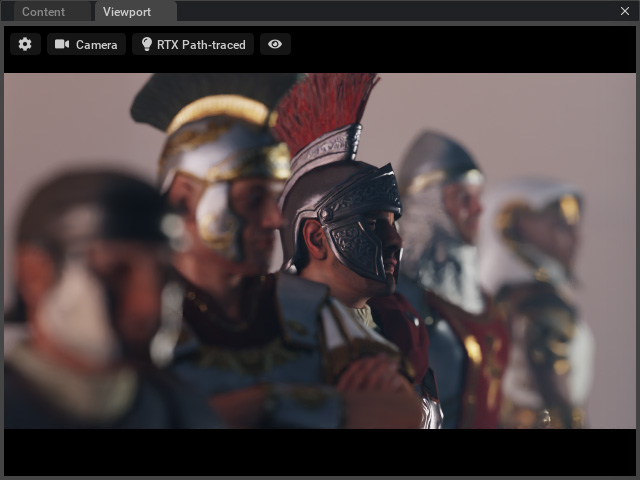
- You can choose to adjust the DomeLight or the Path-Traced Fog
to enhance the render.
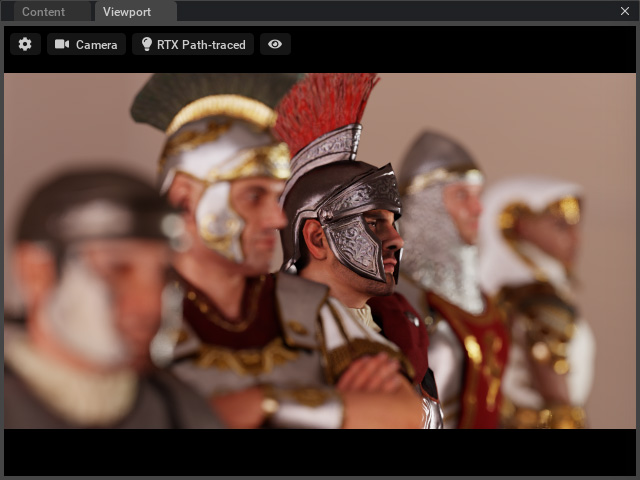
DomeLight adjusted.
Path-Traced Fog applied.
