For iClone Users
To successfully connect NVidia Omniverse and Reallusion Products (iClone), you'll need to install plug-ins and connectors for both sides.
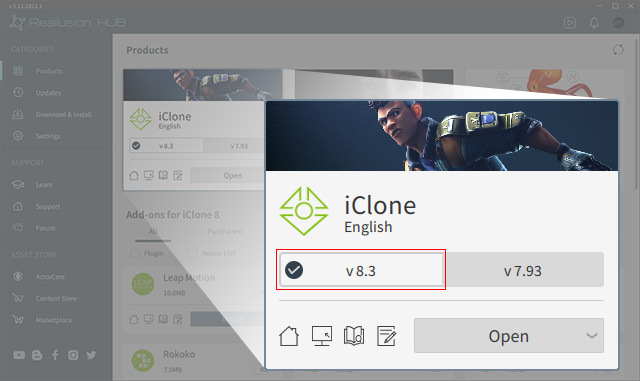
Install or Upgrade iClone
- In Reallusion Hub, upgrade your iClone to version 8.3, either trial or full is appropriate.
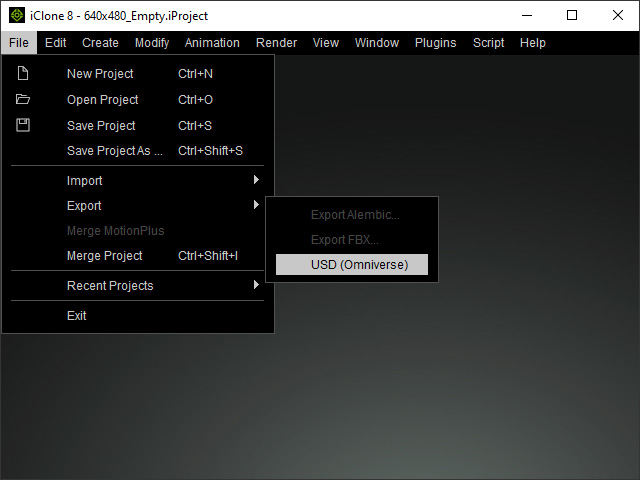
- Open iClone and verify the installation by
checking for Export USD feature in the user interface:
- In File Menu: File > Export > USD (Omniverse)
- On Toolbar:

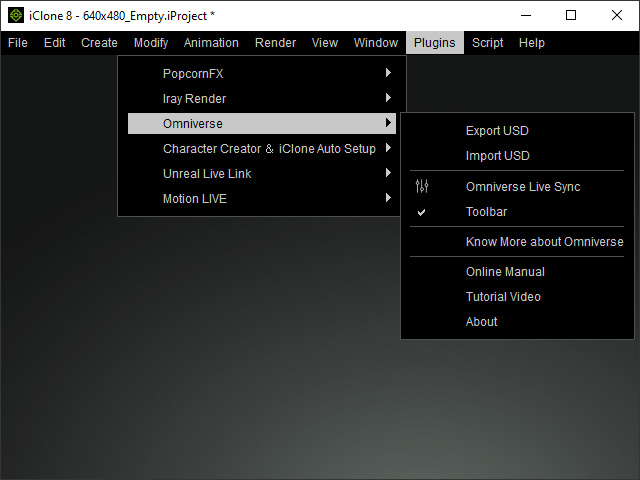
- In Plugin Menu: Plugins > Omniverse.
- In File Menu: File > Export > USD (Omniverse)
Install NVIDIA Omniverse Launcher and Necessary APPS and CONNECTOR
- Click the DOWNLOAD Free or Try It Free buttons on
the official NVIDIA Omniverse download site.
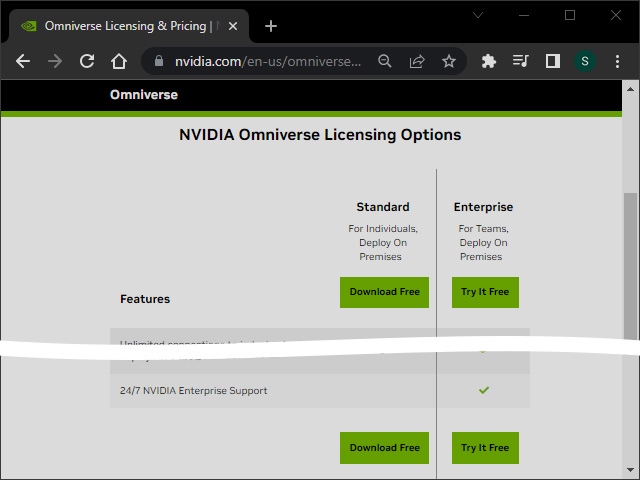
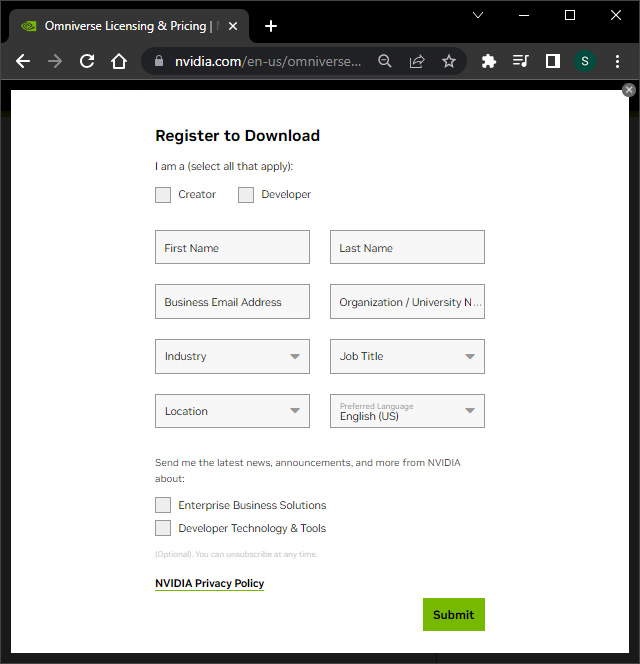
Carefully consider the listed features to install the right program for your needs. Throughout the entire Omniverse Plugin Online Manual, the Standard version will be used as an example. - Fill in the subsequent form and click the
Submit button.
- Click the OS type to start downloading.

- omniverse-launcher-win.exe will be downloaded. Execute it to install.

- Wait for the installation to finish.

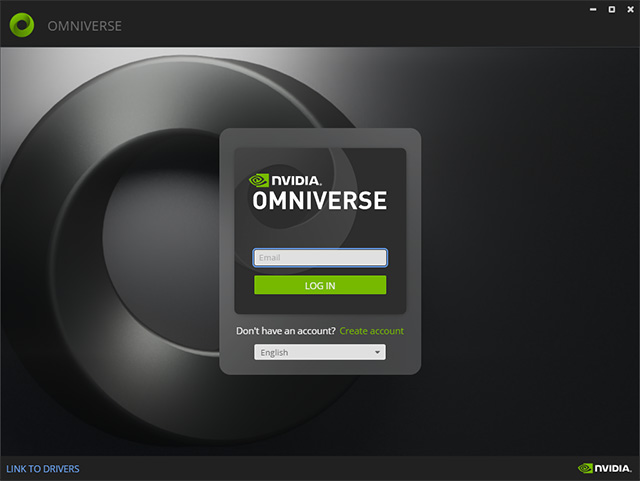
- Log in to or your account or create a new one.
- Click either the CONTINUE or
CANCEL button based on your preference for data
collection.

- The NVIDIA Omniverse Launcher automatically displays after the installation is done.

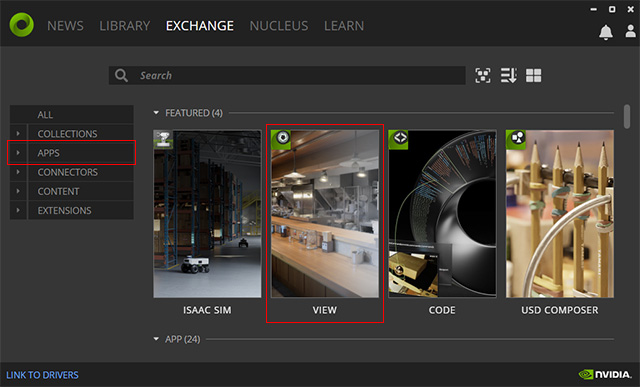
- In the Omniverse Launcher, install the recommended APPS.Exchange > APPS > USD Composer
This app is for the creation of animations and videos. Click the item to access its installation page.

Click the INSTALL button to install the app.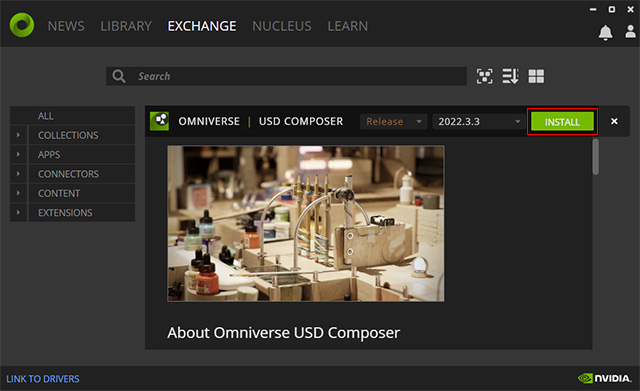 Exchange > APPS > View
This app is for the visualization of architectural. Click the item to access its installation page
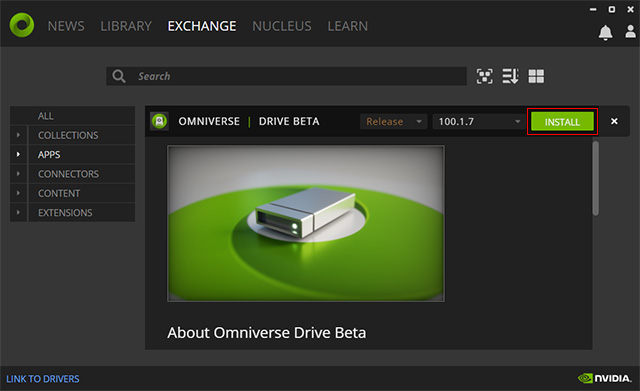
Click the INSTALL button to install the app.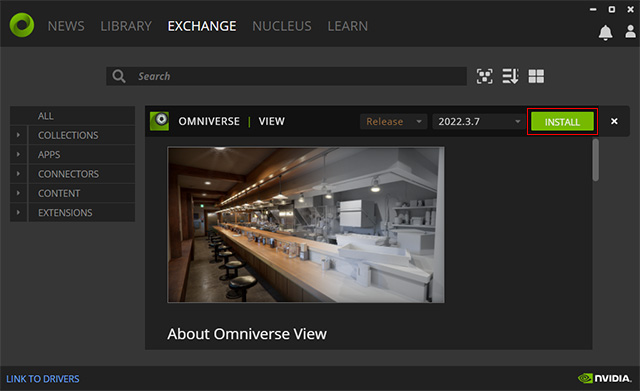 Exchange > APPS > Drive and Exchange > APPS > Cache
These two apps are for online collaboration and project management. Click the INSTALL button to install the DRIVE app.
Also, click the INSTALL button to install the app.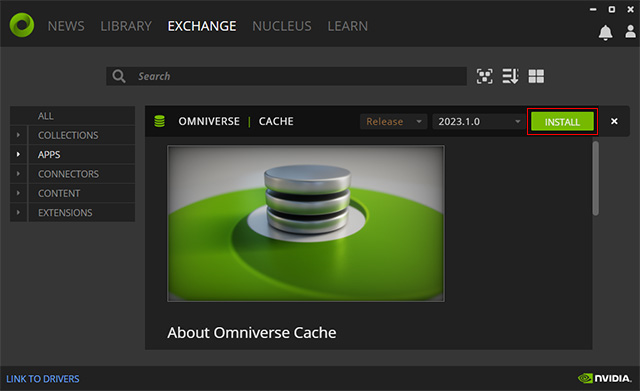
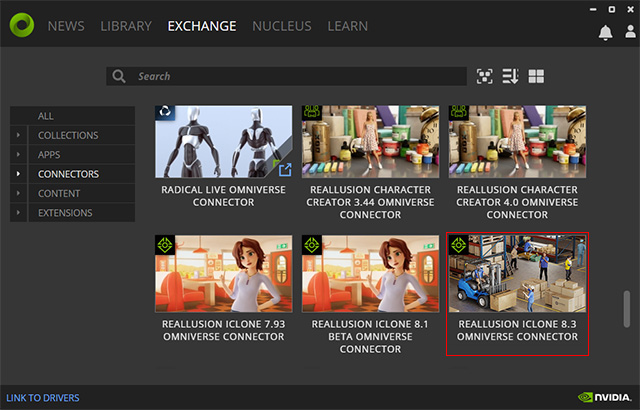
- Switch to the CONNECTORS page in which all the connectors for different software are listed.

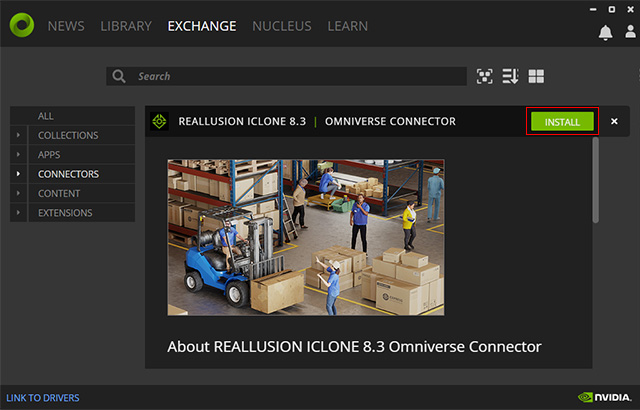
- Click the REALLUSION ICLONE 8.3 OMNIVERSE CONNECTOR to switch to its installation page.
- Click the INSTALL button to install the connector.
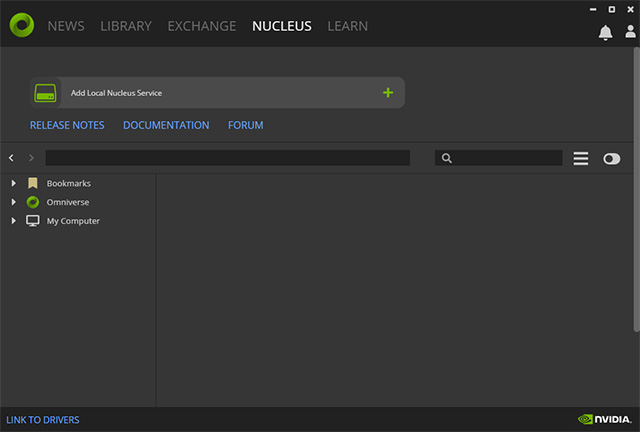
Install Nucleus Service with NVIDIA Omniverse Launcher
- Switch to the NUCLEUS tab of the Omniverse Launcher. Click the Add Local Nucleus Service bar.
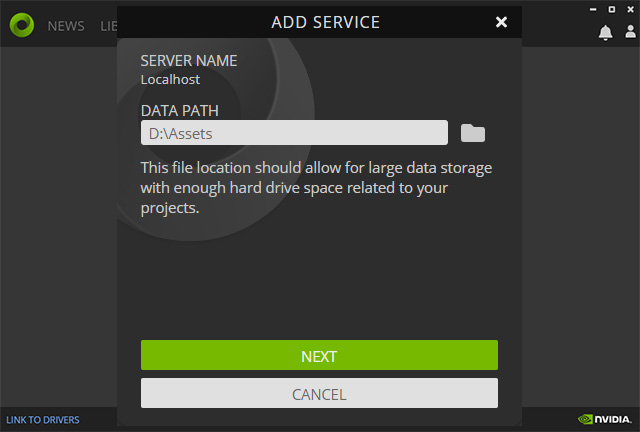
- Set the DATA PATH to a drive with large capacity. Click the NEXT button.
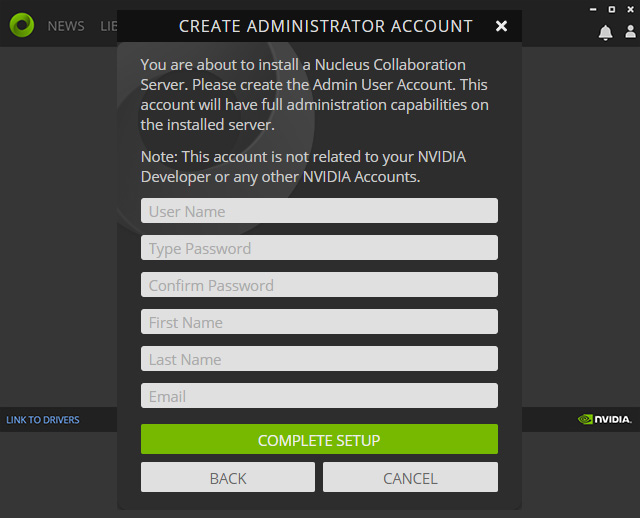
- Fill out the form and click the COMPLETE SETUP button. This account is not related to your NVIDIA Developer or any other NVIDIA Accounts. It is for the local virtual disk only.
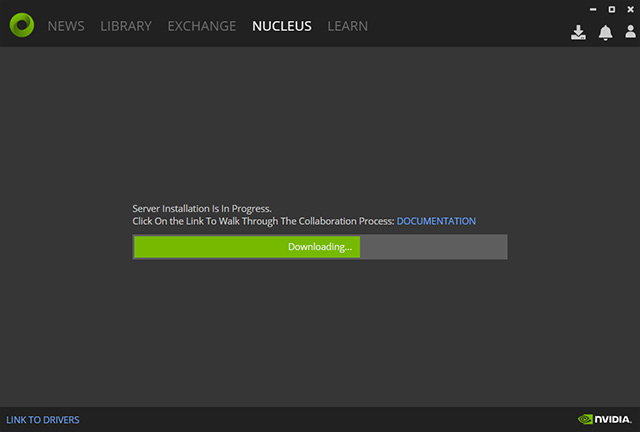
- Wait for the installation to finish.
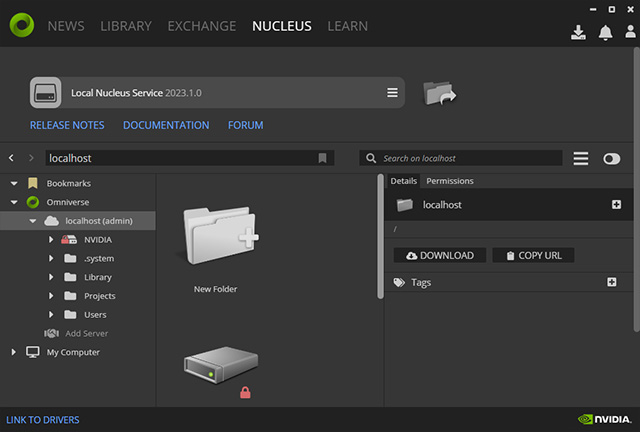
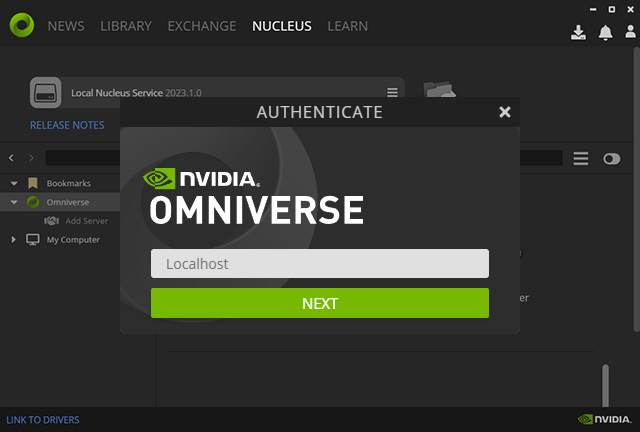
- Click the Add Server command and type in
"Localhost". Click the NEXT button.
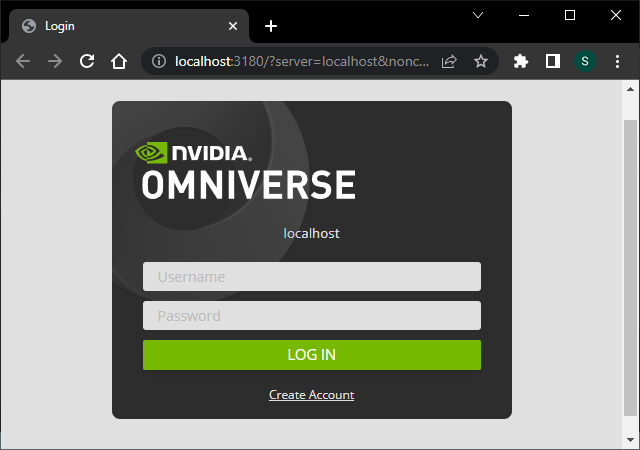
- In your browser, log in to the virtual disk with the account set
up in step 3.
- You will see the structure of this virtual disk.