Installation Guide for Using NVIDIA Omniverse
For successful connection between NVidia Omniverse and Reallusion products (Character Creator, iClone, ActorCore), you'll need to install plug-ins and connectors for both sides.
** If you installed Omniverse Launcher before October 1, 2025, then no action is required — you can continue using it as usual.
** This document provides installation instructions for the following application:
- USD Composer: ZIP file, 4.72 GB, Version - USD Composer 2023.2.5 / Kit App Template 105, including Nucleus: 2023.2.3
- A2F: ZIP file, 6.58 GB, Version - A2F 2023.2.0, including Nucleus 2023.2.3.
Downloading and Install USD Composer
- Go to Reallusion Omniverse download web sites:
- Click the DOWNLOAD button under the NVIDIA USD Composer.
- For iClone Users:

- For Character Creator Users:

- For iClone Users:
- Log in to your Reallusion account and complete the survey, then click the Submit to Download button.

You will get a Composer.zip file.
- Decompress the Composer.zip file, which contains three items.

- A folder for "create-2023.3.5" and another for "nucleus-workstation-2023.2.3"
- A batch file, "launchComposerNucleus_run_on_startup.bat".
- Store the extracted folders and files in a desired directory for easy access.
- To run USD Composer, simply double-click the BAT file.

** It is normal for the application to run for 10 to 20 minutes during its initial setup. For more details, please refer to the FAQ.
Manually Creating Sever on Local Machine
To use the iClone Live Sync feature, you must first create a local virtual server in USD Composer.
- Launch USD Composer as described in the previous section.

When your web browser displays the Applications page, make sure all services are running. If any of them are STOPPED, click the Start button to change their status.
- Click the Add New Connection... on the tree view of the Content panel.

- In the Add Nucleus connection panel, type in "Localhost" for the Omniverse:// field. Click OK button.

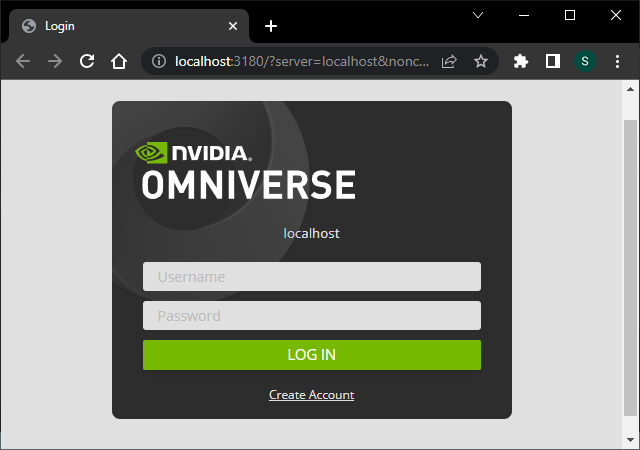
- In your browser, log in to the virtual disk with the account set
up in step 3 (currently, It must be "admin" for both the username and password).
- You will see the structure of this virtual disk.

