Installation Guide
Installing via Reallusion HUB
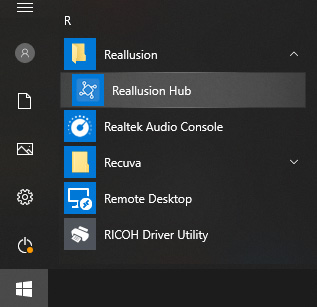
- Open the Reallusion HUB from the Start > Reallusion > Reallusion HUB.
 Note:
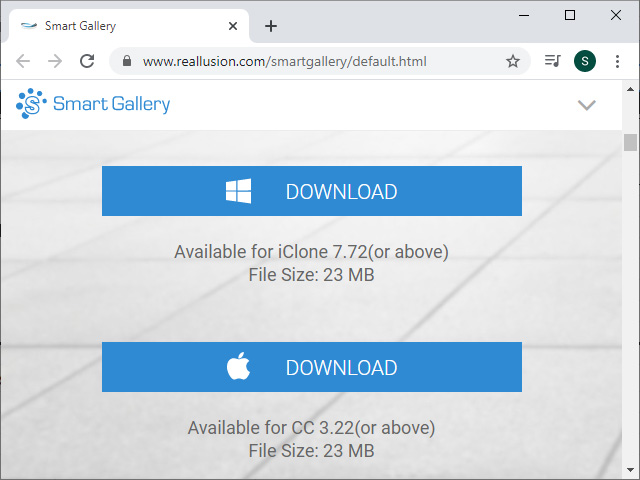
Note:You can install Smart Gallery via the Reallusion HUB installed on your local system. However, if you have not installed Reallusion HUB, then go to the Smart Gallery web site for downloading and installing Reallusion HUB and Smart Gallery.
- Select the Not Installed section. You will see the Smart Gallery Plug-in for iClone and Character Creator.

- Click the Install button accordingly.Note:
If you have not logged in, then you will be asked to log in before the installation starts.

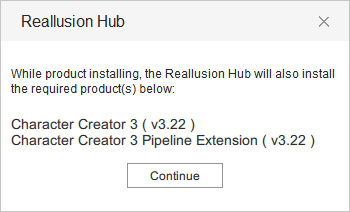
- Click the Continue button in order to upgrade the main
program for full compatibility with Smart Gallery.
- After the installation, you will see the Smart Gallery is
under the main program node under the Install status section.

Launching Smart Gallery
- Launch your main program (in this case, Character Creator).
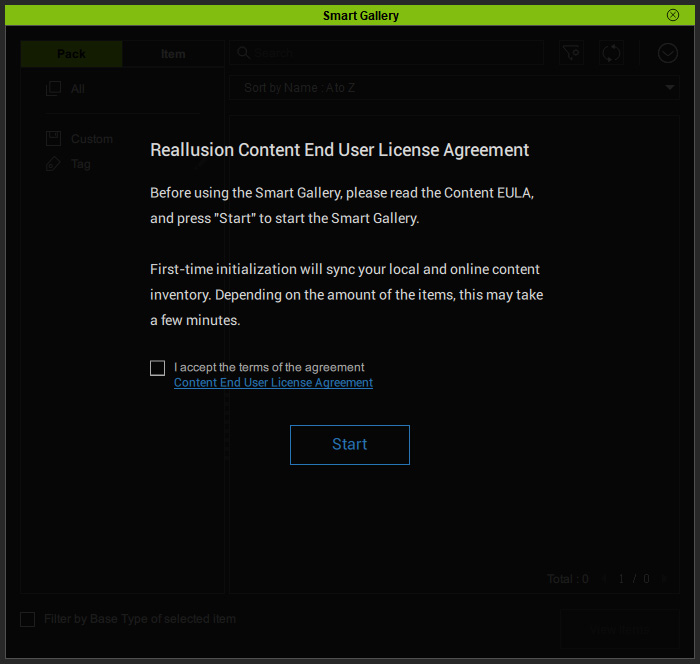
- Press Shift + F4 to open Smart Gallery. If you see the panel overlapped with the message as shown in the image below, click the Login button.

- Login with the subsequent prompt window.

- Check the I accept the terms of the agreement checkbox after reading the agreement and click the Start
button to initiate Smart Gallery.
- Smart Gallery will start to automatically scan your hard drive to collect and synchronize the content data between
your local machine and online purchased contents for creating the data base. This step may take a few minutes.

- After synchronization, you can start to use Smart Gallery.

