Adding Custom Contents
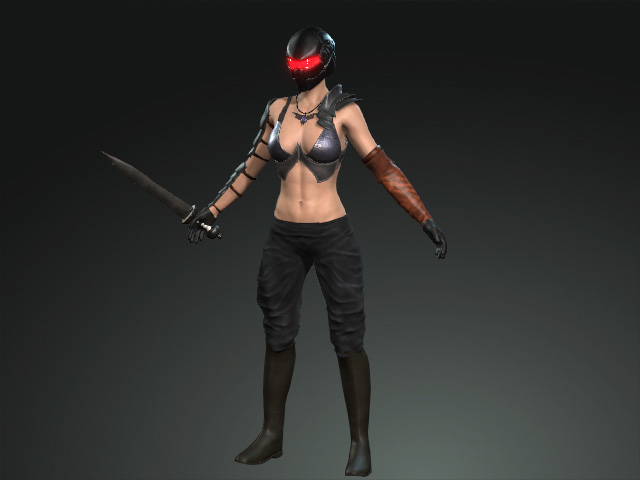
All of your custom content created in this version into Content Manager will be automatically synchronized to the Smart Gallery with its name, thumbnails, and categories. Take the following Character Creator project as an example...
- Create a project.
- Open the Content Manager and switch to the Project category. Create a custom folder for saving the current project.
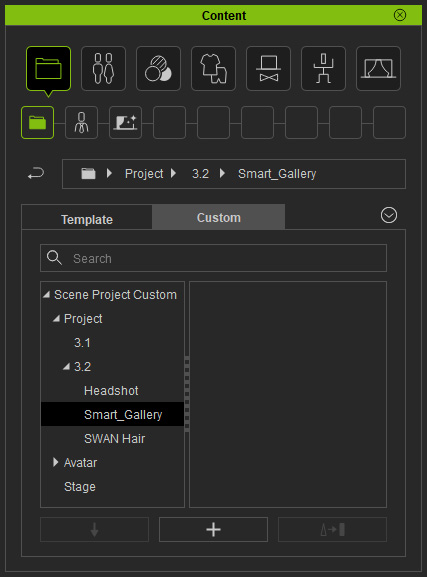
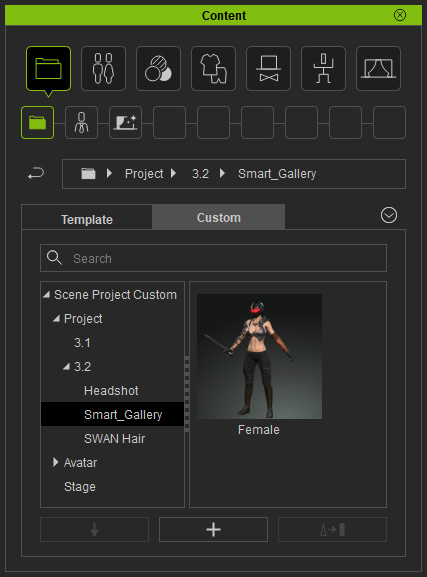
- Click the Add button at the bottom of the Content Manager. Rename the newly added template.
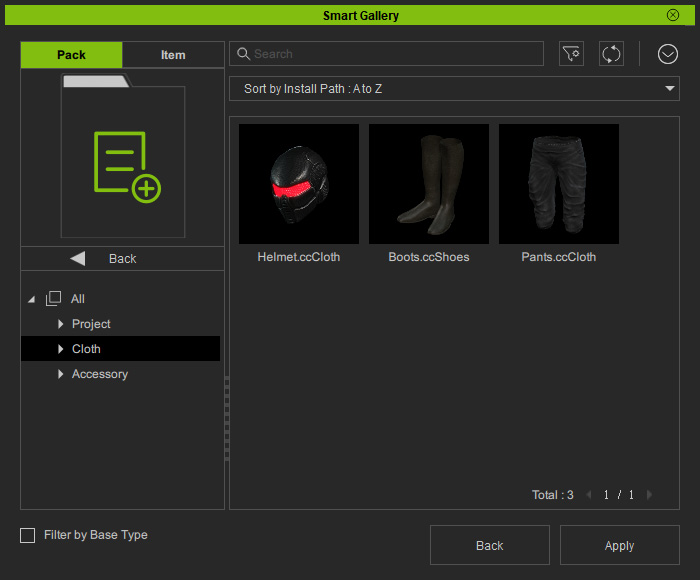
- Open the Smart Gallery (Shift + F4) and select the Custom node in the Pack View.
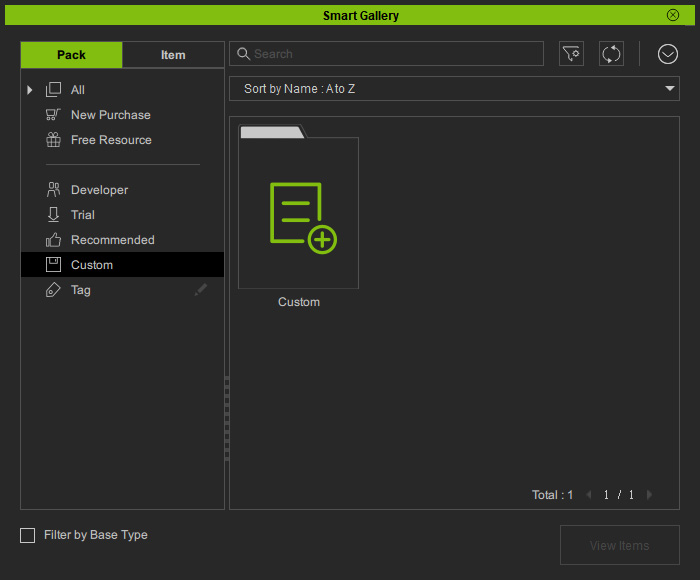
- Double-click on the Custom pack under this node at the right pane to open this pack. You will see the content is automatically shown in this pack.
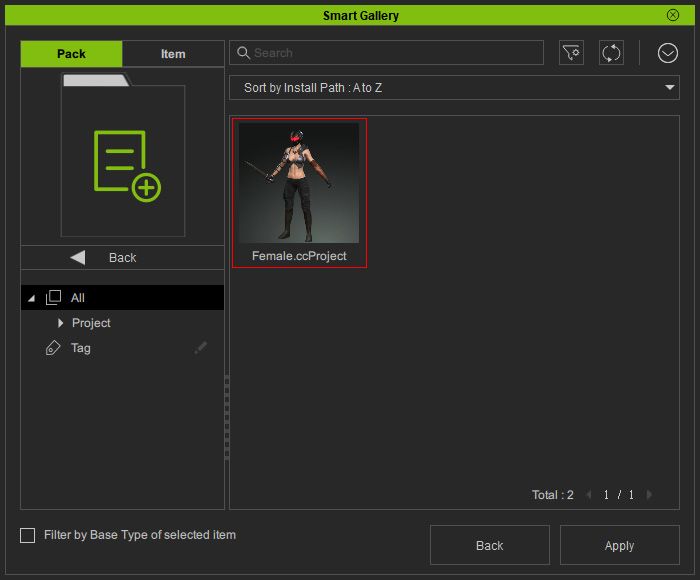
- If you add any other items, they will be shown in the Smart Gallery
as well and are also automatically categorized under different
filters in the tree view.