Adding Custom Contents (New for v1.2)
Saving custom contents can be done with the Smart Galley after version 1.2, you do not need to use Content Manager to add custom content to the libraries.
- Create a project.
- Open the Smart Gallery (Shift + F4).
- Pick the Custom node at the bottom of the tree view.
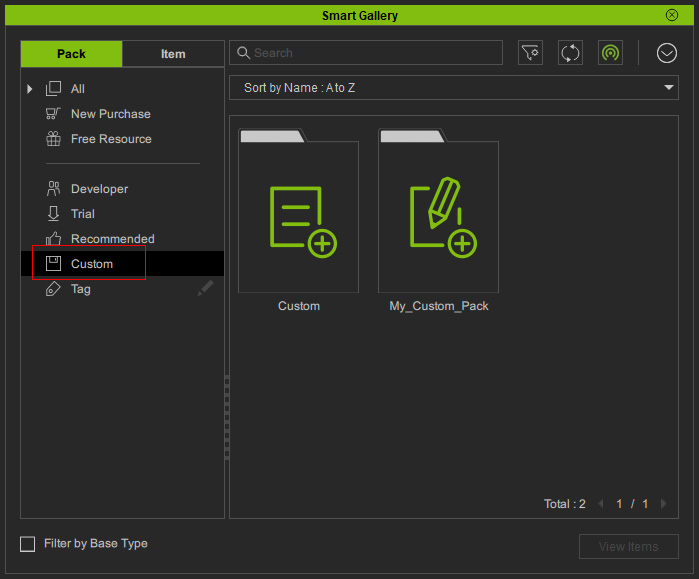
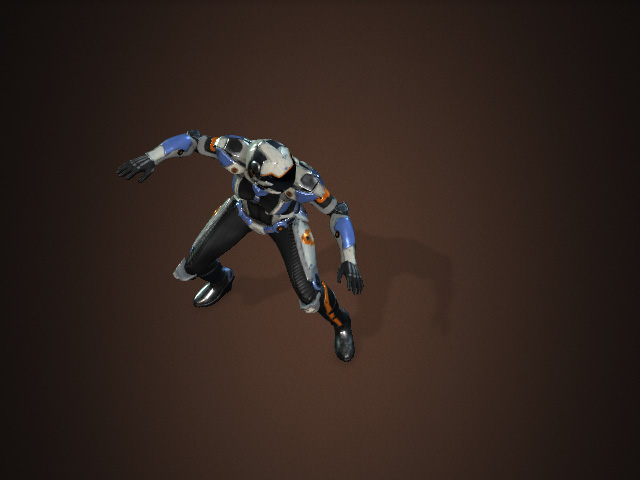
- Double-click to open the desired custom pack into which the object is about to be saved (in this case, My_Custom_Pack).
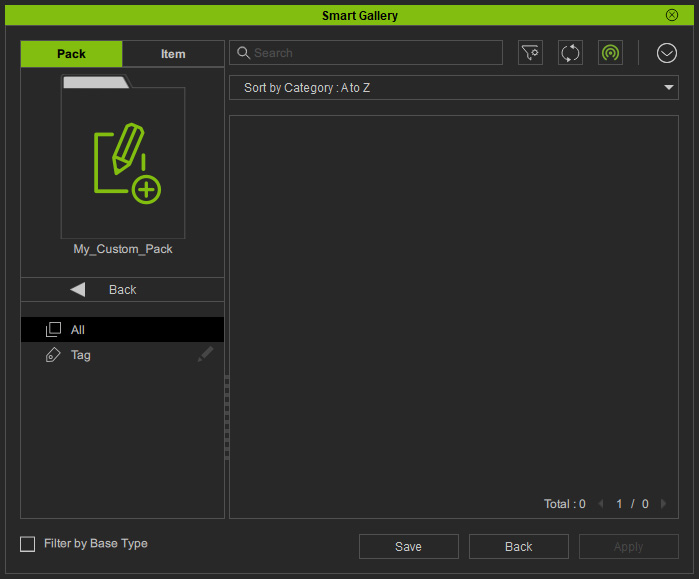
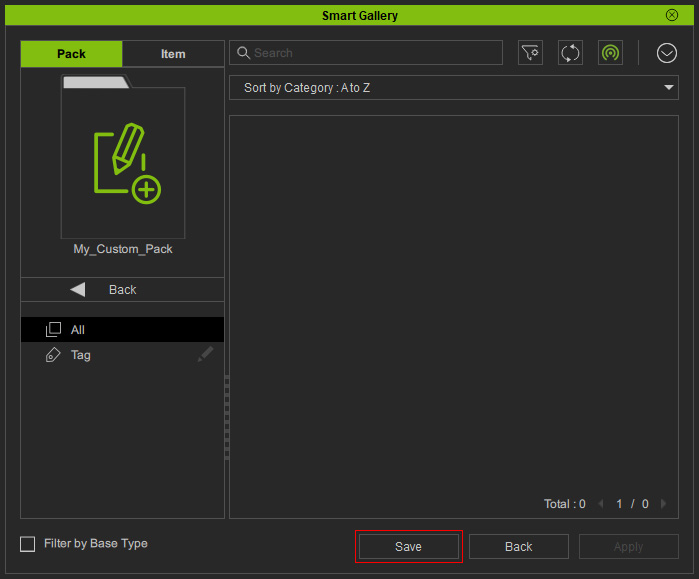
- Click on the Save button at the bottom of the Smart Gallery.
- In the Save option panel, type in the file name.
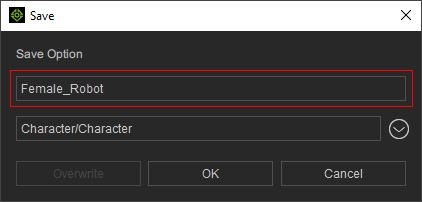
- Click the drop-down menu to determine the target category. This step also determines the file format as well.
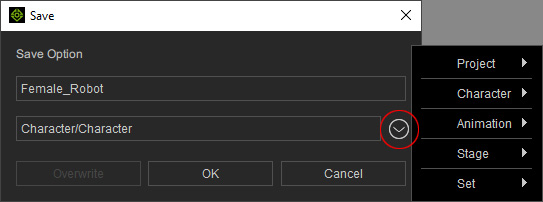
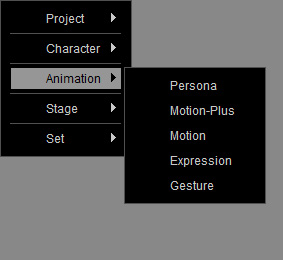
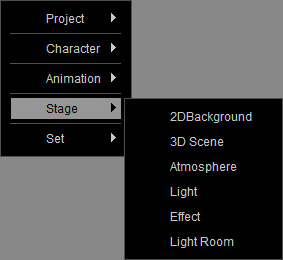
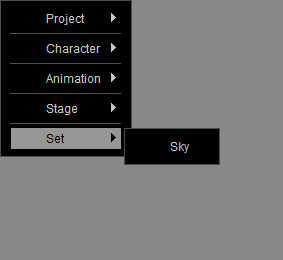
 Note - Sub categories in the main categories
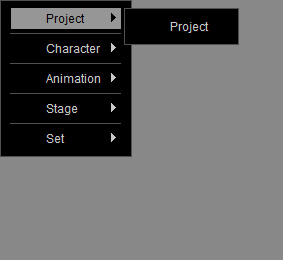
- Project:
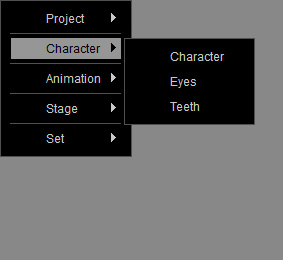
- Character:
- Animation:
- Stage:
- Set:
- Project:
- Click the OK button, as you can see the object is saved into the desired custom library.

