Default Drive Full (New for v1.2)
If your default hard drive (mostly, C) on which the contents have been installed is almost full, and you intend to specify a new hard drive for installing new content, or if you want to move content to another hard drive, then follow the steps below:
Solutions:
Specifying a New Path for installing
Upcoming Content.
- Execute the Smart Gallery Menu > Settings command.
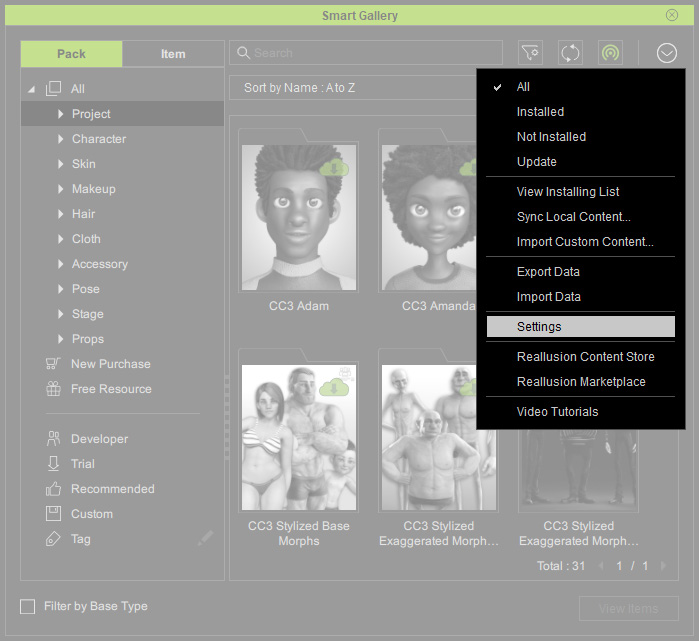
- Add a new drive or folder into the Template Folder list by clicking the + button.

- Open the drop-down list and choose the newly added drive or folder as the assets installation folder.

 Note:
Note:You can click the "x" icon to remove the specified folder.

- Click the OK button.
- Install a new pack.
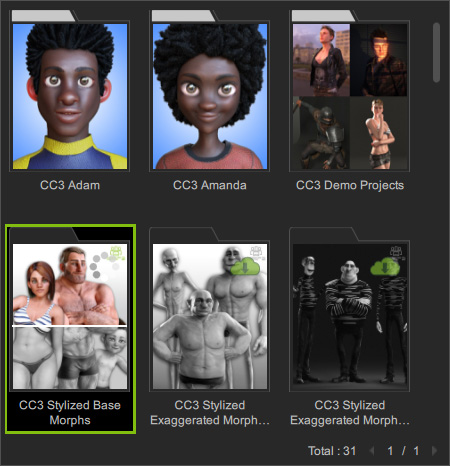
- After the installation, double-click on the pack to open it.
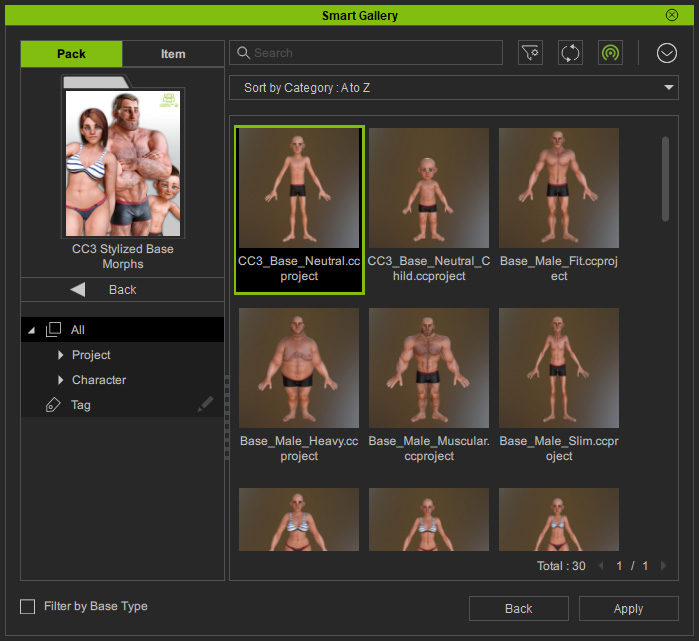
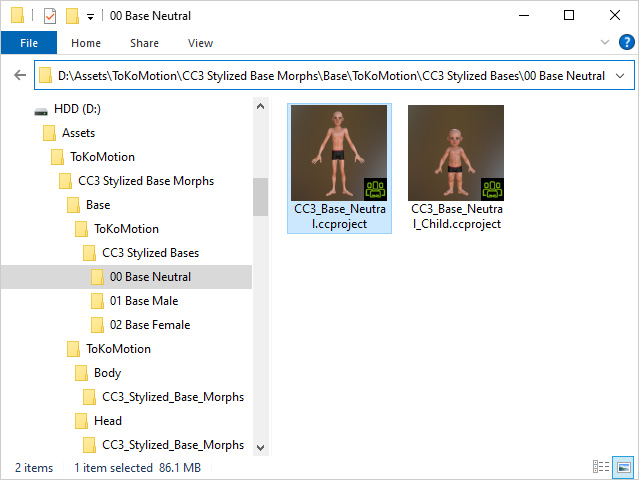
- Right-click on either one of the template in the pack and choose the Find File command from the context menu.
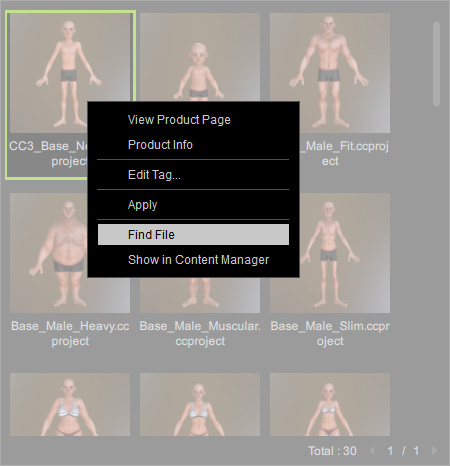
- As you can see the pack is installed to the specified folder.
 Note:
Note:The new path will be: [specified folder] \ [Author Name] \ [Pack Name] \ [structure in pack]
Moving Installed Contents
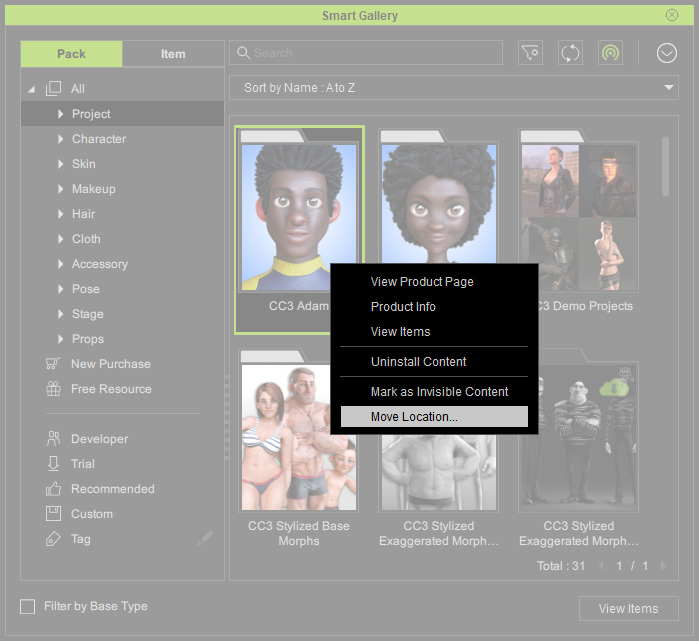
- Right-click on a packs installed on default drive which is almost full and choose the Move Location... command from the context menu.
- Select a target directory from the drop-down list.
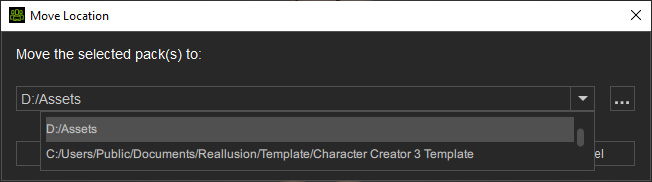
The list can be edit by the Settings panel. - Alternatively, you can click the ... button and specify a desired folder as the target.
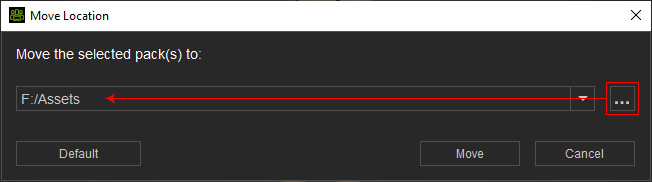
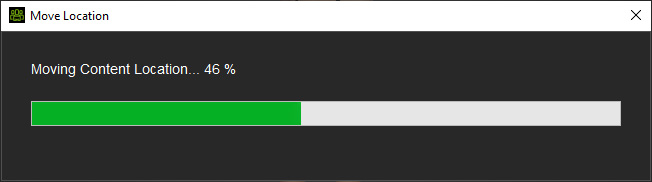
- Click the Move button to start moving the pack.
When the procedure is done, click the Find File button on the information dialog.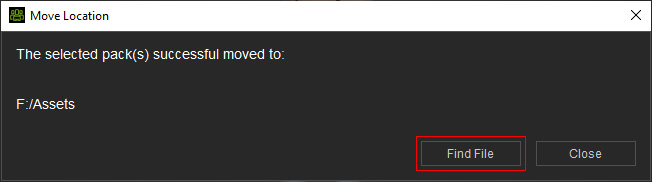
- The pack in the default drive will be moved to another drive.
 Note:
Note:The new path will be: [specified folder] \ [Author Name] \ [Pack Name] \ [structure in pack]
