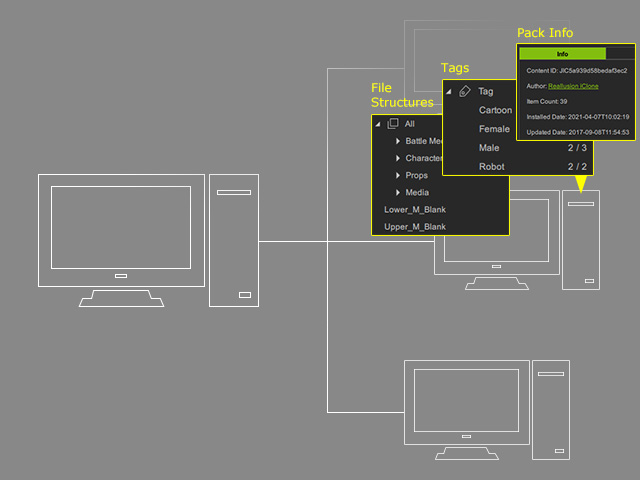
Sharing Contents for Workgroup (New for v1.2)
Remember that these PCs in the workgroup must have either iClone and
Character Creator installed with purchased seats under the same account.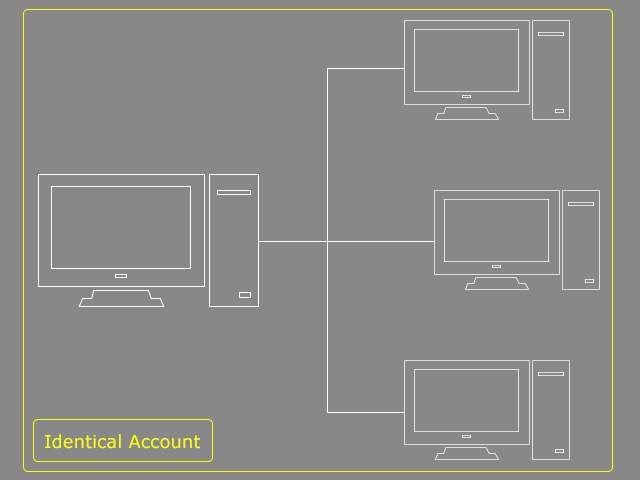
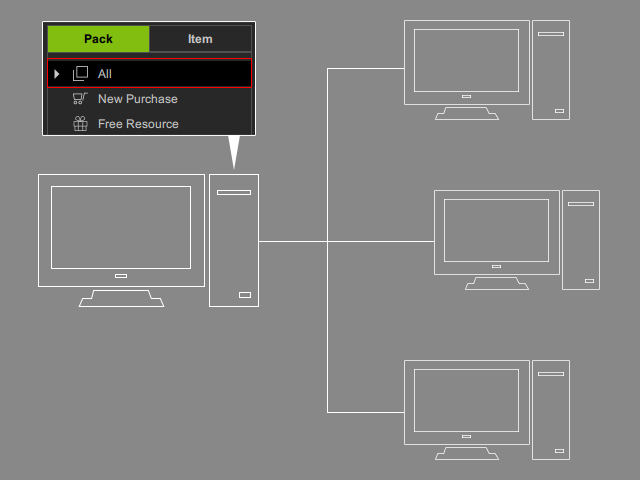
To save the hard drive space for each PC in a workgroup, you can install all content
in one of the machines and share them with the rest; or if you want to share contents for the other members, then you can follow the steps in this page.
Solutions:
Sharing assets on source PC can save spaces for the client PC on a workgroup, and it applies to both installed or custom packs. In this section, the installed packs are taken as an example.
- The administrator of the source PC sets the hard disk as the Network Disk (for example, K:\cnt\) with the authorization as read and write for the administrator and read only for the users.
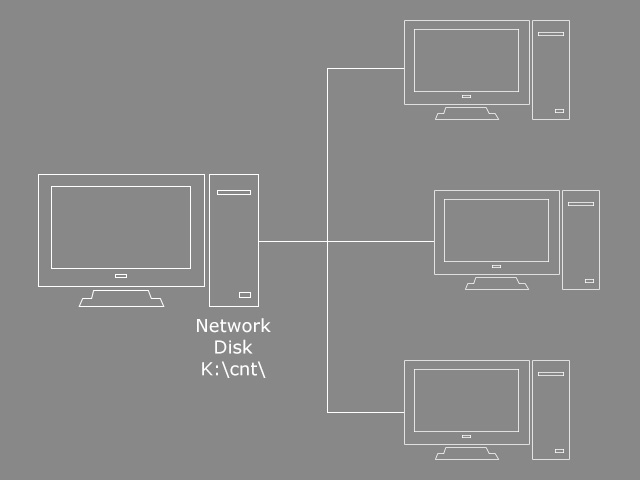
- On the source PC, set the Template Folder to the network disk by the Settings panel of Smart Gallery.
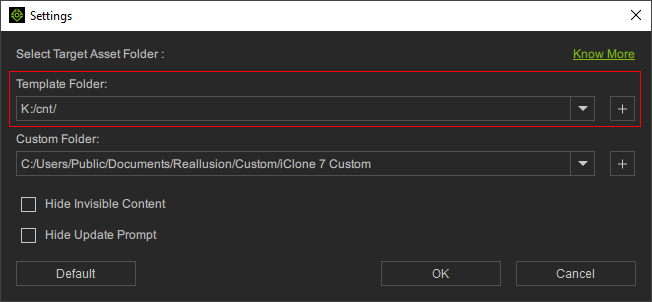
- Install all templates on the network disk of the source PC.
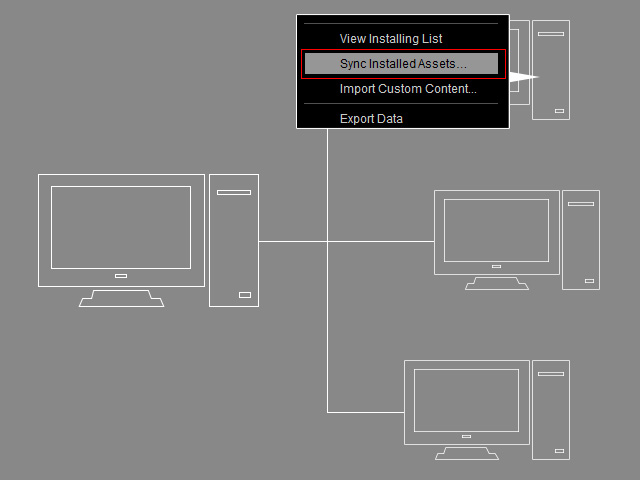
- On the client PC, execute the Sync Installed Assets... from the Smart Gallery menu.
- On the Sync Installed Assets panel, choose the Specific Path radio button and set it to the network drive.
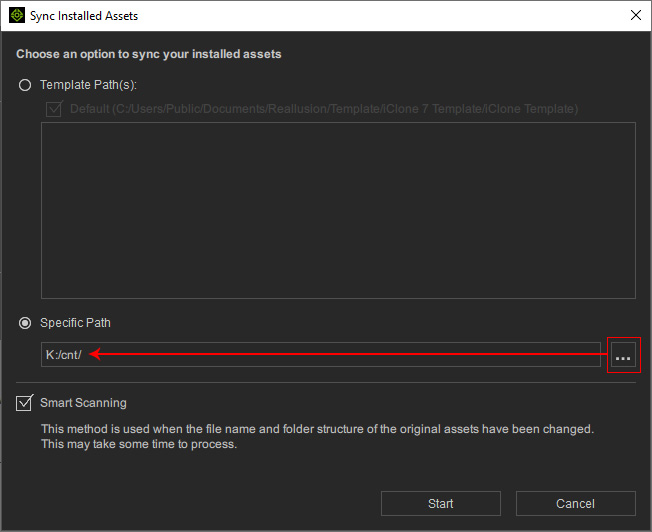
- Click the Start button; then the client PC can access and use the template on the source PC after the synching process is done.
- Repeat the same steps from 4 to 6 for the rest of the client PCs on the intranet in order that they can access to the templates on the source PC, too.
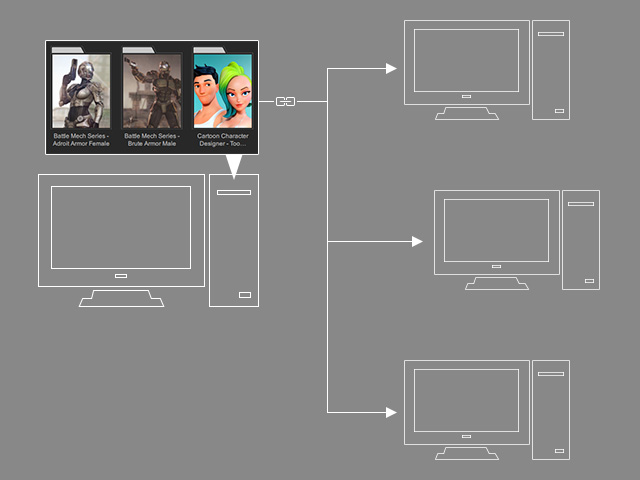
If you want to have specific packs to be installed on the client PC to increase the accessing speed of the items in the pack, then you can follow the steps in this section.
- Finish the steps described in the previous solution.

- On one of the client PC, uninstall the linked pack that you want to install to the local machine by the right-click menu.
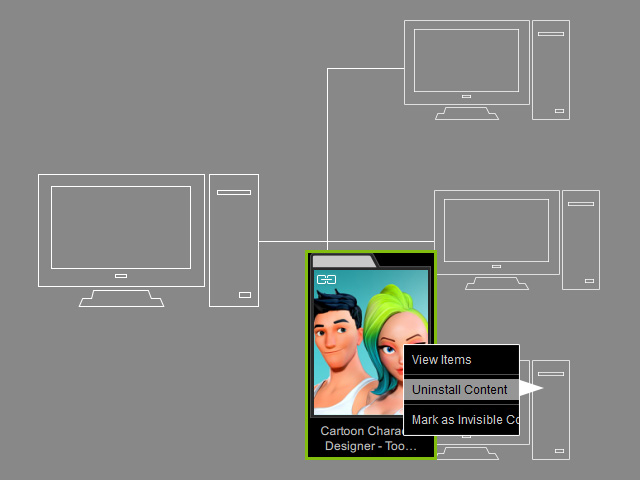
The sharing status will become as shown in the following illustration: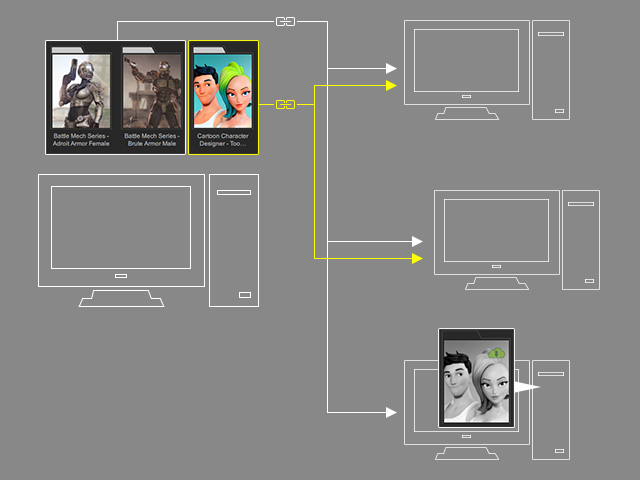
- On the client PC, set the Template Folder to a local disk by the Settings panel of Smart Gallery (in this case, default C drive).
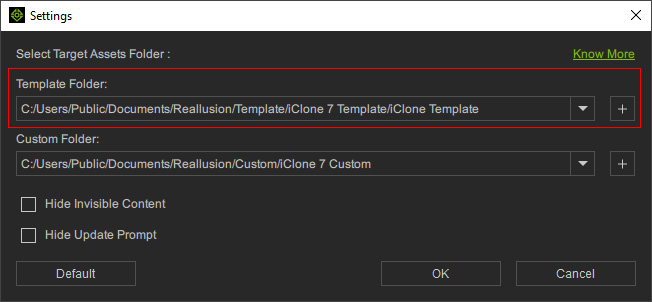
- Re-install the pack by the right-click menu of the pack.
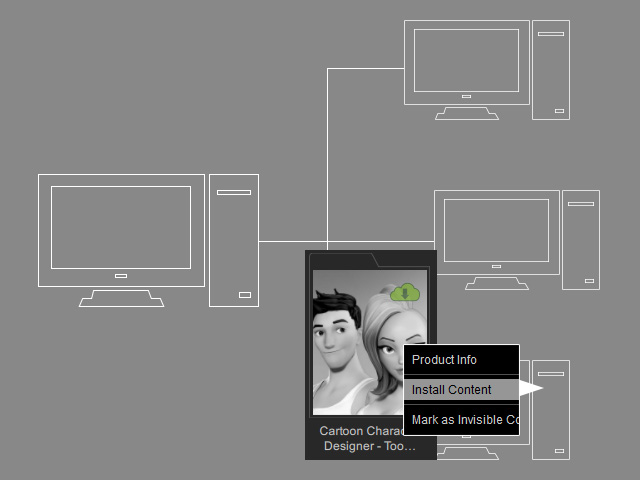
The result will be as shown in the following illustration: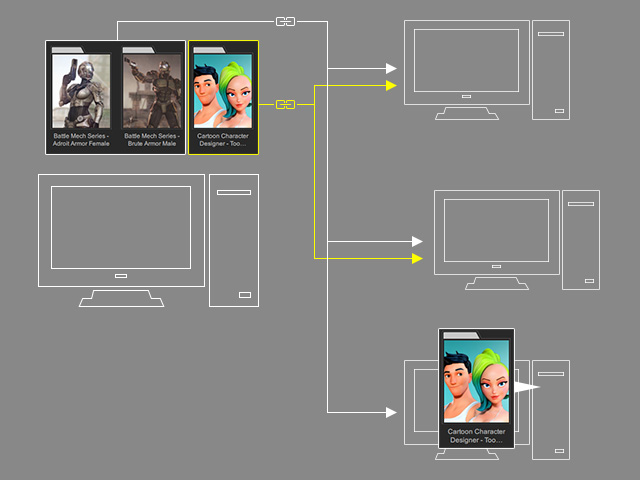
For sharing the Custom packs between machines on an intranet, you can use the Export Data and Import Data features. Because the PCs are in a workgroup and using identical account, the DRM issue will be eliminated in this scenario.
- On the source machine, insert a flash drive.
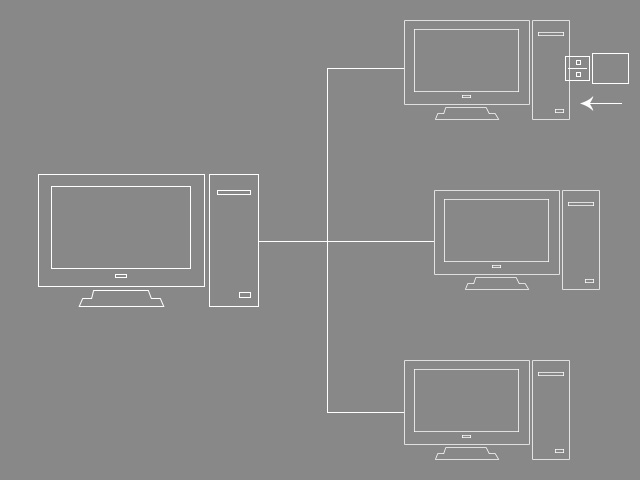
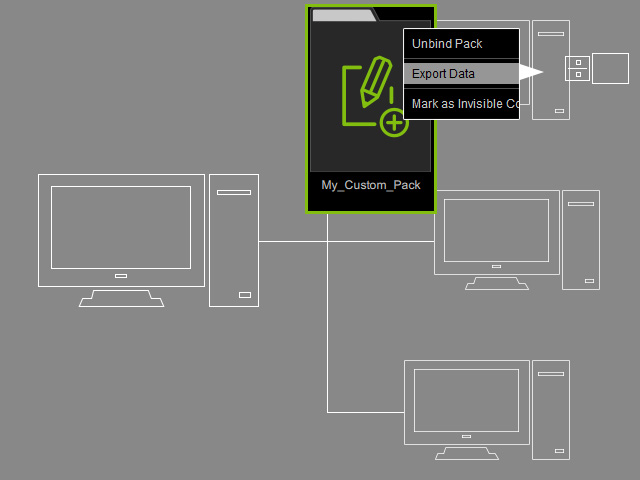
- Right-click on the custom pack for sharing; execute the Export Data command from the context menu.
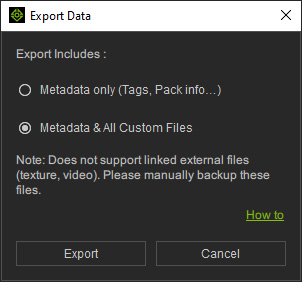
- Choose the Metadata & All Custom Files radio button and click the Export button.
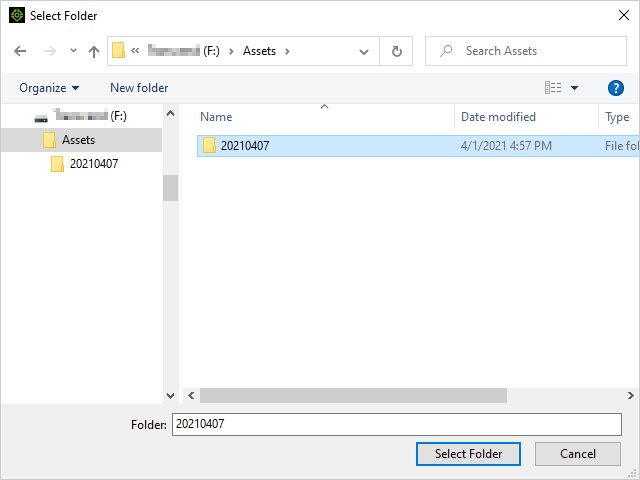
- Pick a folder on the flash drive as the destination, click the Select Folder button.
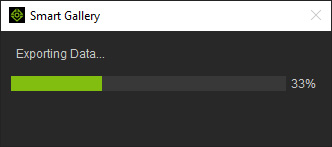
- Wait for the export procedure.
Click the OK button when the procedure is done.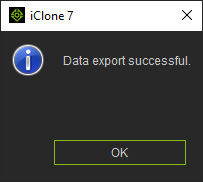
The custom pack with metadata is now exported to the flash drive.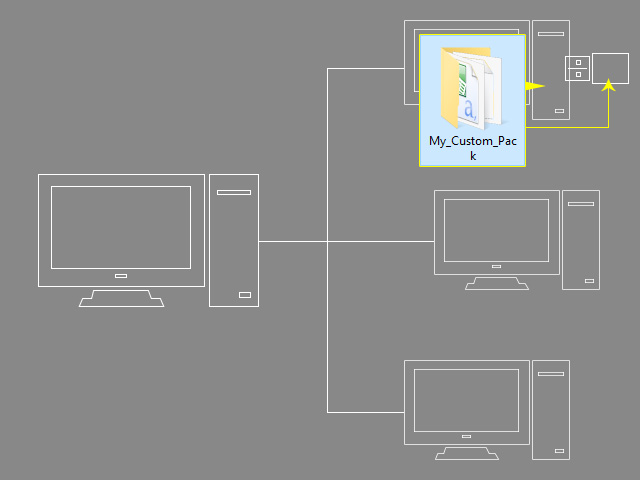
- Plug the flash drive to another machine on the intranet.
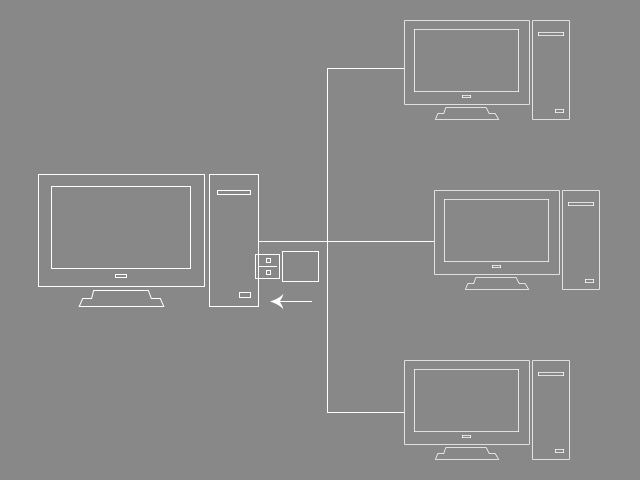
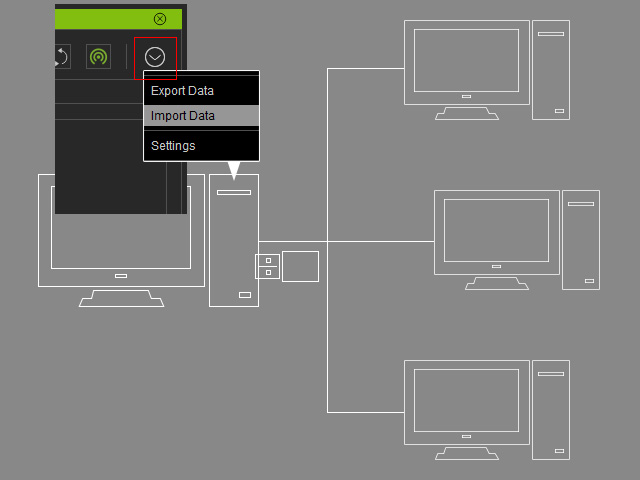
- Execute the Import Data command from the Smart Gallery menu on the destination PC.
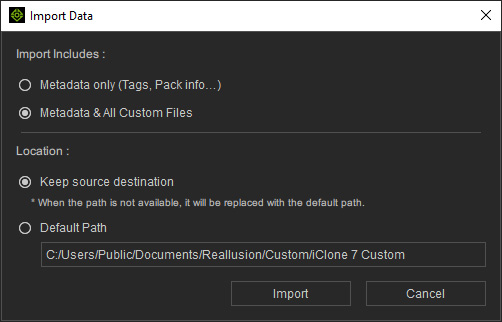
- Choose the Metadata & All Custom Files and Keep source destination radio buttons. Click the Import Button.
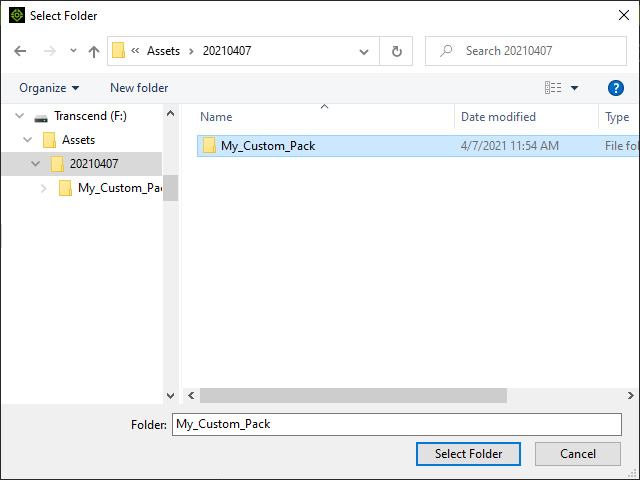
- Pick the folder in the flash drive and click the Select Folder button.
 Note:
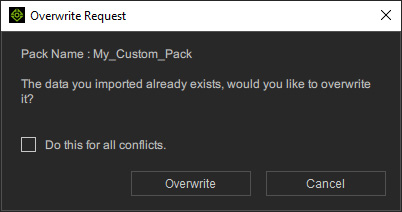
Note:If the destination PC already contains a custom pack with the same name, then you will be asked to overwrite or abort the import procedure.
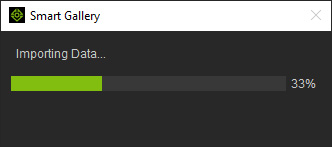
- Wait for the import procedure.
Click the OK button when the procedure is done.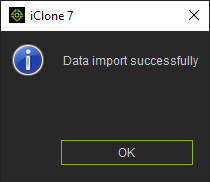
The custom pack with metadata is now imported to the destination PC.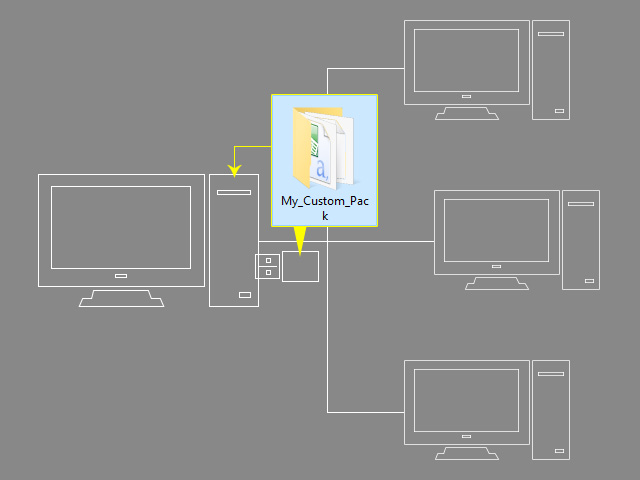
- The source and destination PCs now have identical custom pack.
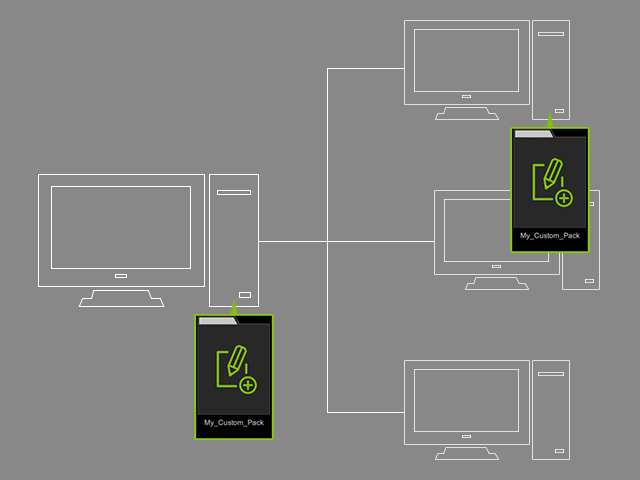
For sharing the tags between machines on an intranet, you can use the Export Data and Import Data features. Because the PCs are in a workgroup and the installed assets are identical, it is possible the tags can be sharing without missing file issue.
- Make sure that there are identical installed and custom assets on source and target PCs for sharing tags (check out the 1st scenario in this page).
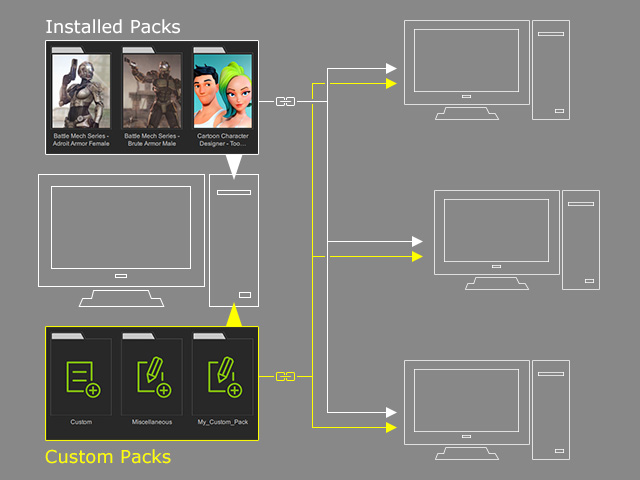
- Set the metadata for the assets on the source PC.
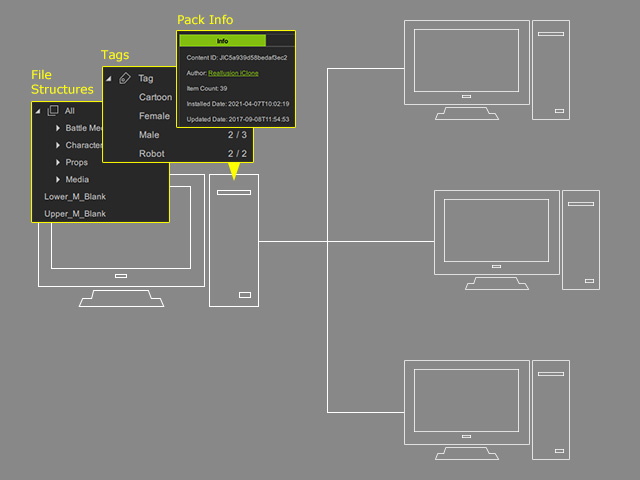
- Execute the Export Data command from the Smart Gallery menu of the source PC.
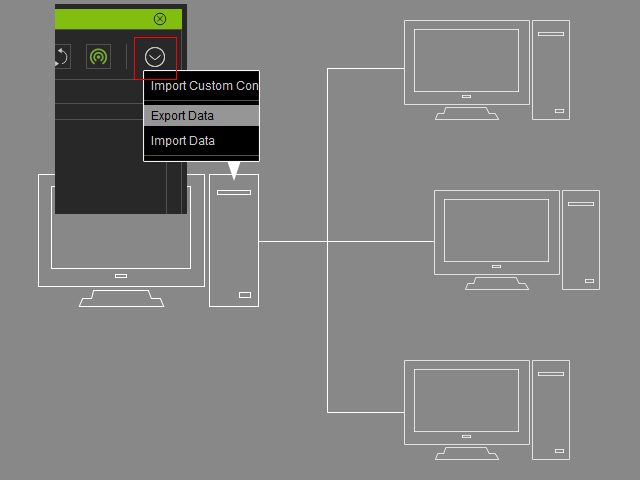
- Choose the Metadata only radio button and click the Export button.
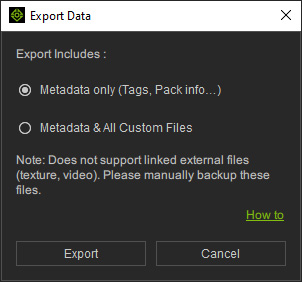
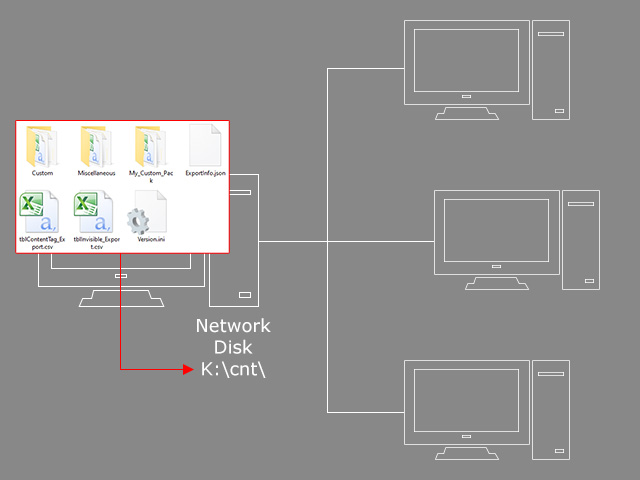
- Select a folder on the network disk in the workgroup (in this case, the K:\cnt\ folder on the source PC).
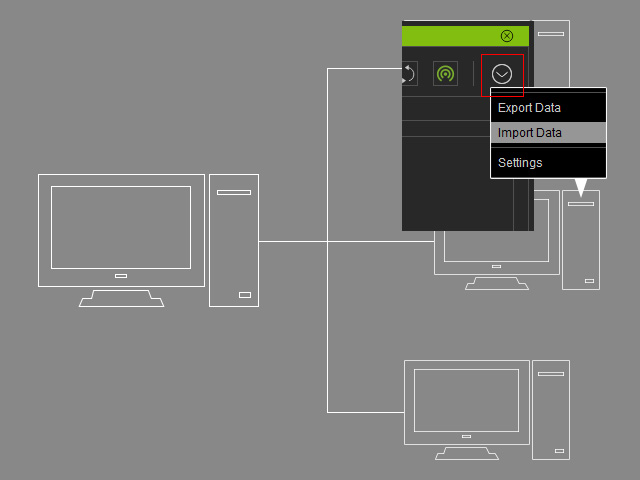
- On the client PC, execute the Import Data command from the Smart Gallery menu.
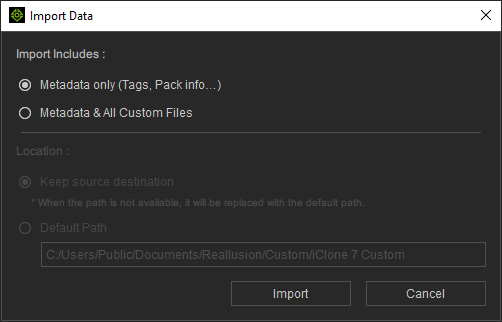
- Choose the Metadata only radio button and click the Import button.
- Select the folder, on the network disk, in which the metadata is saved in step 4.
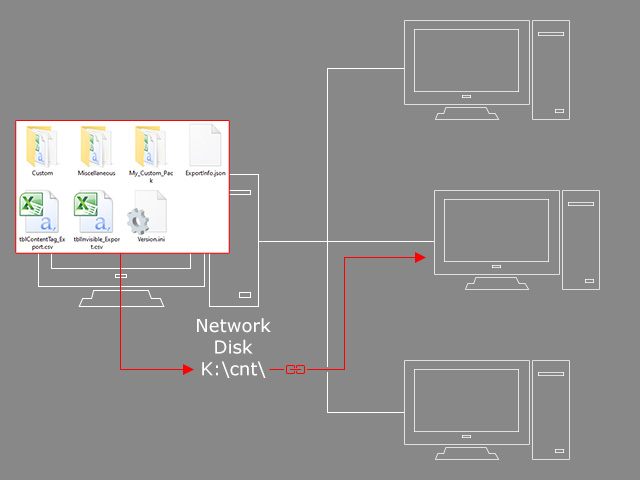
- Based on the metadata, the client PC will re-produce the identical file structure, tags and information as on the source PC.
