Transferring Contents to Another PC (New for v1.2)
You can transfer content via Smart Gallery with Export Data and Import Data. It is easy to re-build the content file structure using another computer or flash drive for group collaboration.
Moving Hard Drive to Another PC
If you change your personal computer, and you move the hard
drive from the old machine to the new one, then follow the steps
below.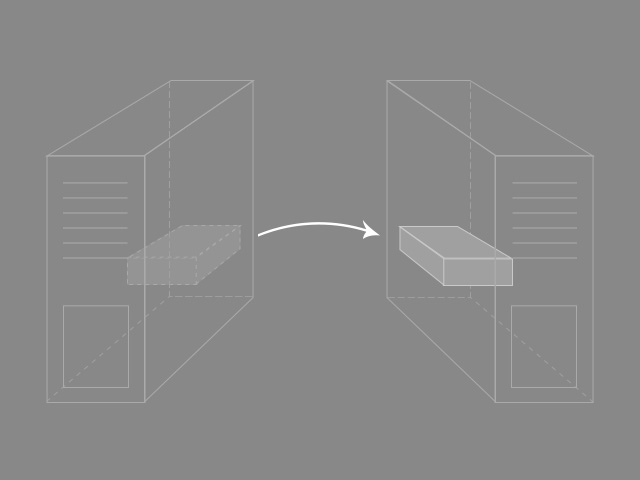
- In the old PC, open Smart Gallery.
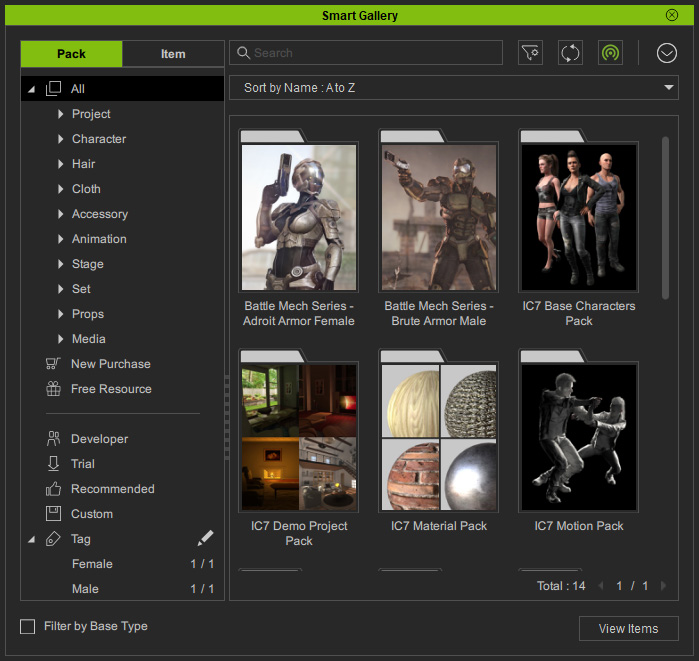
- Click on the Menu button and choose the Export Data command.
- In the Export Data panel, choose the Metadata only radio button because moving the entire hard drive does not change the file structure.
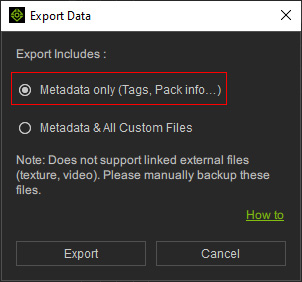
- Click the Export button and save the Metadata on the hard drive that is about to be moved (in this case, the D drive).
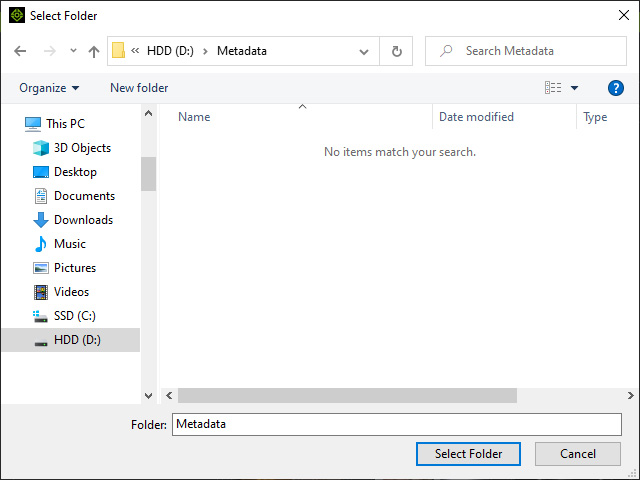
Click the Select Folder button and wait for Smart Gallery processing.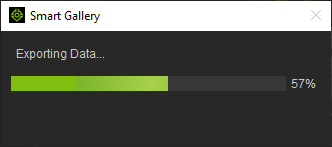
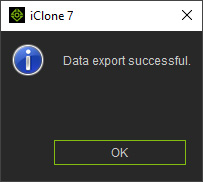
- Click the OK button when the export is done.
Open the folder and check the Metadata files.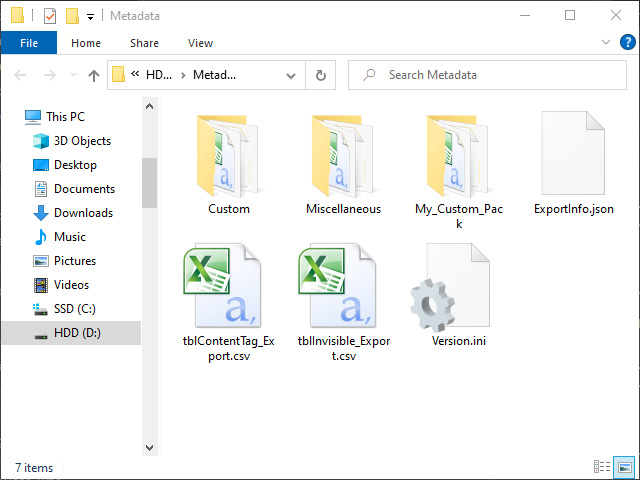
- You can now move the hard drive in which the Metadata are stored to the new PC.
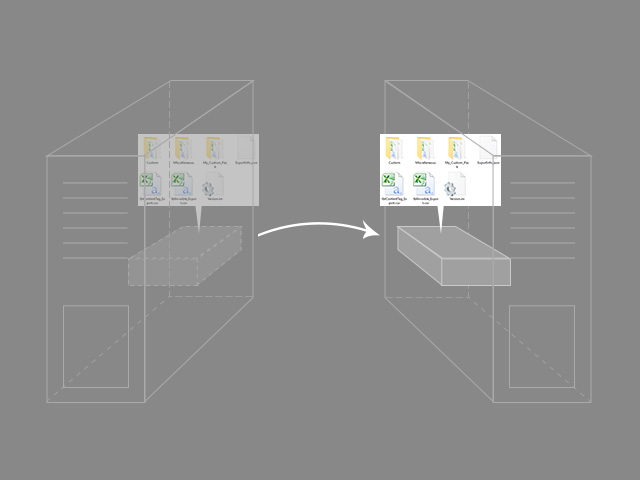
- Open the iClone Smart Gallery on the new PC. Some of the data will be missing currently, even though the hard drive has all the contents.
- Tags: Neither the tags marked on contents nor the tags under the Tag node are missing.
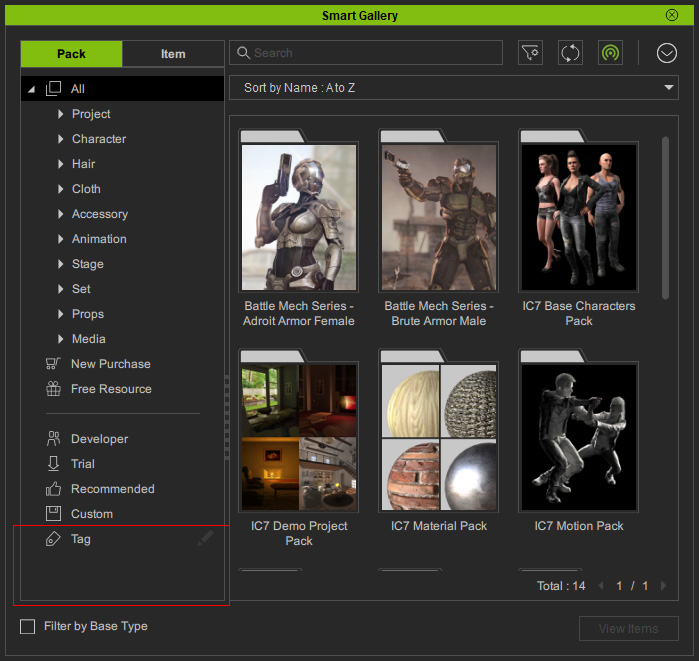
- File Structure in Custom Node: The custom packs and the subfolder structures are all missing.
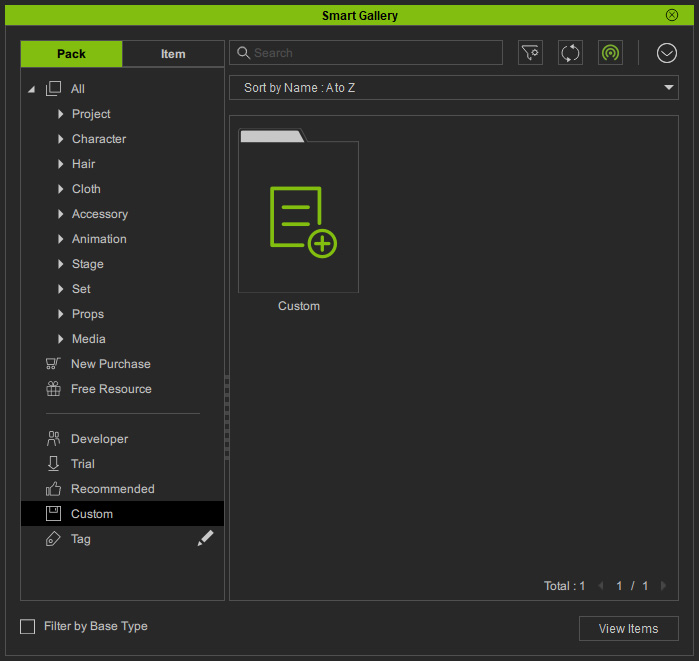
- Pack Info: The custom pack information is missing.
- Tags: Neither the tags marked on contents nor the tags under the Tag node are missing.
- Click on the Menu button and choose the Import Data command.
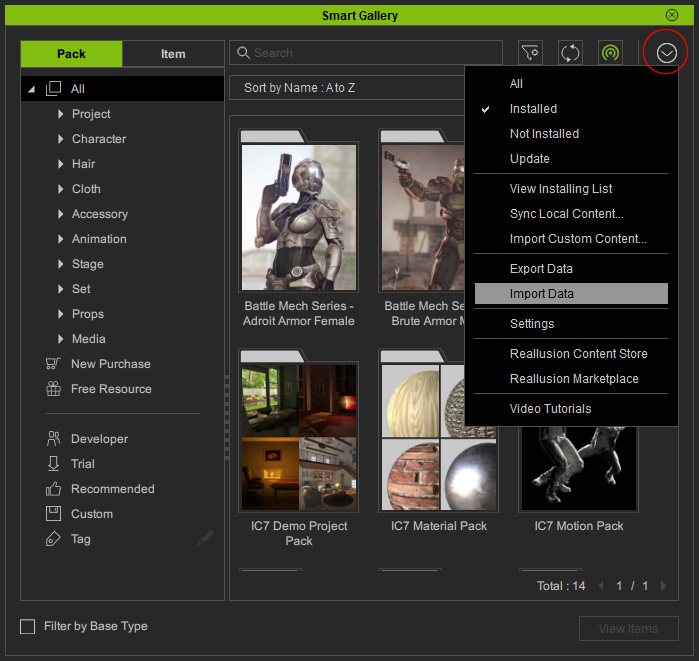
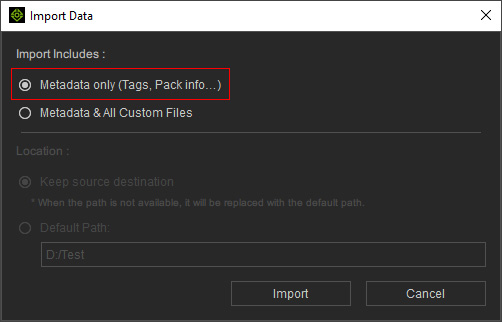
- In the Import Data panel, choose the Metadata only radio button because moving the entire hard drive does not change the file structures. Click the Import button.
If you have changed the meta data (file structure, tags, pack info...) with the Smart Gallery one the new PC, then you will encounter the dialog for overwriting.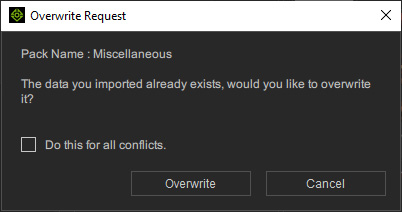
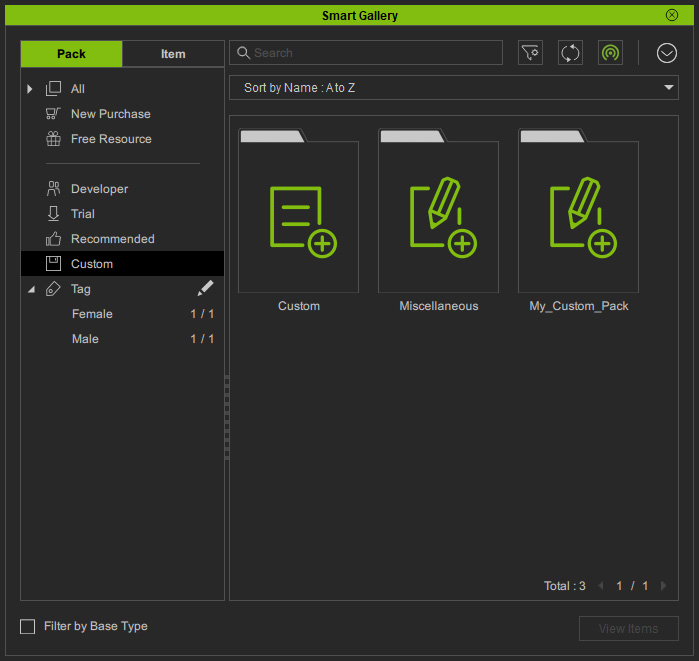
Click the Overwrite button to apply the imported metadata; click the Cancel button to leave the current metadata untouched. - As you can see the tags, file structures of the custom packs and pack information are all rebuilt.
Moving with Flash Drive
If your purpose is to share your assets to another new PC by flash drives, then follow the subsequent steps.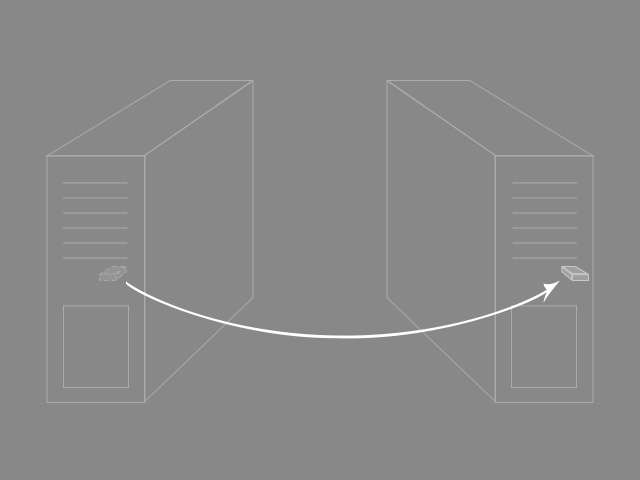
- On the old PC, click the Smart Gallery Menu, choose the Export Data command.
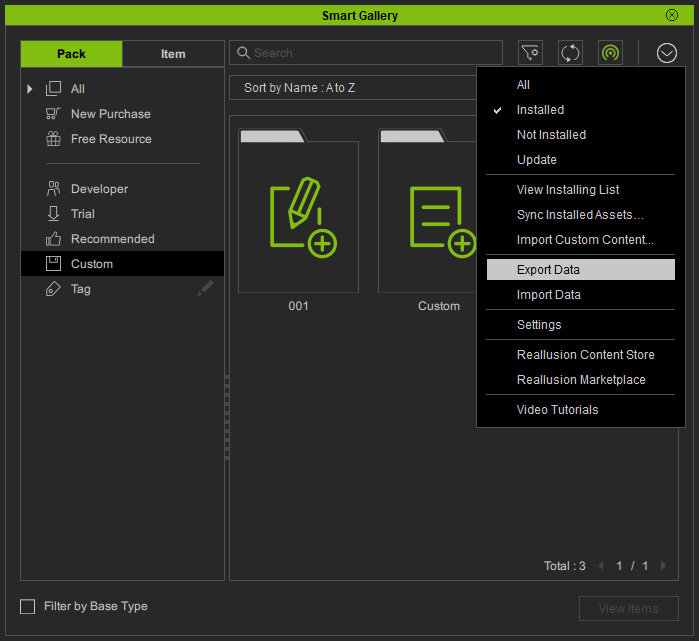
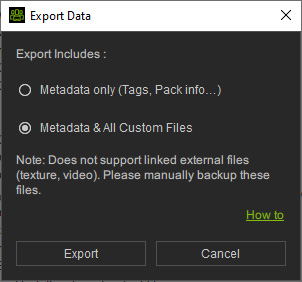
- Choose the Metadata & All Custom Files radio button in the Export Data panel. Click the Export button.
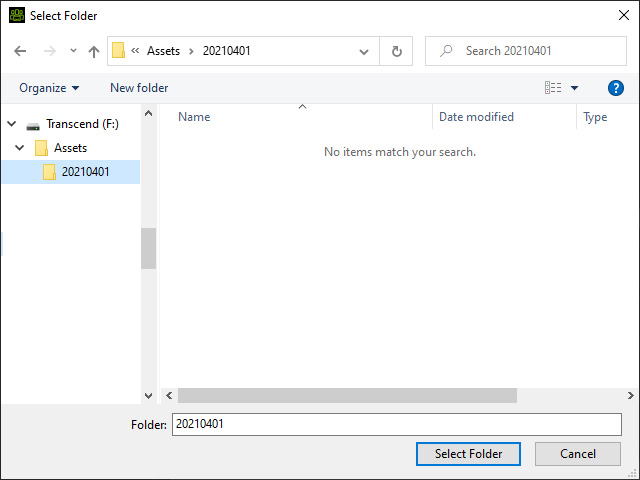
- Select a folder on the flash drive for saving the metadata and custom files. Click the Select Folder button.
Wait for the processing.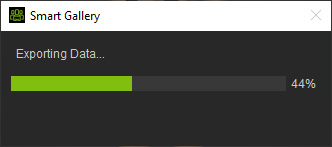
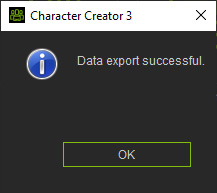
- Click the OK button when the procedure is done.
The metadata and the custom assets are now stored in the flash drive.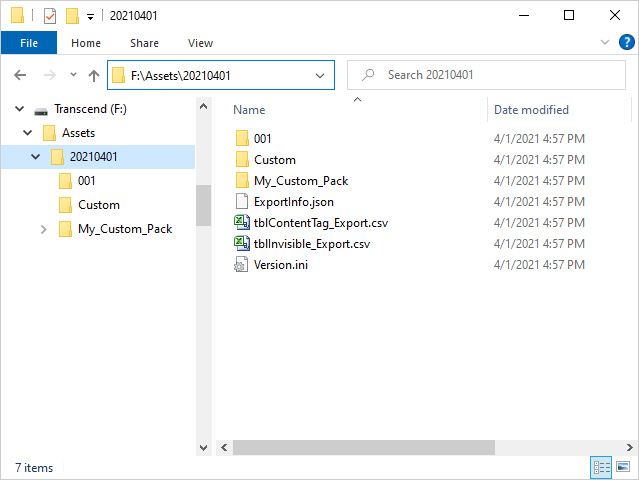
- You can now move the flash drive in which the Metadata and Custom Assets are stored to the new PC.
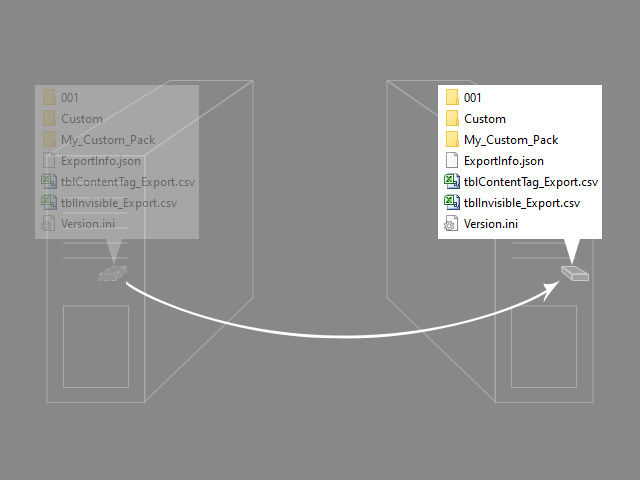
- On the new PC, open Smart Gallery. Go to the Custom node.
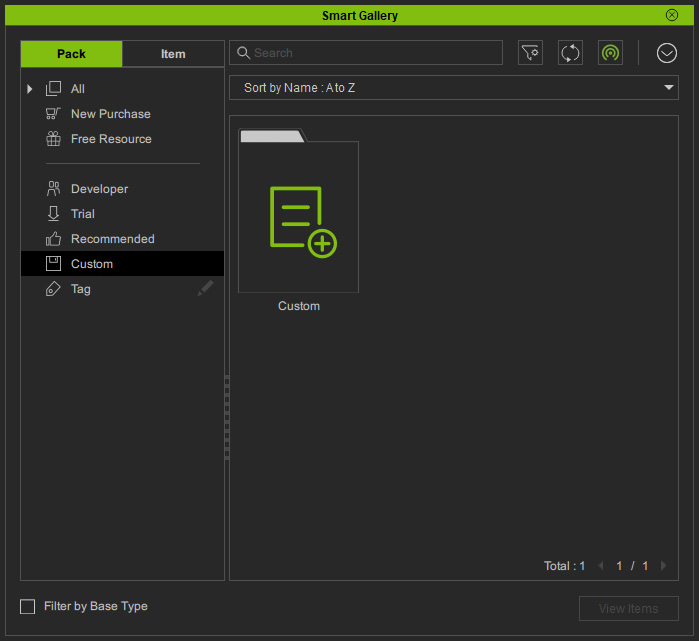
- Click on the Menu button and choose the Import Data command.
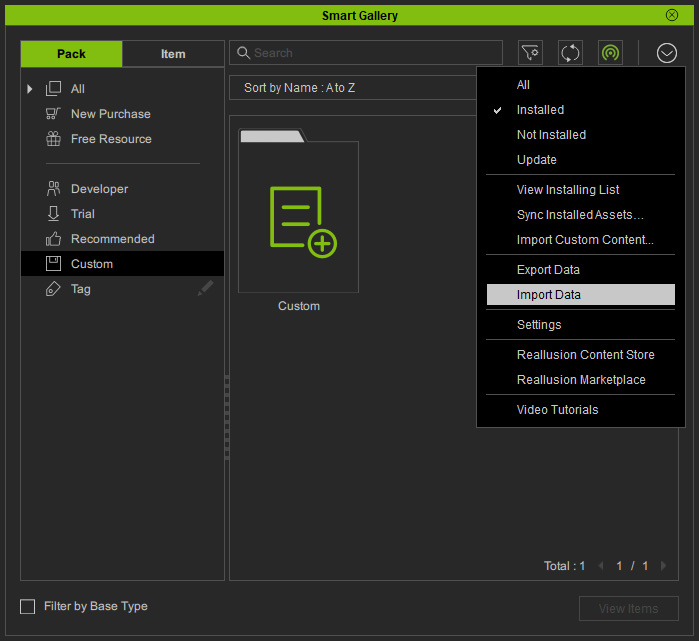
- Choose the Metadata & All Custom Files and Keep source destination radio buttons. Click the Import button.
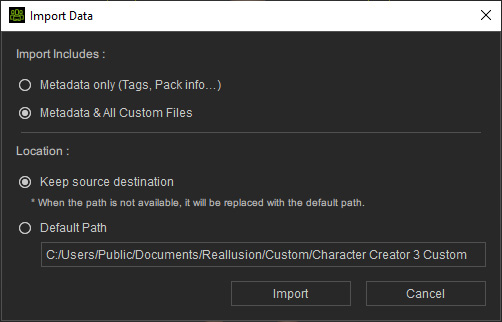
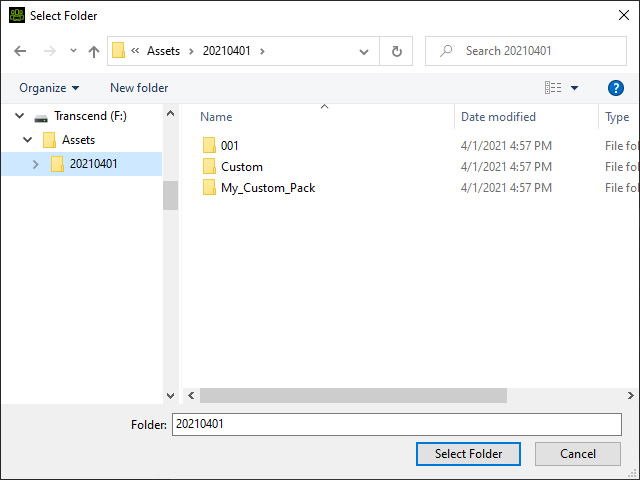
Please note that the Keep source destination will rebuild the same file structure as you have on the old PC for the custom assets. - Choose the folder in which the exported data is saved on the flash drive. Click the Select Folder button.
- Wait for the import procedure to be done.
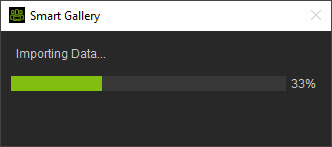
- After the import procedure is finished, the custom assets will be re-build in the Custom node.
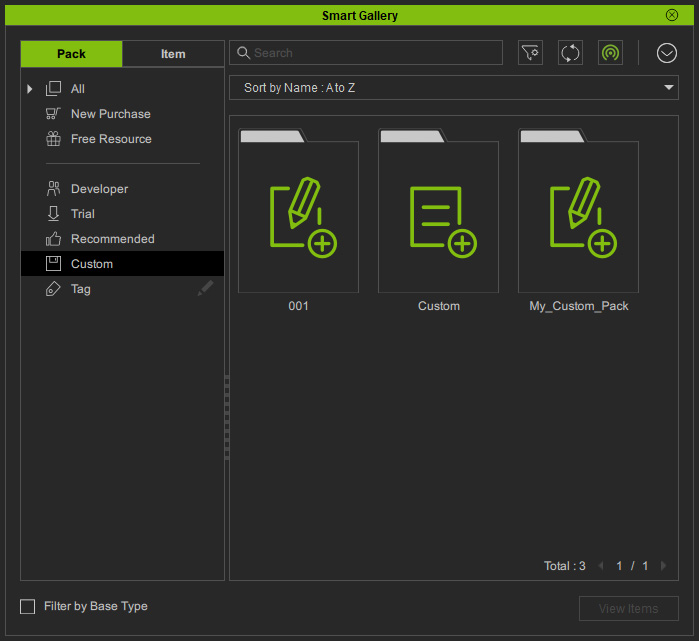
- As for the purchased and installed packs on the old PC, you can re-install them from the online server on the new PC.
