Adding Custom Contents (New for v. 1.3)
After version 1.3, you can save content at anytime in either Pack or Item view.
- Create a project.

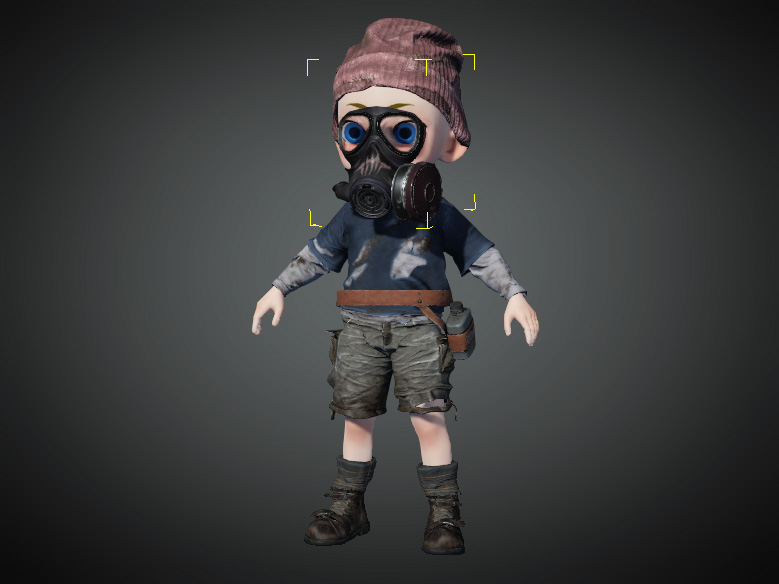
- Select the item you want to save.
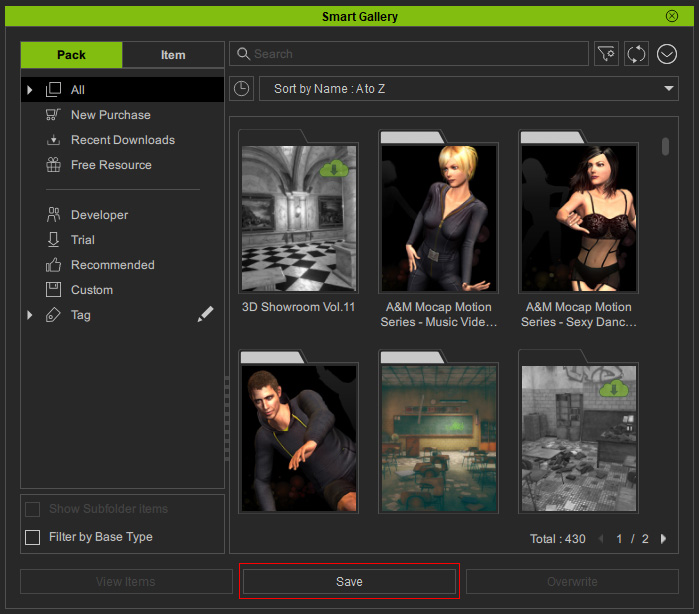
- Click the Save button at the bottom of the Smart Gallery.
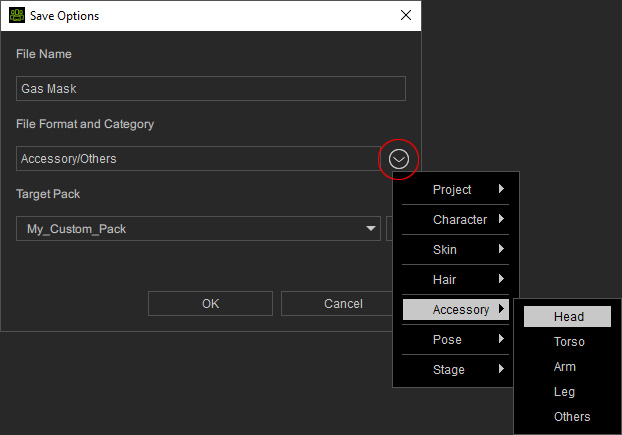
- Type in the file name in the Save Options panel.
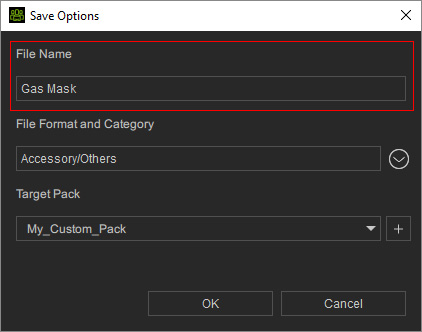
- Click the drop-down button to choose the category this item belongs to.
 Note - Sub categories in the main categories
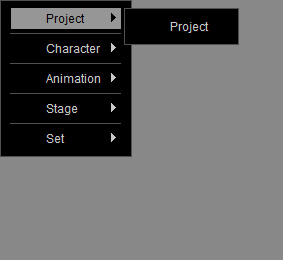
- Project:
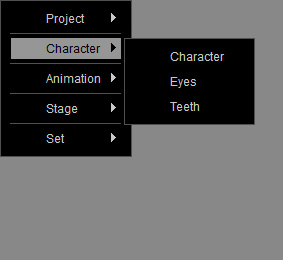
- Character:
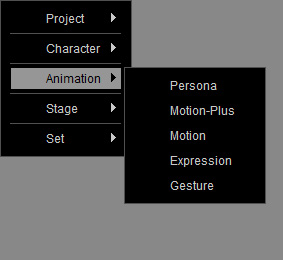
- Animation:
- Stage:
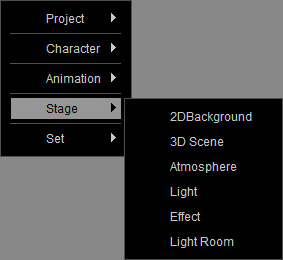
- Set:
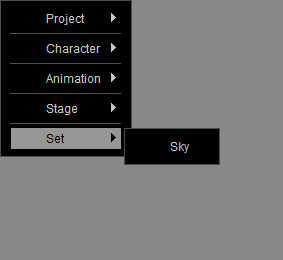
- Project:
- Choose the target pack.
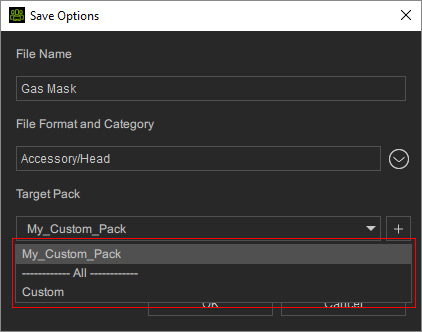
You can also click the "+" button to crate a new custom pack. - Click the OK button to save the item into the specified custom pack.
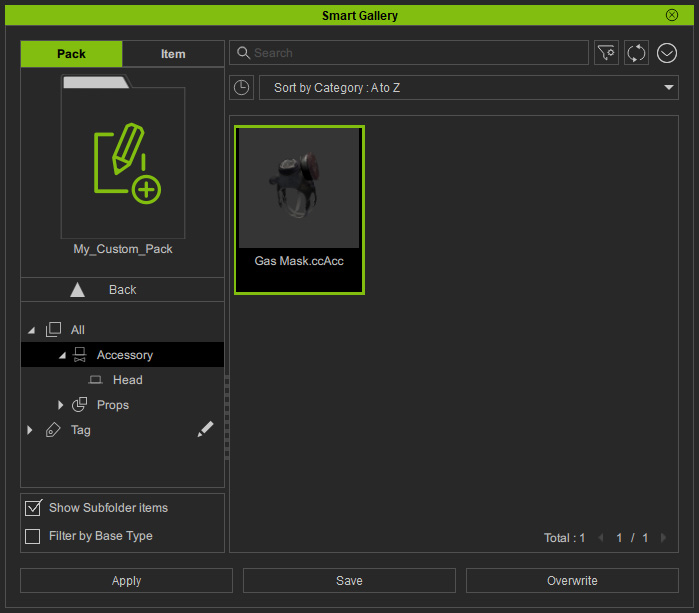
There will be an information to show the saving result. If it is saved successfully, you can click the Go link to directly open the custom pack to view the result.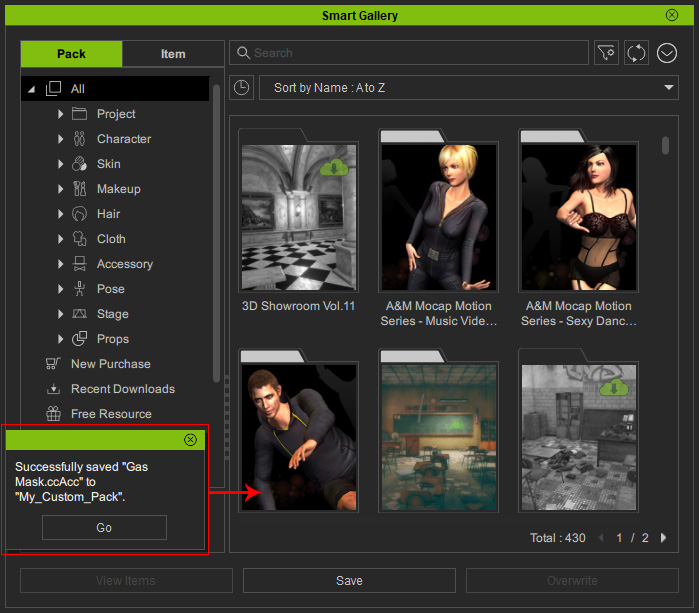
- Alternatively, manually open the specific pack to view the newly added item.