Modifying Items in Custom Pack on Marketplace via System File Explorer (New for v. 1.3)
If you use system file explorer to manage your custom items that are already integrated into a pack in Smart Gallery, follow the steps below to ensure the consistency of the local Smart Gallery database.
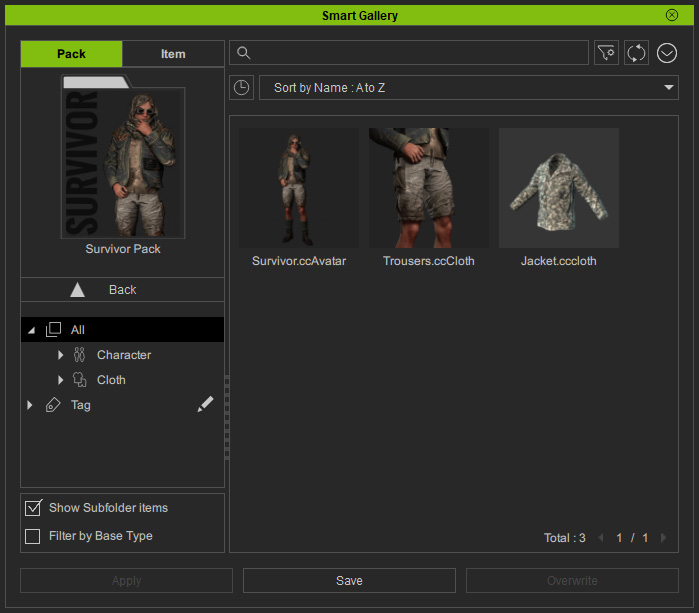
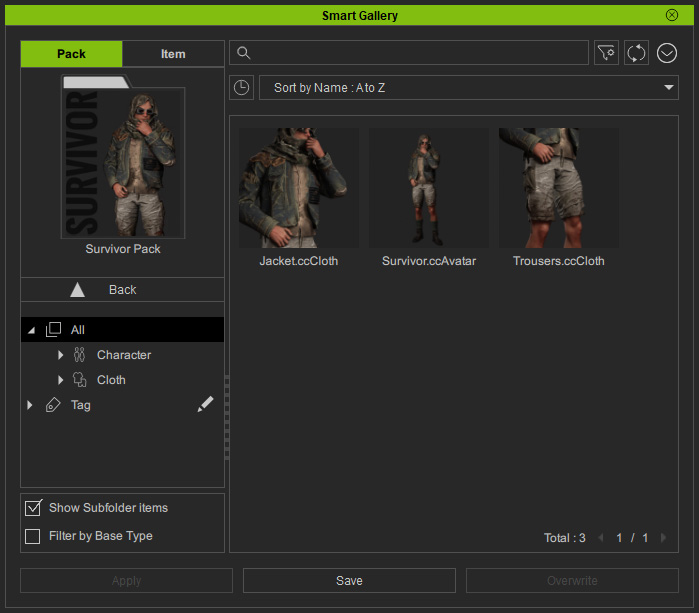
- Make sure you have created a custom pack with custom items.
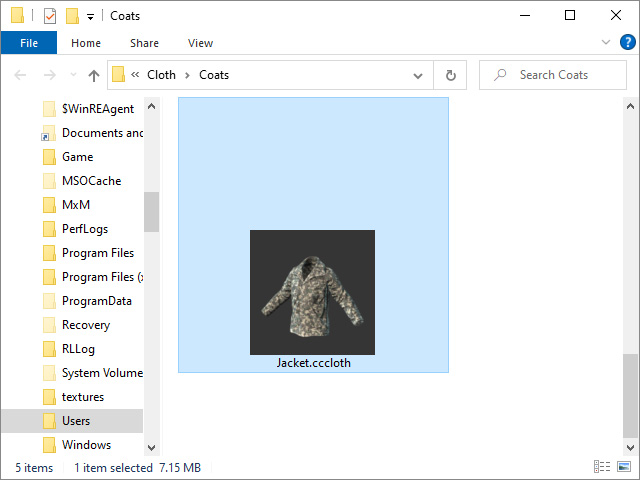
- Find the file of the selected item
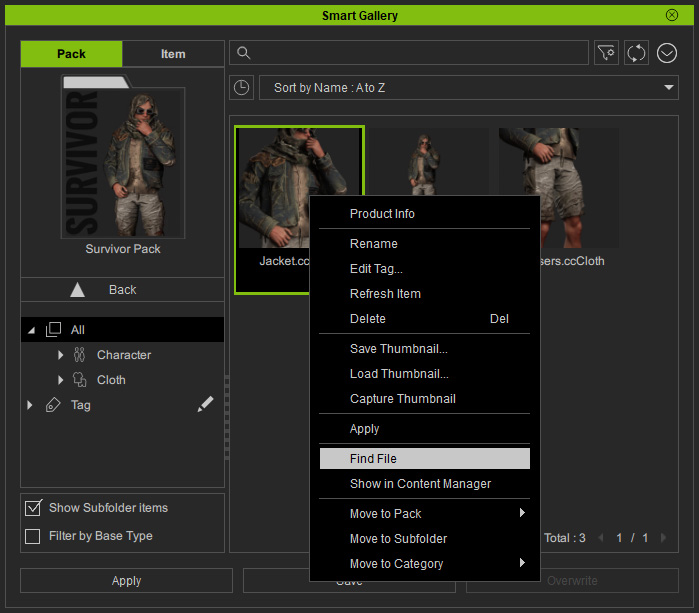
Your system file explorer will be opened and the items will be auto-selected.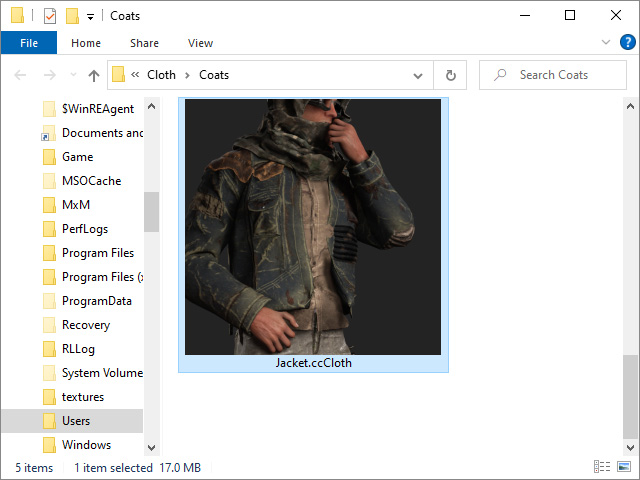
- Replace the item with another item file with the same name. Note that this replacement is unknown by Smart Gallery.
* In addition to Replacing, the actions you are able to perform and can be retrieved by Smart Gallery are Deleting and Renaming via file explorer. - Go back to Smart Gallery and right click on the replaced file. Choose the Refresh Item from the context menu.
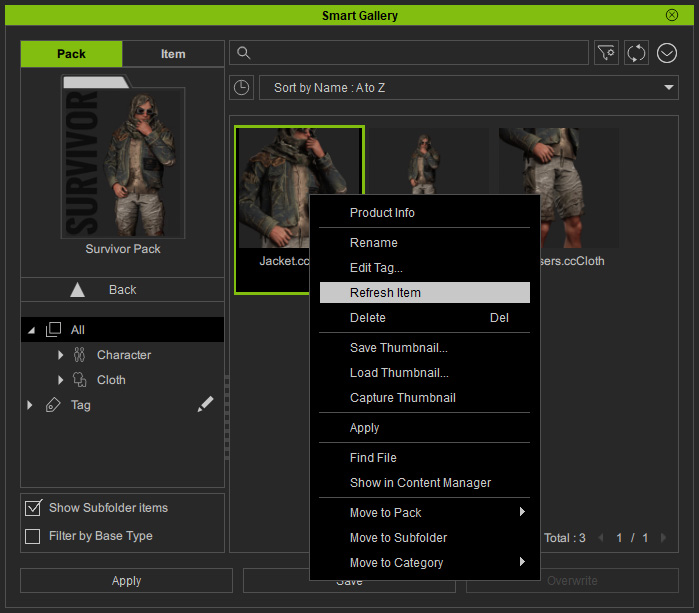
* The Refresh Item command supports refreshment for multi-selected items. - The item of the pack under the Custom node in the Smart Gallery
will be updated.

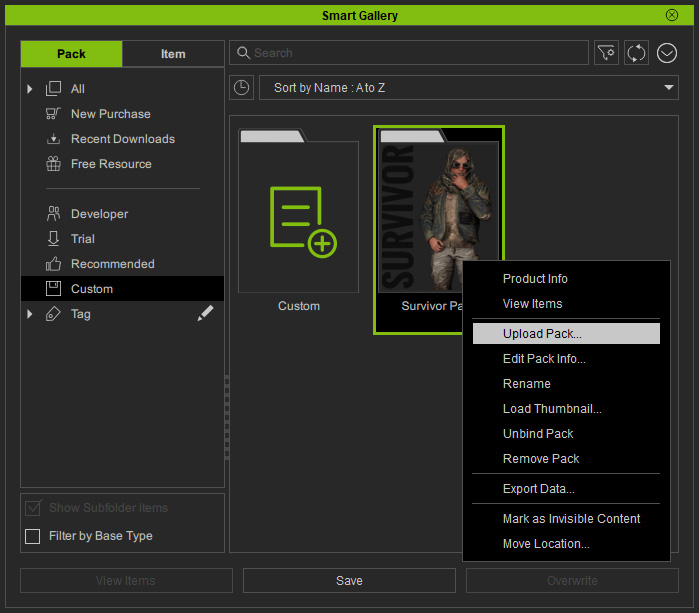
- Close that pack to return to the Pack view. Upload the pack once again.
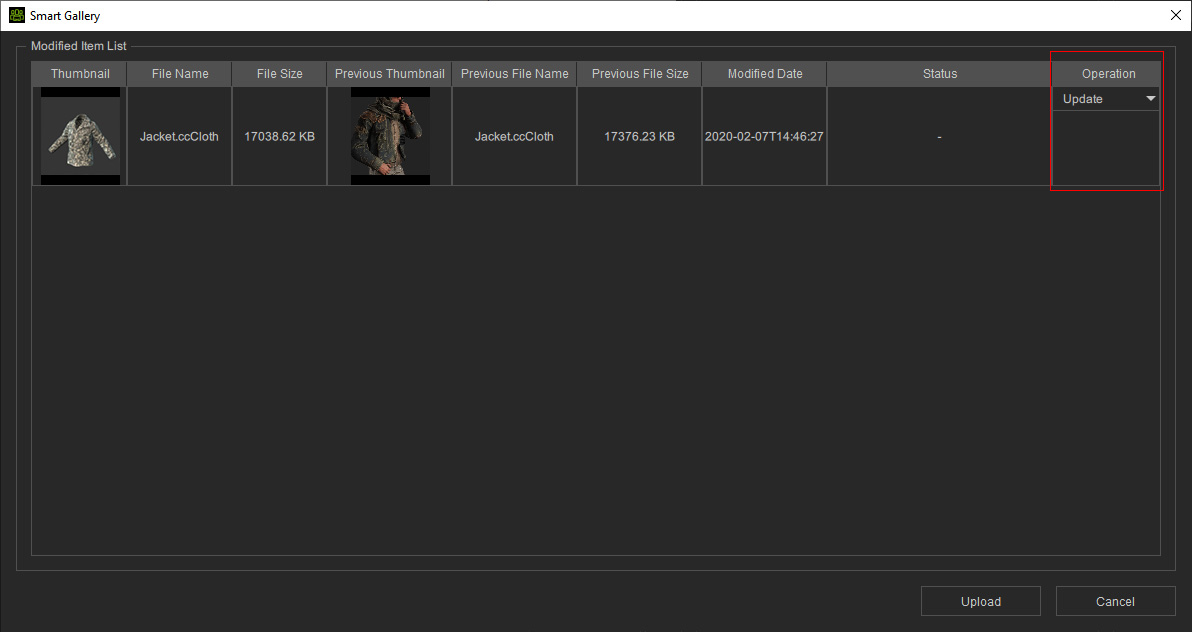
- Smart Gallery will perform checks on the online pack data and display
operational status. Click the Upload button to confirm the modification.
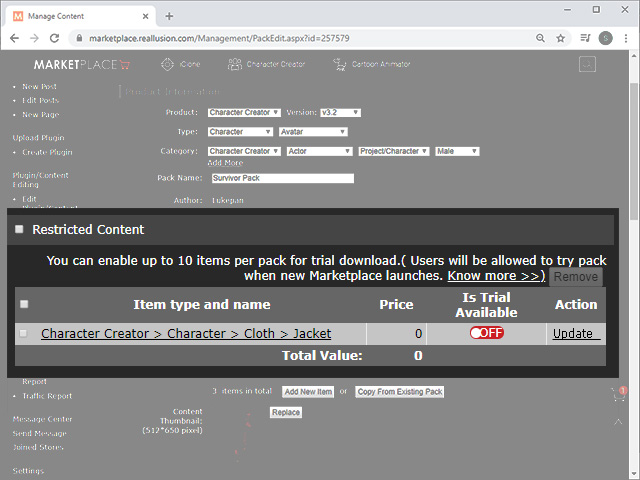
- Go to the online Marketplace page to verify if the items in the pack is updated.
- In the Developer node of Smart Gallery, uninstall and reinstall the pack in order to update the local database.
- Open the pack and you will see what the customers will see after they buy and install this pack.