Applying Wrinkle Masking
Prior to making any adjustments to wrinkles or applying polypaint to facial expressions in ZBrush, it is recommended to activate the wrinkle mask. This feature masks out the inactive regions, thereby ensuring that you sculpt and paint only on the intended areas for the target expression.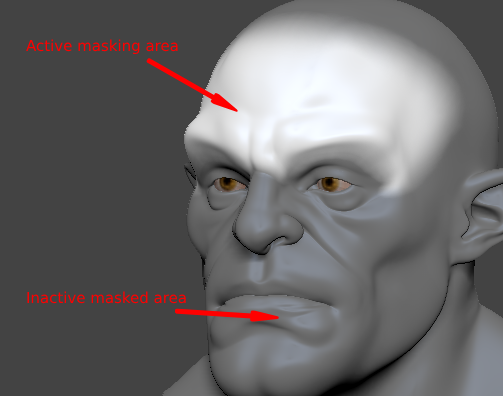
When adding wrinkles and applying polypaint to an expression in ZBrush, the changes will be visible within the ZBrush environment. Nevertheless, only the alterations within the defined mask boundaries will be carried over to the Character Creator (CC).
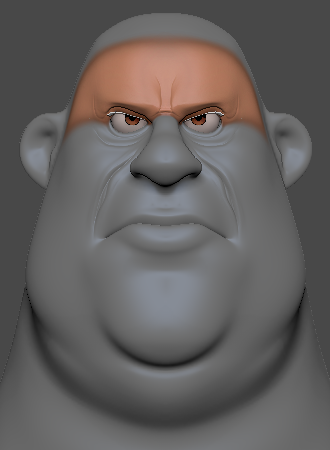
After the character is GoZed from CC, activate an expression for editing.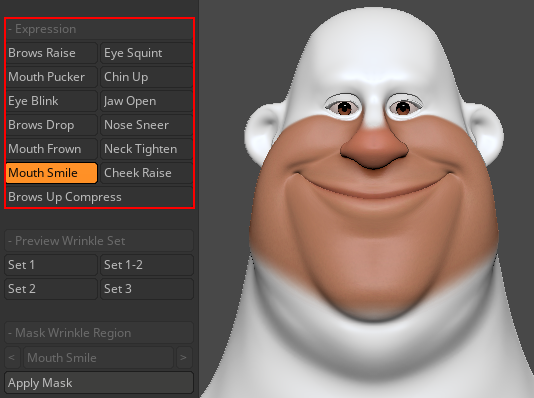
Before you start editing your model, click on Wrinkle Mask > Apply Mask.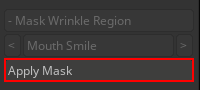
- The masking will display the active masking area for the selected expression where you can apply your edits.
Once you have completely edited the expressions, click the Update to Character Creator button.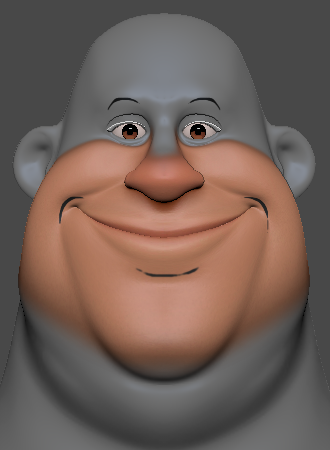
Editing the wrinkled expressions.
Applying polypaint to wrinkled expressions.

- In the Update to Character Creator dialog box, select Wrinkle > Normal for wrinkle normal map update, and Wrinkle > Diffuse for wrinkle polypaint update.

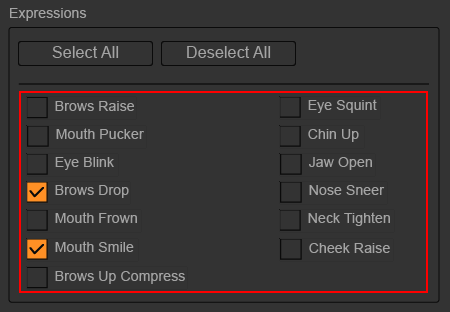
- Within the Expressions section, select the expressions you have edited in ZBrush.
- After configuring the update settings, click Update to Character Creator to update your model to CC.

The normal and polypaint wrinkles within the masking have now been updated.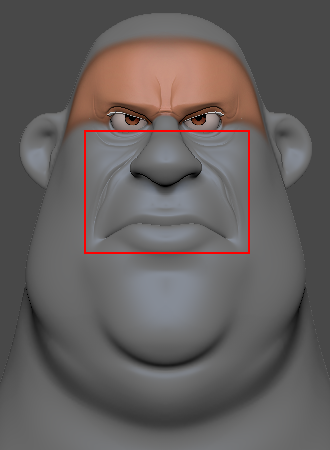
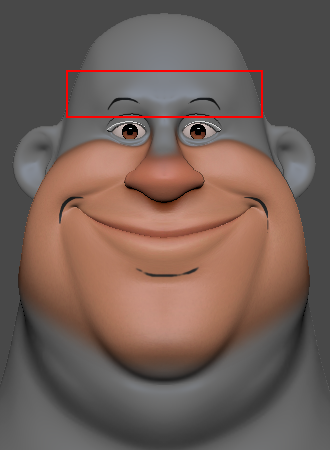
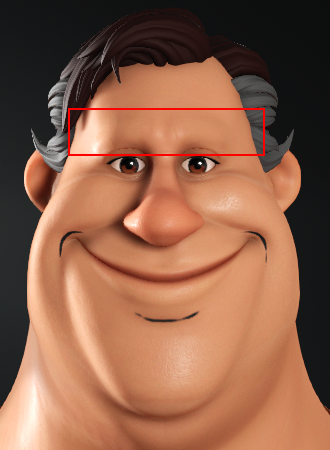
‘Brow Drop’ with wrinkle edits in ZBrush.
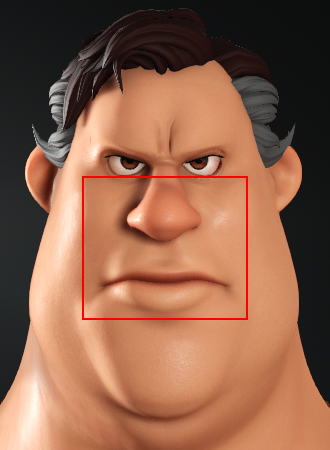
The resulting ‘Brow Drop’ expression in CC4.
‘Mouth Smile’ with polypaint applied in ZBrush.
The resulting ‘Mouth Smile’ expression in CC4.
