Polypaint Editing Workflow for Base Mesh
Utilizing the Face Tools plugin to efficiently migrate the polypainting from ZBrush to the Character Creator (CC) base model is an easy procedure that can be completed by following the steps below.
- In CC, import or open your CC3+ (or later versions) character project.

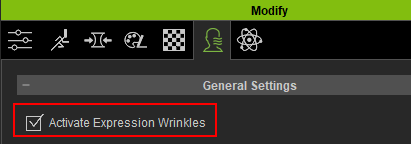
- Go to Modify > Expression Wrinkles > General Setting and check the Activate Expression Wrinkles.
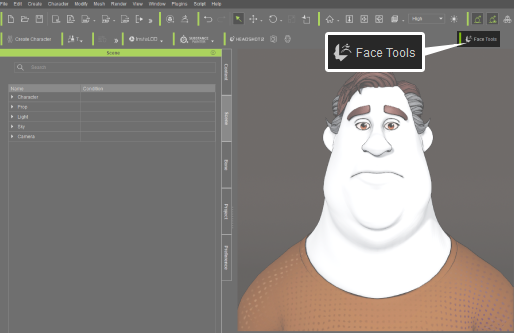
- After you have completed the design process go to the top toolbar and click Face Tools.
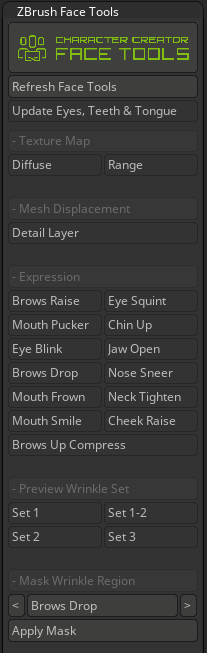
- The ZBrush Face Tools dialog box will appear.
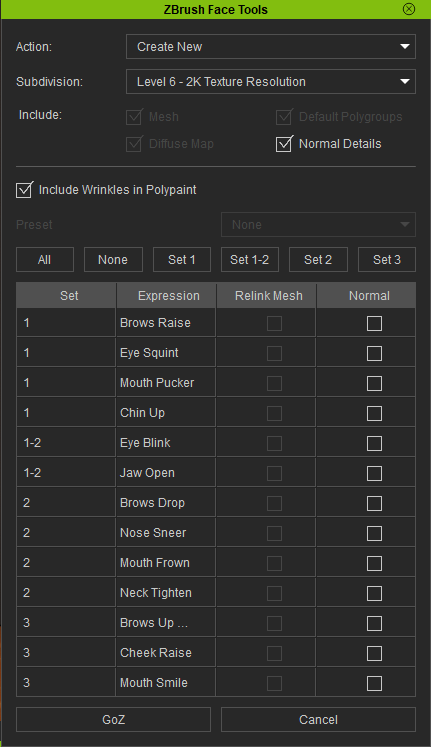
- For the Action field, opt for “Create New” if this character model is being dispatched to ZBrush for the first time.

- Leave the rest of the default settings and click the GoZ button near the bottom to send your character to ZBrush.

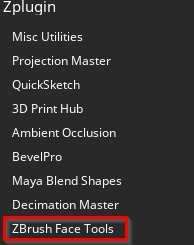
- In ZBrush go to Zplugin > ZBrush Face Tools to access the plugin.
- In ZBrush Face Tools, deactivate all the features to apply polypaint to the base model.
- Use any desired methods within ZBrush to apply polypaint to the base model.
.png)
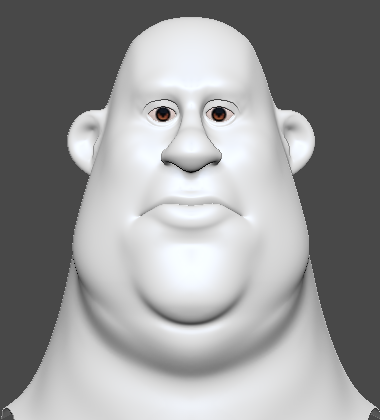
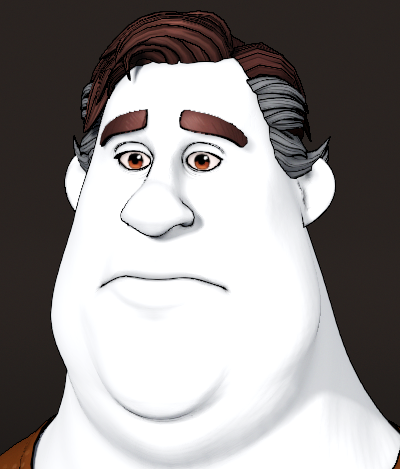
Base model without polypaint
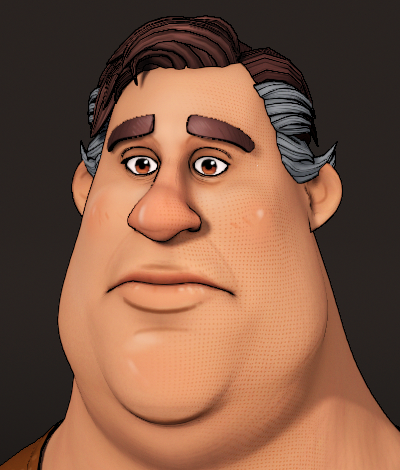
Base model with polypaint
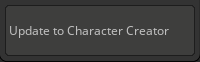
- Once your editing is finalized, click the Update to Character Creator button near the bottom of the ZBrush Face Tools plugin panel.
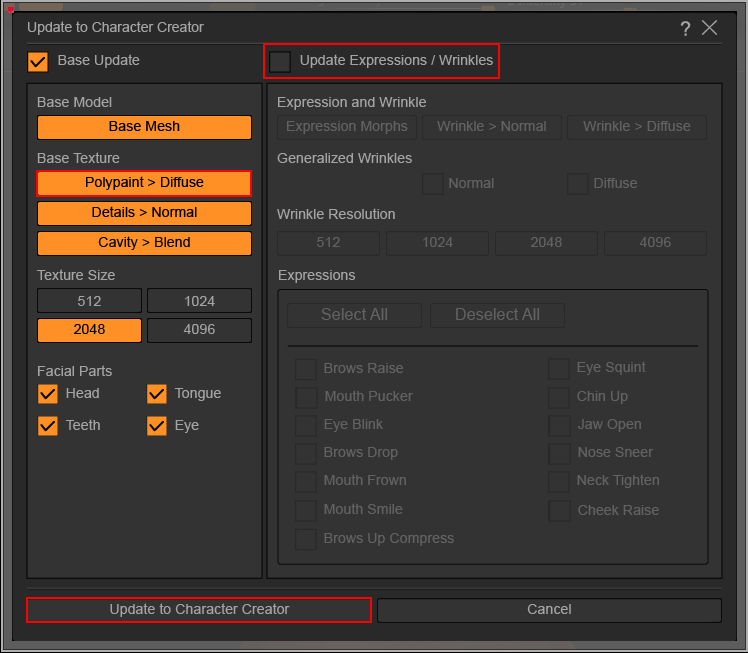
- The Update to Character Creator dialog box will emerge. Here, deactivate the Update Expressions / Wrinkles section to reduce transfer time. Under Base Texture activate Polypaint > Diffuse, then click Update to Character Creator.
 Note:
Note:
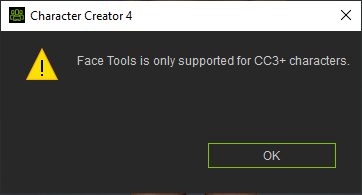
Before updating your ZBrush model back to CC, make sure the CC3+ model is selected in CC. Selecting any other mesh or props will trigger a pop-up in CC and cancel the update process.
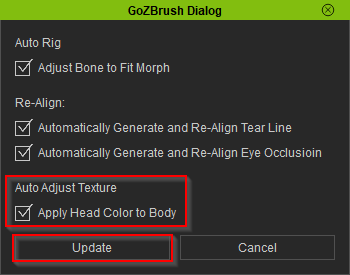
- In CC4 the GoZBrush Dialog box will show up. Use the default settings, make sure the Apply Head Color to Body is activated, and click Update.
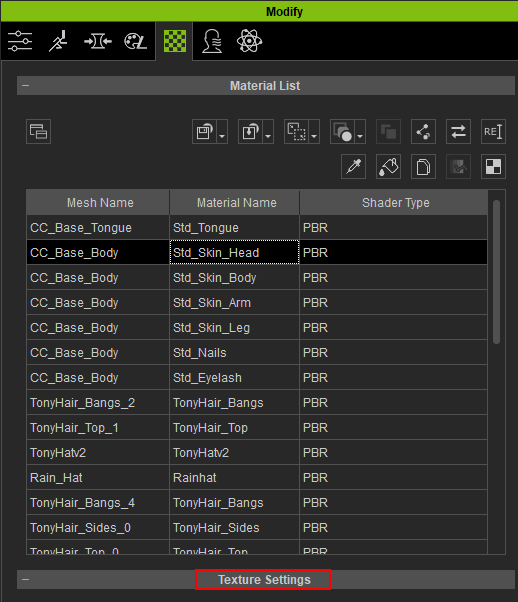
- In CC4, go to Modify > Material List > Std_Skin_Head > Texture Settings.
You’ll see that the ZBrush polypaint has been transferred to the base color/diffuse map in CC4.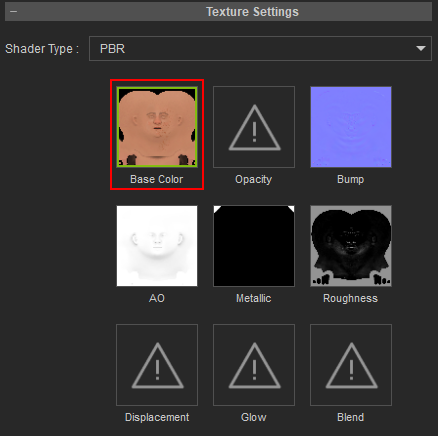
Before the update from ZBrush
After the update from ZBrush
