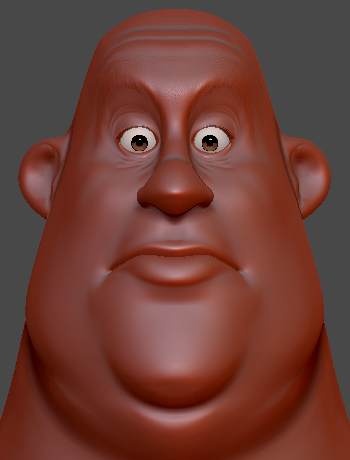
Facial Expression Workflow
Crafting various facial expressions for your character can prove to be a laborious and intricate endeavor. However, with the Face Tools plugin, you gain access to 13 customizable facial expressions that can be edited in ZBrush. Combined with Character Creator (CC)'s comprehensive expression system, these tools empower you to elevate your character's expressiveness to higher levels. Follow the straightforward steps below to achieve this.
- In CC, import or open your CC3+ (or later versions) character project.

- Go to Modify > Expression Wrinkles > General Setting and enable Activate Expression Wrinkles.

- Once you've activated the Activate Expression Wrinkles, navigate to Attribute > ZBrush > click Face Tools.

- The ZBrush Face Tools dialog box will appear.

- For the Action field, opt for “Create New” if this character model is being transferred to ZBrush for the first time.

- In the Include section, activate the Normal Details option if you wish to utilize the CC default normal map for your character model.

- Click the GoZ button at the bottom to send your character to ZBrush.

- In ZBrush go to Zplugin > ZBrush Face Tools to access the plugin.

- In ZBrush Face Tools, activate ‘Update Eyes, Teeth & Tongue’ to edit the CC_Base_Eye, CC_Base_Lower_Teeth, CC_Base_Upper_Teeth, and CC_Base_Tongue subtools.

- Under the Expression section select any expression you want to edit.

- Edit the facial expression using the tools in ZBrush.
 Note:
Note:
If your character's exaggerated expressions affect the teeth or eyeballs, you can adjust their position in CC4.


Default ‘Brow Raise’
Edited ‘Brow Raise’


Default ‘Jaw Open’
Edited ‘Jaw Open’
- Once your editing is finalized, click the Update to Character Creator button at the bottom of the ZBrush Face Tools plugin panel.

- The Update to Character Creator dialog box will appear. In the Expression and Wrinkle section, ensure Expression Morphs is activated. Under Expressions, choose only the expressions you have edited to reduce transfer time, then click Update to Character Creator.

- In CC4 the GoZBrush Dialog box will show up.
 Note:
Note:
When editing the characters' eyeballs, it is recommended to activate both Adjust Tear Line and Adjust Eye Occlusion during the updating process in the Re-Align section. For more information, see this page.

- Utilize the default settings and click Update.

- Go to Modify > Motion Pose > Motion > Edit Facial.

- Within the Edit Facial control panel, navigate to any of the three options in the menu bar to test your character's edited facial expressions to ensure compatibility and identify potential issues.

- For additional editing or the inclusion of new customized expressions, navigate to ZBrush (following steps 9 to 14), and modify the required expressions. Afterward, click Update to Character Creator to update back to CC4.

