Polypaint with Wrinkle System Workflow
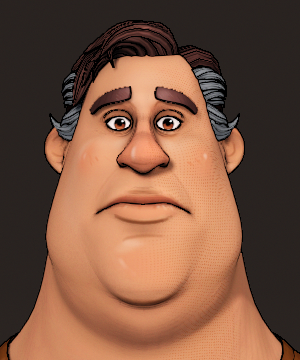
Stylized cartoon character models frequently use painted colors to illustrate wrinkle effects and emphasize facial expressions. The Face Tools plugin offers customization for up to 13 different expressions, allowing it to store your polypaint information as layers in ZBrush, which can then be converted into separate wrinkle diffuse maps in Character Creator (CC). These maps can enhance the expressiveness of your character in CC.
- In CC, import or open your CC3+ (or later versions) character project.
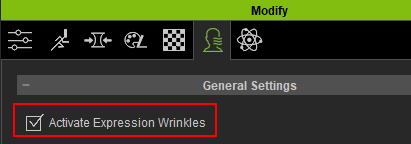
- Go to Modify > Expression Wrinkles > General Setting and check the Activate Expression Wrinkles.
- At the Texture Settings section, make sure the diffuse maps are all set to Individualize, this setting will yield better facial details and accurate polypaint results.

- After you have completed activating the Activate Expression Wrinkles, go to the top Toolbar and click Face Tools.

 Note:
Note:
If the Convert Facial Profile dialog box appears, click Apply.
- The ZBrush Face Tools dialog box will appear.

- For the Action field, opt for “Create New” if this character model is being transferred to ZBrush for the first time.

For Subdivision, select the desired resolution for your ZBrush model.
For the Include section, activate the Normal Detail option if you wish to utilize the CC Std_Skin_Head’s normal map for your character model.
Activate the Include Wrinkles in Polypaint option. Note:
Note:
Enabling the Include Wrinkles in Polypaint function, ensures that each of the 13 expressions in ZBrush will have a polypaint foundation converted from the Base diffuse map of your character model in CC.
- Leave the rest of the settings as default and click the GoZ button near the bottom of the dialog window to send your character to ZBrush.

- In ZBrush, go to Zplugin > ZBrush Face Tools to access the plugin.

- Within ZBrush Face Tools, navigate to the Facial Expression section and activate the desired expression to which you intend to apply polypaint.
 Note:
Note:
Ensure that the Texture On feature is deactivated in the Texture Map, so polypaint can be applied to the model.

- Once you have selected the expression, proceed to click the Apply Mask button under the Wrinkle Mask.

- The masking will show you the effective area for this expression.
Note:
Polypaint that extends beyond the effective mask area will remain visible in ZBrush; however, after updating, it will not be visible in CC.
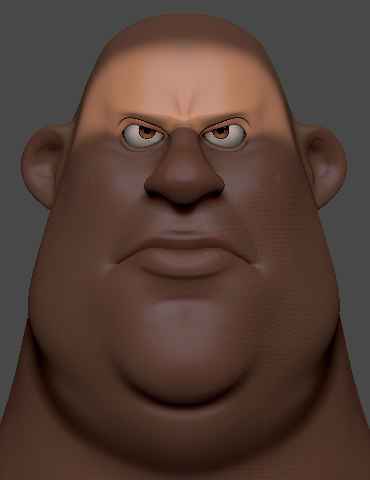

Expression without edited Polypaint
Expression with edited Polypaint
Click on another expression to switch to it.

- Once your editing is finalized, click the Update to Character Creator button near the bottom of the ZBrush Face Tools plugin panel.

- A dialog box will appear. Enable the Wrinkle > Diffuse function and disable the Diffuse option under Generalized Wrinkles. In the Expressions section, choose only the edited expressions to reduce transfer time.

Properly ensure that the Texture Size and Wrinkle Resolution settings are configured to the same texture size. This will help maintain consistent map quality in your model. After making these adjustments, proceed to click Update to Character Creator.
- In CC4, the GoZBrush Dialog box will appear.

- Keep Auto Rig and Re-Align at the default settings, make sure the Apply Head Color to Body is activated, and click Update.

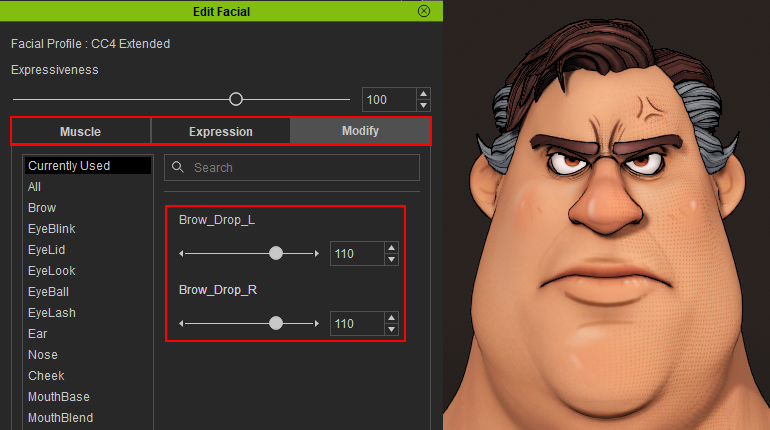
- Go to Modify > Motion Pose > Motion > Edit Facial.

- Within the Edit Facial control panel, navigate to any of the three options in the menu bar to test the polypaint of your character's facial expressions to ensure compatibility and identify potential issues.

Before the update from ZBrush
After the update from ZBrush
