Posture Adjustment
Before applying a 3D motion to your character,
you can adjust the initial ground offset to correct the character's posture,
or create an individual posture style to cater to its personality.
( Watch Tutorial - 3D Motion Converter: 2D Body & Hand )
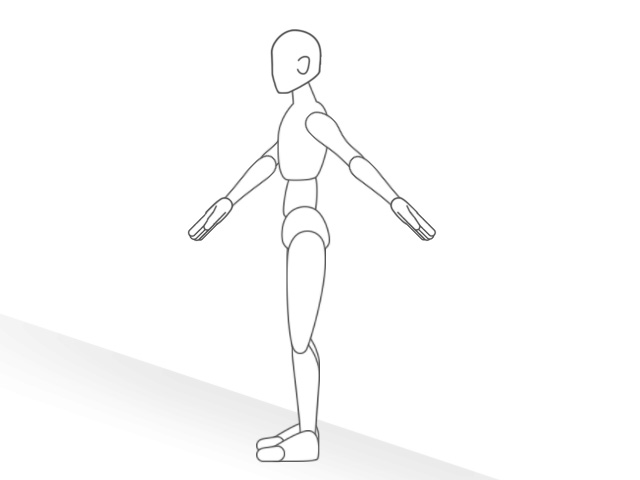
| The default character posture. | The adjusted character posture. |
With the Foot or Hand Contact enabled by default,
you can adjust the Ground Offset slider to change the height of the floor plane.

- Drag the slider to the left to raise the ground level and lower the position of the character.
- Drag the slider to the right to lower the ground level and raise the position of the character.
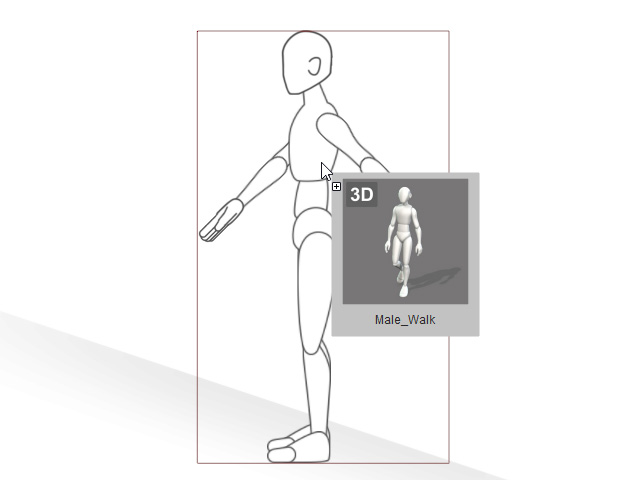
Follow the steps below to create a walking animation on an inclined plane.
- Apply a character. In this case, the Side Dummy for 3D Motion.
- Drag a 3D Motion to the character. In this case, the Male_Walk.
- The Import 3D Motion panel will show and the link between the 3D View dummy and the character is activated by default.
In this case, we will click the -90 angle preset.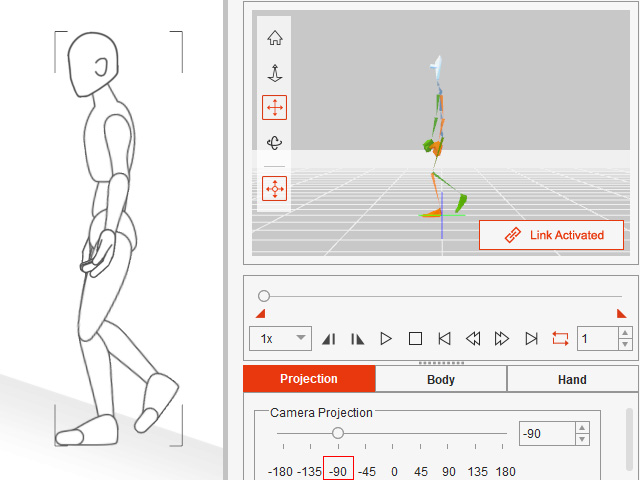
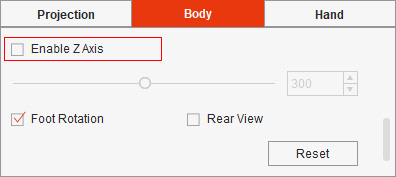
- Go to the Body tab. Disable the Enable Z Axis to ignore the depth changes in this animation.
- Back to the Projection tab. Enable the Root Motion to better observe the animation at the root position.

- Click the Play/Pause button in the 3D View.
The dummy and the character will start to walk on a default ground level at the same time.
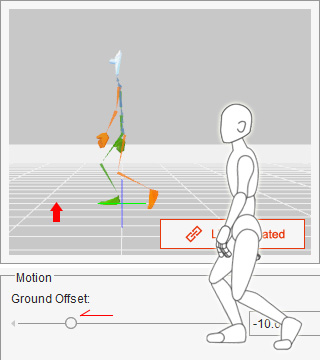
Drag the Ground Offset slider to the left to the raise the ground level. The dummy and the character will crouch down.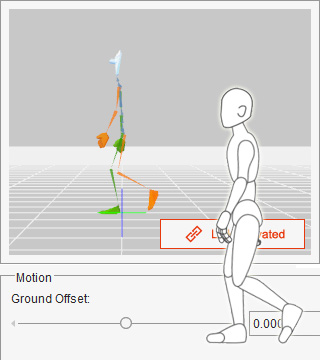
Ground Offset = 0.
The default ground level.Ground Offset = -10.
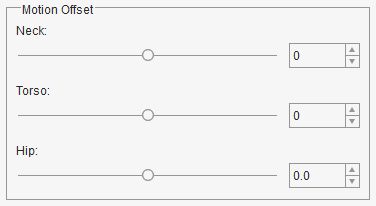
The ground level is raised. - Next, you can continue to adjust the posture style for this animation.
By rotating the character's neck, torso and hip,
you can posture the character to add some personality.
Front facing character
- Drag the slider to the left to tilt to neck to the right side of the character (Max. -90 degrees).
- Drag the slider to the right to tilt to neck to the left side of the character (Max. 90 degrees).
Side facing character
- Drag the slider to the left to lower the neck (Max. -90 degrees).
- Drag the slider to the right to raise the neck (Max. 90 degrees).
Front facing character
- Drag the slider to the left the tilt the torso to the right side of the character (Max. -90 degrees).
- Drag the slider to the right to tilt the torso to the left side of the character (Max. 90 degrees).
Side facing character
- Drag the slider to the left to lean the torso (Max. -90 degrees).
- Drag the slider to the right to raise the torso (Max. 90 degrees).
Front facing character
- Drag the slider to the left to rotate the hip to the right side of the character.
- Drag the slider to the right to rotate the hip to the left side of the character.
Side facing character
- Drag the slider to the left to rotate the hip backward.
- Drag the slider to the right to rotate the hip forward.
Having adjusted the ground height, follow the steps below to correct the walk posture on an inclined plane.
- Go to the Body tab.
Drag the Hip slider to the left to rotate the hip backward for the body's center of gravity.

- Drag the Torso slider to the left to lean the torso.
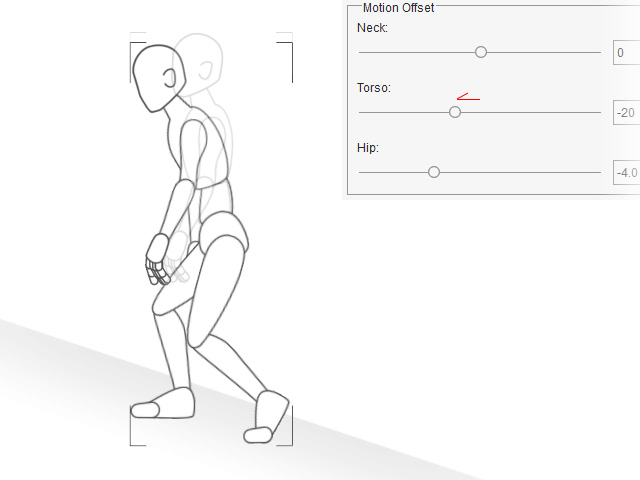
- Drag the Neck slider to the right to raise the neck.
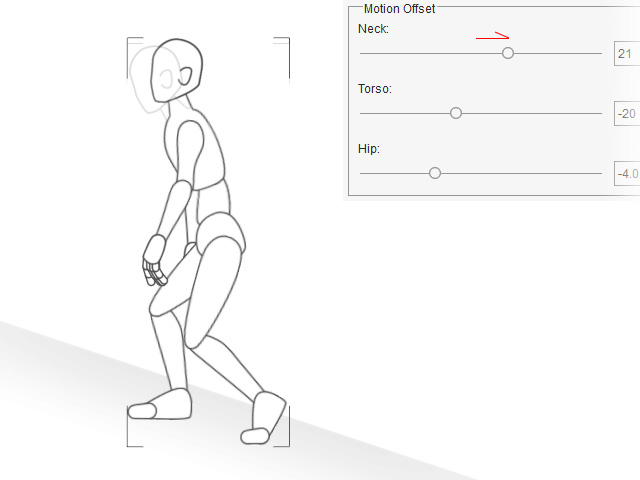
- Now the posture has changed in order to adapt to the inclined ground plane.
- Next, you can continue to create the path animation with this root motion.