Introduction of Elastic Motion Panel
The Elastic Motion can be edited through the Elastic Motion Editor as shown below: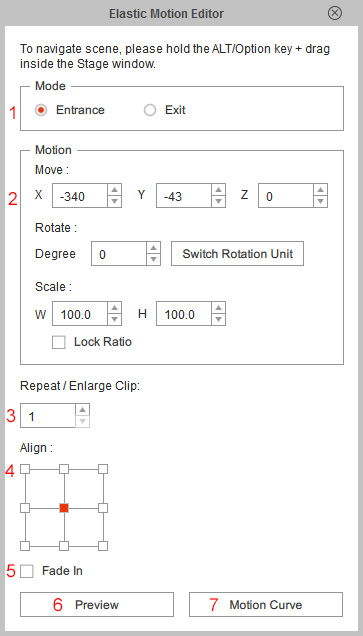
| Name | Description | |
| 1 | Mode

|
These two radio buttons switch the current clip to an entrance or exit animation. |
| 2 | Motion |
You can adjust the RTS settings of the status of the prop at the start or at the end time. |
| 3 | Repeat / Enlarge Clip |
Modify the number of this field to repeat and enlarge the current motion clip. |
| 4 | Align |
Use this control to set the center position of the prop for rotating and scaling. |
| 5 | Fade In / Fade Out |
Activate or deactivate this box in order to make the entering or exiting prop gradually become semi-transparent and vice versa. |
| 6 | Preview |
Click this button to preview the elastic motion result of the selected animation clip. |
| 7 | Motion Curve |
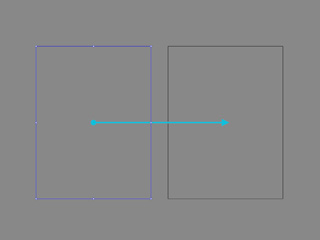
Click this button to switch to the Motion Curve panel for adjusting the transition method from the start point (blue bounding box) to the end point (black bounding box). |
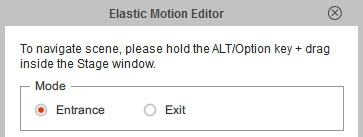
The Entrance and Exit mode for a elastic motion clip is exchangeable. You can identify if a clip is entrance or exit one by two methods:
- Radio button in the Elastic Motion Editor: You can identify the clip by the chosen radio button.

- Arrow Direction in the working area: When the blue arrow starts from a blue box, the clip is an Entrance clip; while when the clip is an Exit clip, the blue arrow points to the blue bounding box.
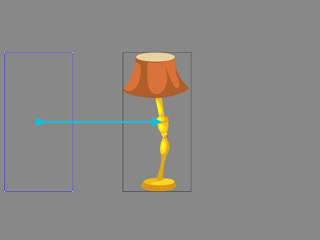
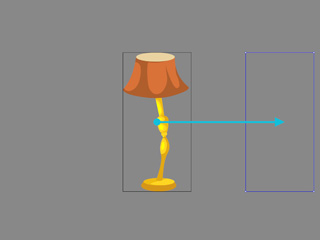
Blue arrow starting from a blue bounding box: Entrance Clip
Blue arrow pointing to a blue bounding box: Exit Clip
 Note:
Note:The settings in the Motion group in the Elastic Motion Editor is used to adjust the status of the Blue Bounding Box. The black box can not be adjusted.
The settings in the Motion group is used for modifying the blue bounding box. However, the Rotation in the settings is the most different from the traditional use of angle setting. You can click on the Switch Rotation Unit button to change the method for setting the angle of the blue bounding box.
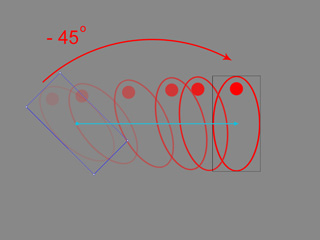
- Degree: The Degrees determine the rotating degrees of the prop when the animation ends; the value range is from -9999 to 9999 degrees. A negative value rotates the prop clockwise while a positive value turns it counterclockwise.
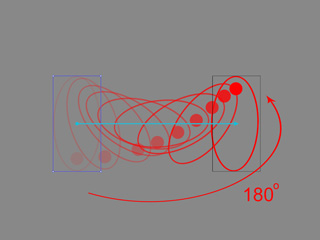
Degree = 180
Degree = -45
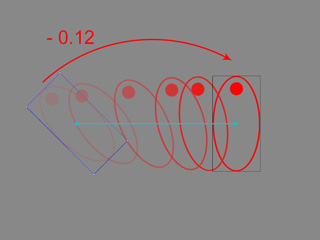
- Turns: The Turns determines the rotating times for the prop; the value range is from -27.77 to 27.77. It allows two digits after the floating point. A negative value rotates the prop clockwise while a positive value turns it counterclockwise
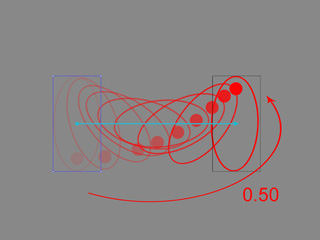
Turns = 0.50
Turns = -0.12
This setting will extend the length of the animation clip by means of repeating the clip itself. It is different from the looping method because the looping method will always start from the position in the first frame of the clip, while the Repeat / Enlarge Clip ensures the props position from the last round when the animation stops.
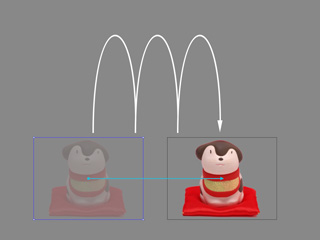 | 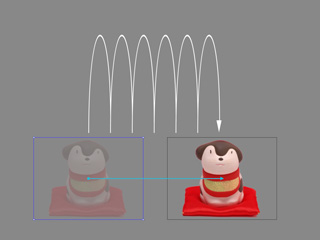 |
Repeat / Enlarge = 1 | Repeat / Enlarge = 2 |
If you use the loop method, then the animation will always return to the start point after a animation round finishes.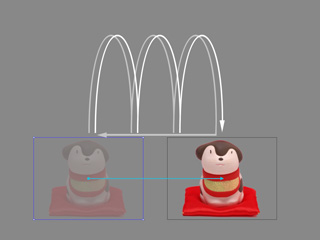
The align feature is used to determine the center for rotating (described in the previous section).
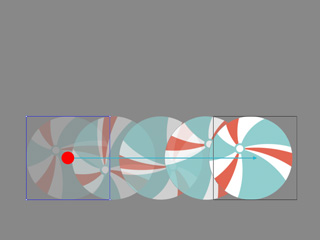 | 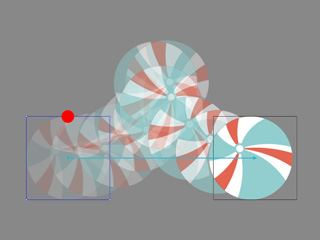 |
Align = Center | Align = Top |
This feature does not affect the true pivot of the prop. It is only used as a rotating base.
When you click the Motion Curve button, the Elastic Motion Editor will switch to the Motion Curve Editor mode.
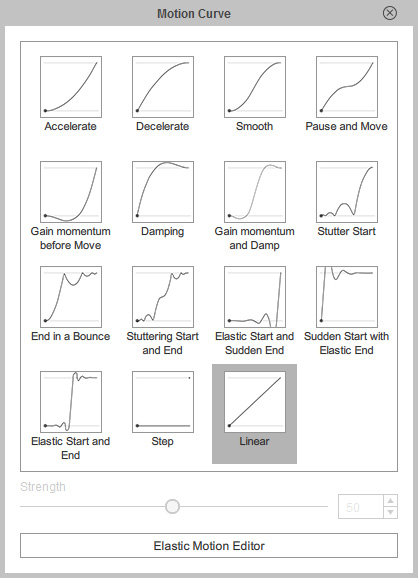
The motion curve only deals with the transition method between the start and end point (the blue and black bounding boxes), the original animation clip of the prop is not influenced.