Setting Project Start/End Frame Markers
There are two ways to mark the start and end frame for playback and export. First is to drag the markers in the timeline and the second is to use the toolbar buttons and hotkeys.
- The hotkeys: Mark in (Ctrl + [ ) / Mark out (Ctrl + ] )
- The buttons on the Timeline Toolbar.

By default, the duration of the motion manually added into the Content Manager will be the length of the entire project. However, if only a certain range of the entire motion is desired, you can use the Start/End Frame Markers to trim the original motion clip before it is added as a new template.
-
Create a character with a motion and motion layer keys.

You can open the Timeline to check out the motion related data.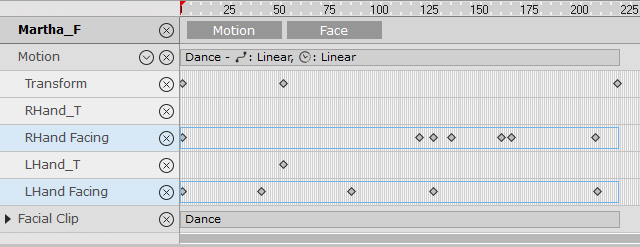
- Scrub the timeline to the start of the motion you want to save.
You can also use the playbar.


-
Click the Set Start Frame button on the timeline to move the start marker to current time-frame.

You will see the start marker snaps to the current frame instantly.
- Go to the time-frame as the end of the motion you want to save.

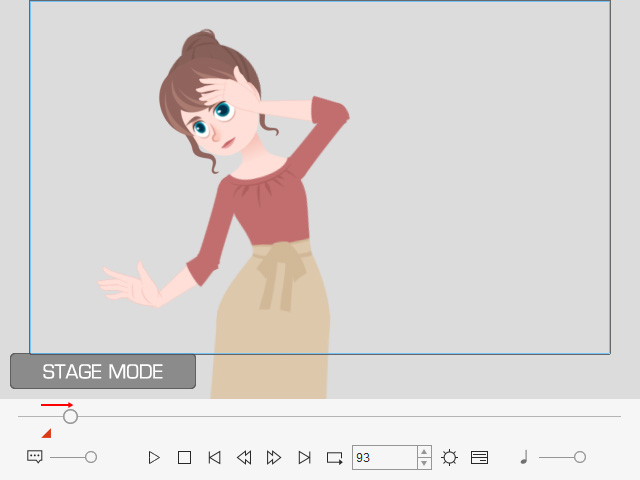
-
Click the Set End Frame button on the timeline to move the end marker to current time-frame.

You will see the end marker snaps to the current frame instantly.
- In Content Manager, switch to the Animation tab and Custom Perform library.
Click the Add button on the bottom of the panel to add the trimmed motion into the library.
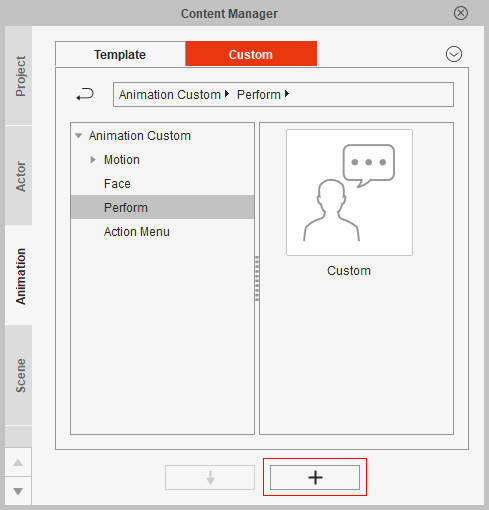
- Add a new character and apply the newly added perform template.
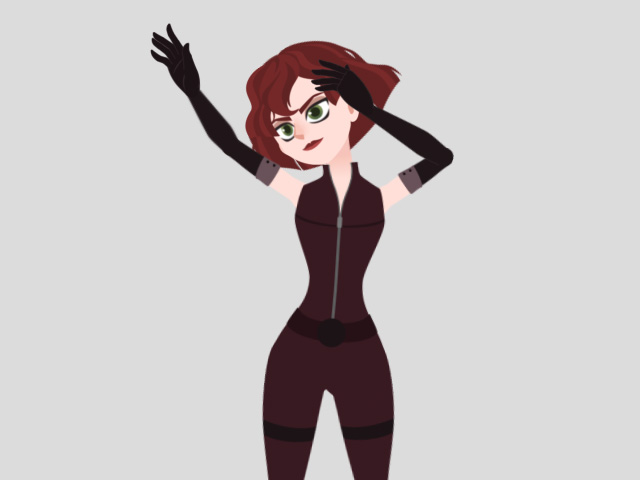
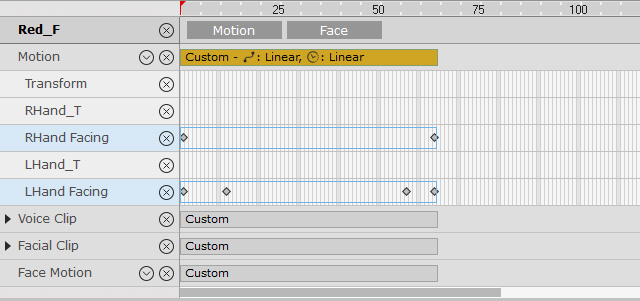
- Check the motion tracks of the character on timeline.
You can verify that the motion clip is the trimmed version of the original.
 Note:
Note:- The motion layer keys will be flattened.
- The constraint keys will also be flattened onto the new motion clip.