Creating Scenes with Vector Editor
You can design a scene with items in separate image layers, which you can later add 3D depth and reposition the image-converted objects in the scene for animation.
The following steps describe scene creation with several layers in an Vector Editor, and then turning it into a 2D scene with 3D depth for animation.
- Import to create the scene by the following methods:
 Main Menu or Left Toolbar button
Refer to the sections (Creating Actor excluded) in the SVG Importing Methods page for more information.
- Vector Editor button on Toolbar
- Click the custom Vector Editor button (in this case, Adobe Illustrator) on the toolbar.
- Choose either of the import options in the following dialog (in this case, New Object).
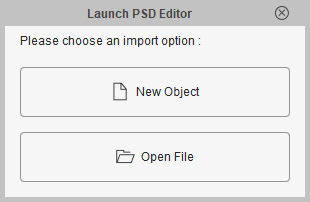
- New Object: Invokes the custom Vector Editor with a blank new file.
- Open File: Opens an existing SVG file and then load it into the Vector Editor.
- Click the custom Vector Editor button (in this case, Adobe Illustrator) on the toolbar.
- You can start to design the scene by adding different graphics into individual layers.
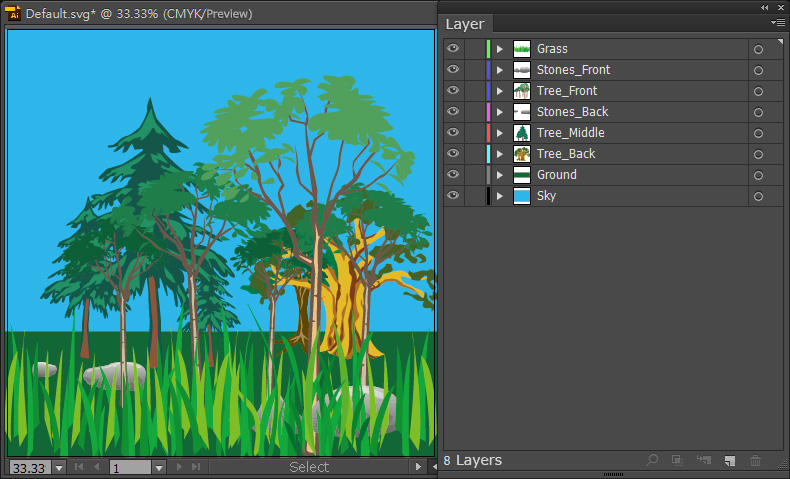
- When you are satisfied with current result, press Ctrl+S in the editor to send the graphics to Cartoon Animator.
-
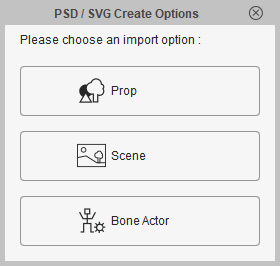
Return to Cartoon Animator and choose the Scene import option in the dialog
window.
-
The graphics in the layers will then be converted to a scene, synchronizing with the Vector Editor.
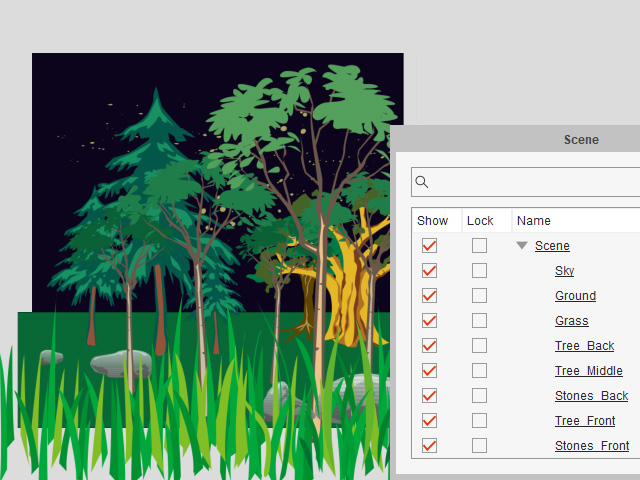
In the Scene Manager, you will find that all of your graphic layers are listed under the "Scene" group, which indicates that these layers are now converted into separate object layers with the same names as the ones shown in the Vector Editor.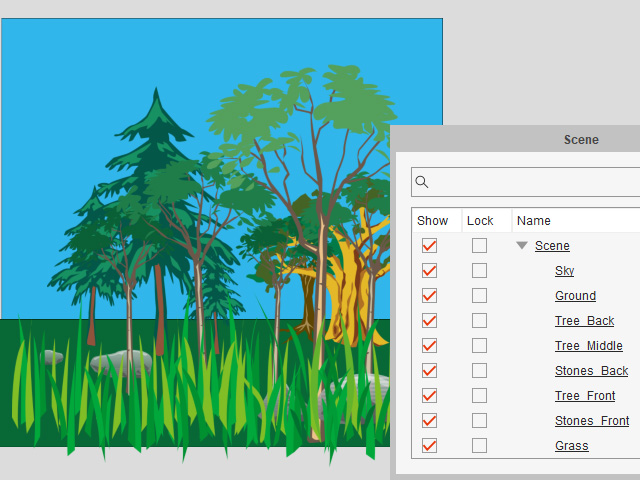 Note:
Note:The SVG Sync
 icon indicates that this object is currently synced to its SVG project in the editor.
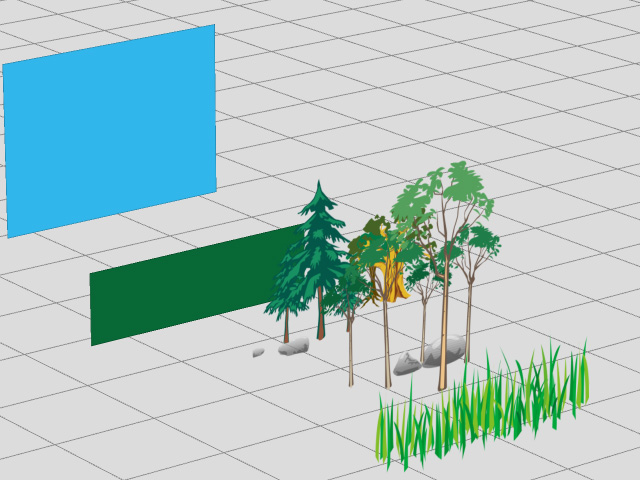
- Click the 3D View
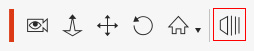 button on the Camera Toolbar to arrange the object depth with the 3D Viewer,
in order to create the parallax effect when animating the camera.
button on the Camera Toolbar to arrange the object depth with the 3D Viewer,
in order to create the parallax effect when animating the camera.
-
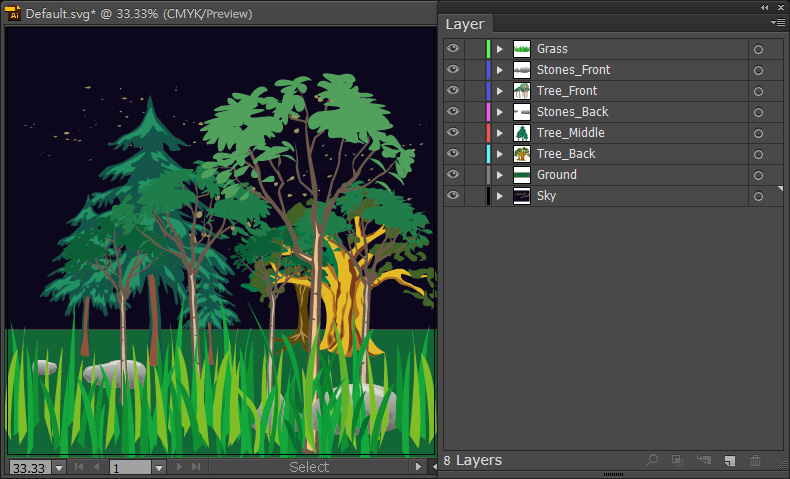
Go to the image editor again. Continue to modify the image layers in the PSD project.
In this case, color the scene to look like a starry night.
-
When you are satisfied with results, press Ctrl+S in the Vector Editor to update the graphics to Cartoon Animator.
In the Scene Manager,
you will find that all of the layers are updated,
with the same names as the ones shown in the image editor.
 Note:
Note:You can add this scene into the custom Scene library of the Content Manager for further usage.
- Start to animate the props by setting keys with the Prop Key Editor or apply Elastic Motions or FFD Motions.
-
Playback the animation project.
-
You can repeat the same steps, change the color of the SVG props or duplicate them to finalize the animation.