Using Custom Vector Editors - Affinity Designer
Cartoon Animator seamlessly integrates user-friendly animation tools with leading drawing software, including popular options like Illustrator, Affinity Designer, CorelDraw, and Inkscape. Additionally, it supports the use of drawing tablets, empowering users to effortlessly transform static graphic images into lively animations. With the ability to utilize their preferred vector editor, users can easily craft characters, props, and scenes, ready to be animated within Cartoon Animator.
Watch Tutorial - Setup Your Favorite Vector Editor as Content Creator
Also see: Content Dev:CTA5 G3 Character Addendum wiki page
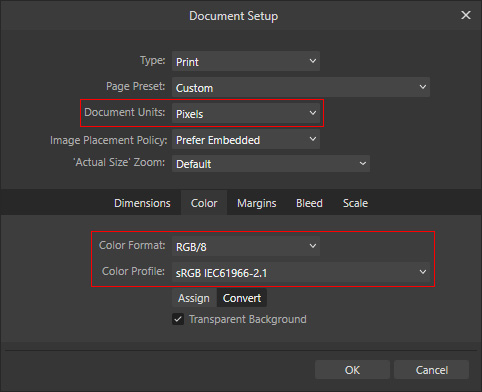
Make sure to adjust Document Units and Color Profile in the Document Setup panel, immediately after opening a document.
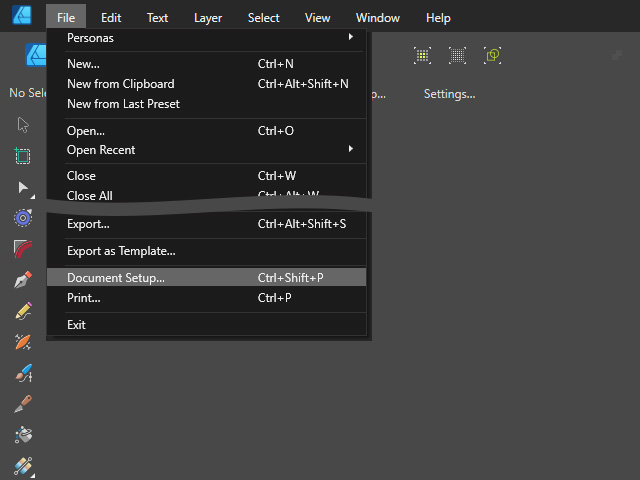
- Navigate to File > Document Settings.
- Adjust the Document Units to "Pixels" and Color Profile to "sRGB", and click the OK button
- Assign Affinity Designer to be the default vector graphic editor.
- Click the SVG: Affinity Designer button on the Add-on Tool Bar.
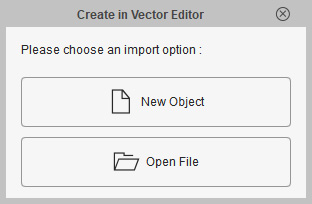
- In the following Create in Vector Editor dialog window, click the New Object button to create new assets, or click the Open File button to edit existing assets with the vector editor.
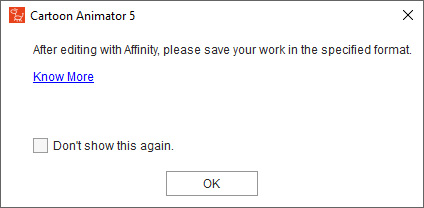
- You will be reminded
to adjust the workspace settings. Click the
OK button to continue.
-
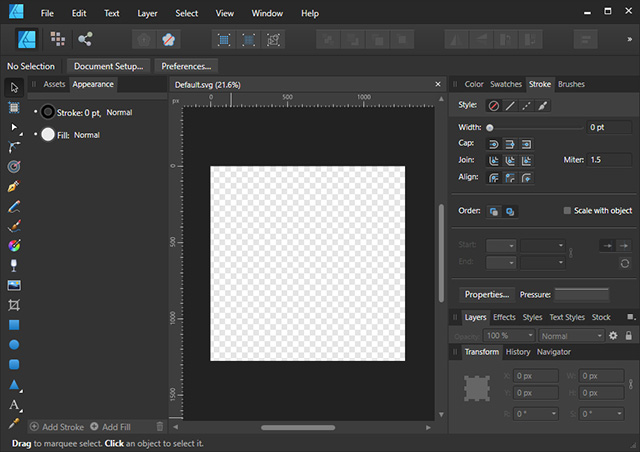
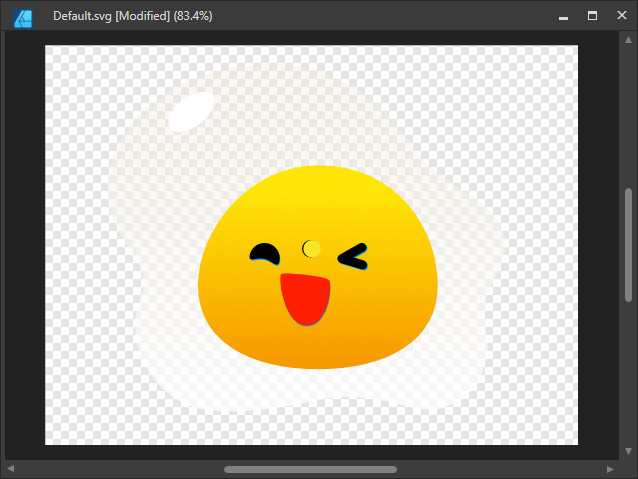
By clicking the New Object button, the Affinity Designer application will automatically launch with a new file tab called "Default.svg". You can now
start to create your SVG project.
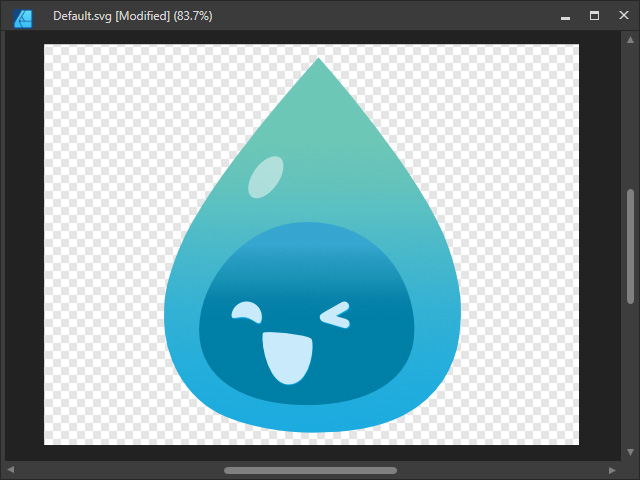
- Create a graphic
image.
- Because the extension file name of Affinity Designer is not .SVG, to transfer the created asset back to the Cartoon Animator for each time, you need to:
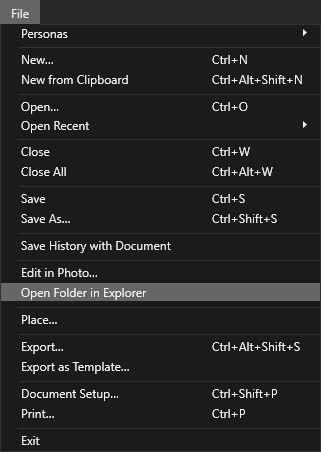
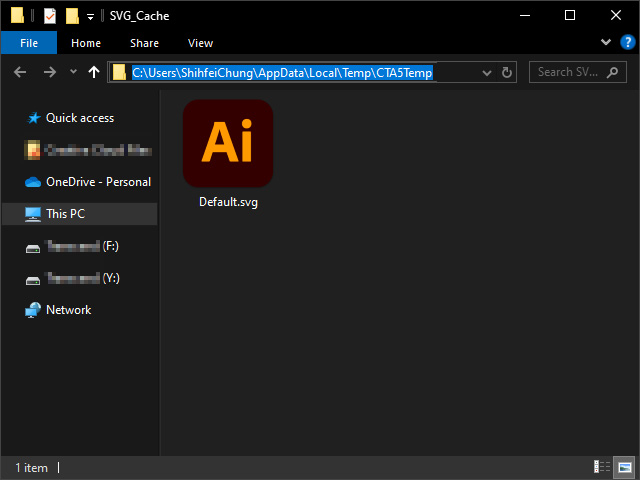
- Execute File > Open folder in Explorer
-
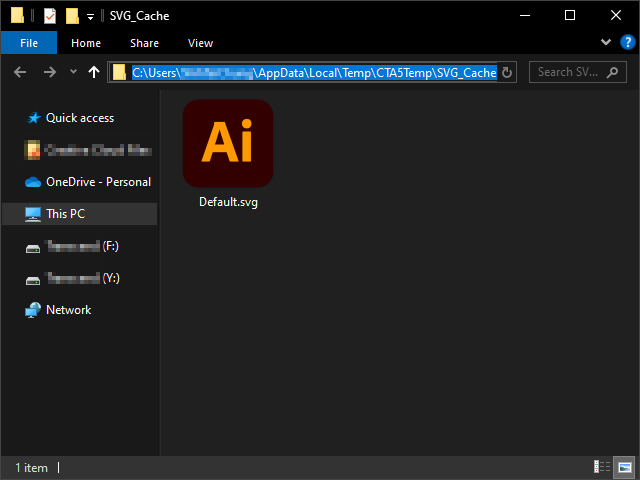
Copy the path (default: C:\Users\[User
Name]\AppData\Temp\CTA5Temp\SVG_Cache).
- Go back to Affinity and execute File > Export command.
- In the Export window, switch to the SVG item and choose the "SVG (digital -small size)" preset.
- Click the Export button.

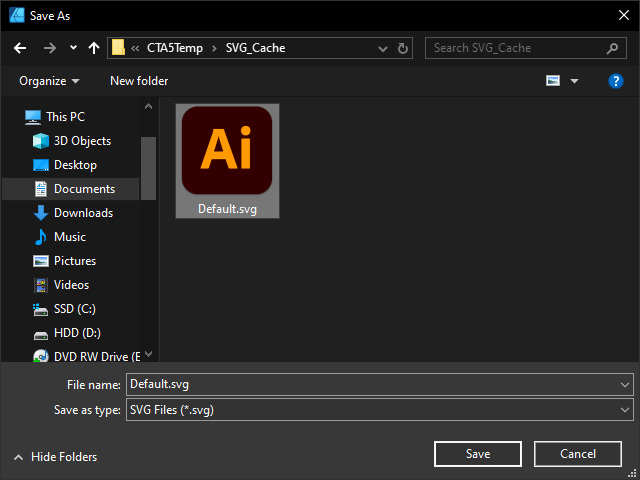
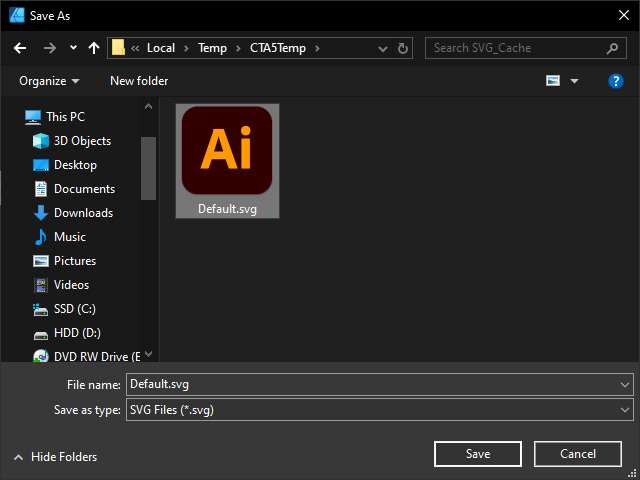
- Paste the copied path and overwrite the "Default.svg" file,
and click the Save button to overwrite the svg file.
- Execute File > Open folder in Explorer
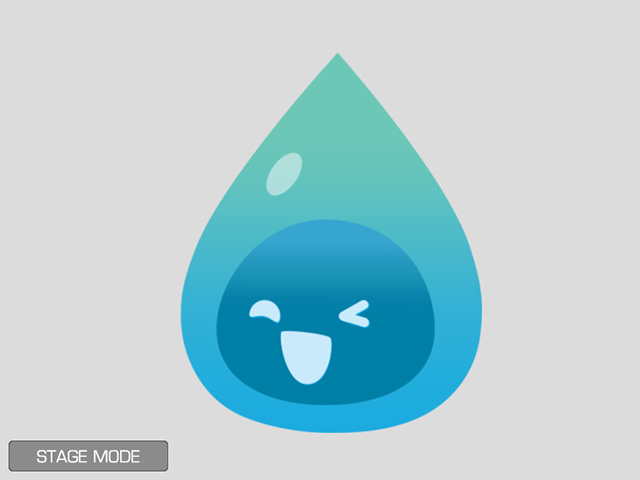
- The graphic will be transferred back to Cartoon Animator
and the panel below will appear. Click on the appropriate
image category:
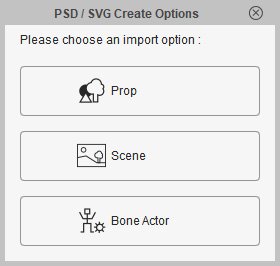
- Prop: Converts the graphic to a regular prop.
- Scene: Converts the graphic to an element in the scene.
- Bone Actor: Starts the process of creating a free-bone actor based on the image.
- The SVG graphic will become a new object in Cartoon Animator.
- Assign Affinity Designer to be the default vector graphic editor.
- Create an SVG object as described in the previous section.
- Enter the Composer mode
and select the object.

- Transfer the object by launching SVG Editor.
-
Affinity Designer will automatically open the image.
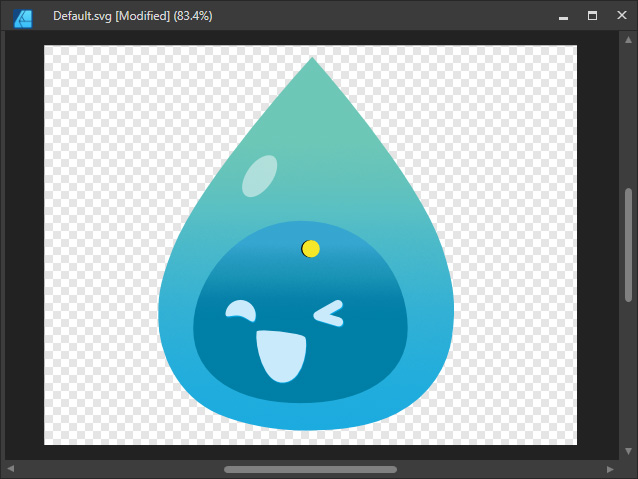
- Edit the graphics.
- Because the extension file name of Affinity Designer is not .SVG, to transfer the created asset back to the Cartoon Animator for each time, you need to:
- Execute File > Open folder in Explorer
- Copy the path
(default: C:\Users\ShihfeiChung\AppData\Local\Temp\CTA5Temp).
- Go back to Affinity and execute File > Export.
- In the Export window, switch to the SVG item and choose the "SVG (digital -small size)" preset.
- Click the Export button.

- Paste the copied path and overwrite the "Default.svg" file,
and click the Save button to overwrite the svg file.
- Execute File > Open folder in Explorer
- The edited graphic will be transferred back to Cartoon Animator.