Using Custom Vector Editors - Corel Draw
Cartoon Animator seamlessly integrates user-friendly animation tools with leading drawing software, including popular options like Illustrator, Affinity Designer, CorelDraw, and Inkscape. Additionally, it supports the use of drawing tablets, empowering the effortless transformation of static graphic images into lively animations. With the ability to utilize their preferred vector editor, anyone can easily craft characters, props, and scenes, ready to be animated within Cartoon Animator.
( Watch Tutorial - Setup Your Favorite Vector Editor as Content Creator )
- Assign CorelDRAW as the default vector editor.
- Click the CorelDRAW button on the Add-on Tool Bar.
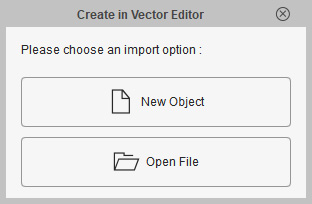
- In the following Create in Vector Editor dialog, click the New Object button to create new assets, or click the Open File button to edit existing assets with the vector editor.
-
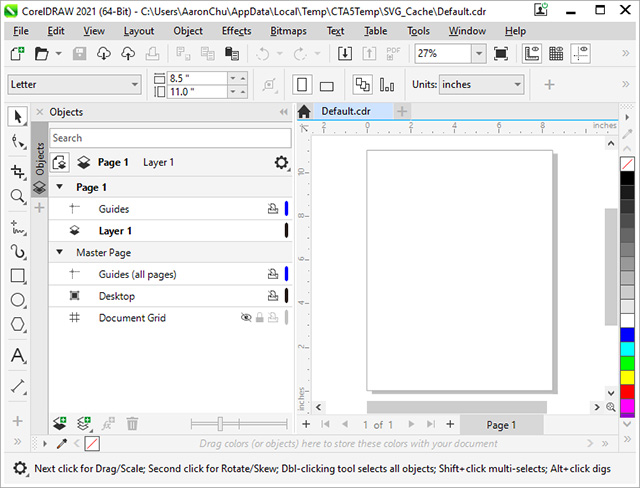
By clicking the New Object button, the CorelDRAW application will automatically launch with a new file tab called "Default.cdr". You can now
start to create your SVG project.
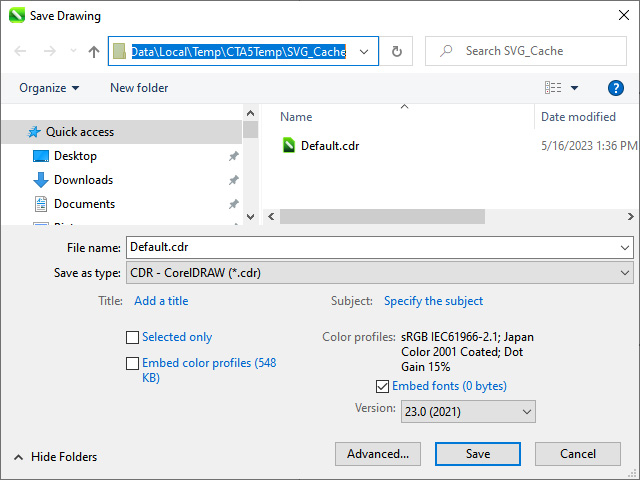
- Because the extension file name of CorelDRAW is not .SVG, to transfer the created asset back to Cartoon Animator, you need to:
- Execute File > Save... once.

- Execute the File Save As... command.
- Copy the default path in the Save As... panel
and click the Cancel button.
- Execute File > Export. Paste the copied path and overwrite the "Default.svg" file. You can then skip the step i, ii, iii and directly perform this step afterward.
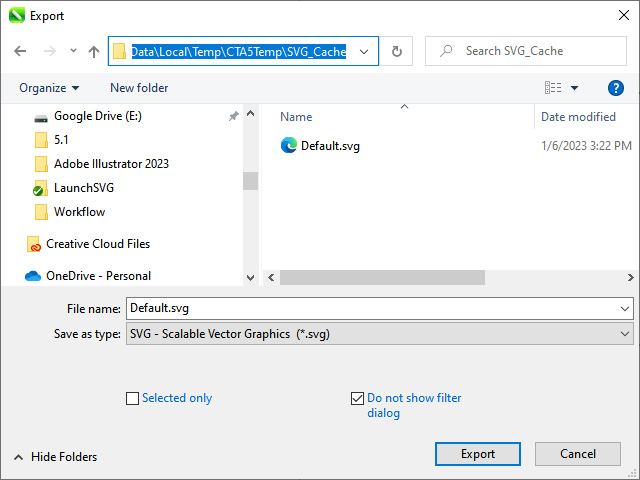
- The edited SVG file will be transfer back to Cartoon Animator instantly.
- Execute File > Save... once.