Show/Hide Specific Tracks
When you use the timeline, sometimes you may need to often show/hide certain tracks. In this section, you will learn how to show/hide tracks for a more efficient editing with the Object-related Track button.

With the Object-related Track button you may show, in the timeline, only the picked items in order to prevent an over-spanned timeline. This method applies to all the items in the Scene Manager.
-
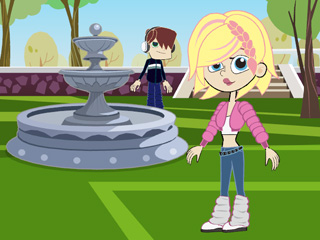
Load a project with various items.
-
Press F3 or click the
 Show Timeline button to show the timeline.
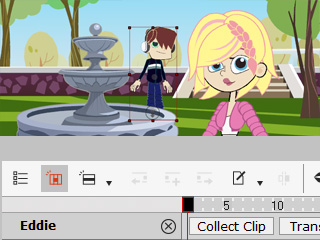
- Press the Object-related Track button.
-
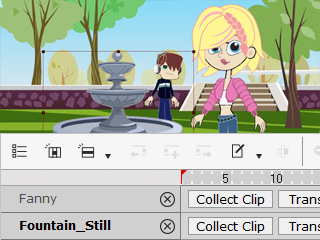
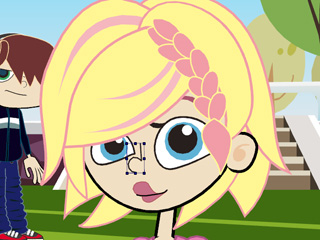
Pick a character in the working area. The timeline will then only show the name of the character and its track buttons.
-
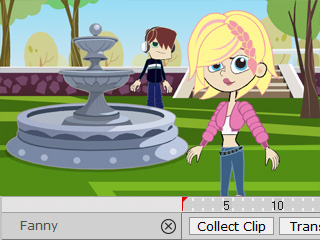
Pick a prop in the working area and the timeline will hide the character's track, and only show the name of the prop and its track buttons.

If you wish to show more than one item on the Timeline, then you may use the steps below.
-
Load a project with various items.
-
Press F3, or click the Show Timeline button, to show timeline.
The Timeline will then show the first character name in the Scene Manager
by default.
- Make sure that the Object-related Track button is not pressed down.
-
Right-click on another item in the working area to display the right-click menu.
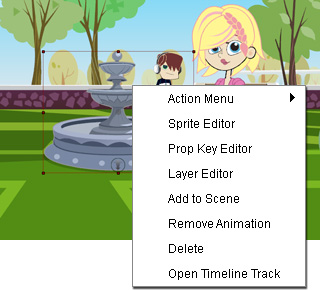
- Select the Open Timeline Track in the menu.
-
This item will then be shown in parallel with the character.
When combining with the Object-related Track button, you can have the timeline show specific track details by opening an editing panel. This method only applies to characters and props (accessories).
- Press the Object-related Track button.
-
Pick another character. Click the
 Sprite Editor button
The Sprite Editor displays.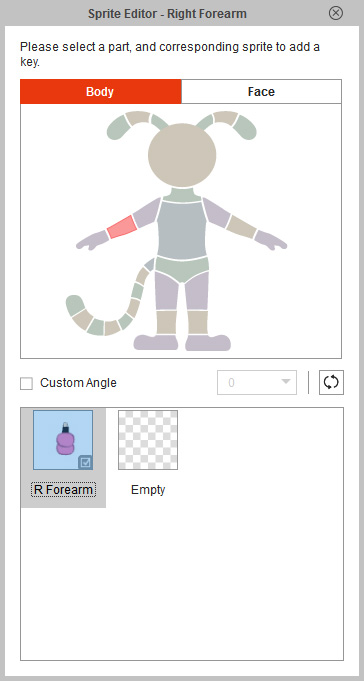
-
Click on the upper body of the character.
-
You will see that the timeline will automatically show the Up Torso_T, Up Torso_S and Up Torso_D.

-
Close the Sprite Editor,
and click the
 2D Motion Key Editor.
The Body Key Editor displays.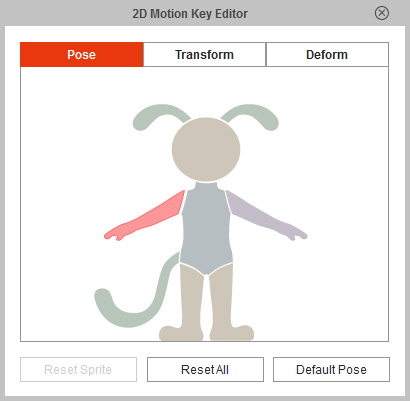
- Switch to Pose, Body or Face (Sprite-based face only) mode.
-
Pick the individual body parts or facial features.
-
You will see that the timeline automatically shows the
T and S tracks of that specific part.
