Transition Curves in Tracks
In Cartoon Animator, you are able to set keys or add clips into different tracks. Interpolations can be
customized between different curves so that the transition speeds between two adjacent keys, imitate the physical characteristics of how the object would move in the real world.
( Watch Tutorial - Basic Motion Clip Editing )
-
In the target track of the Timeline, set two keys (take the Transform track
as an example).

-
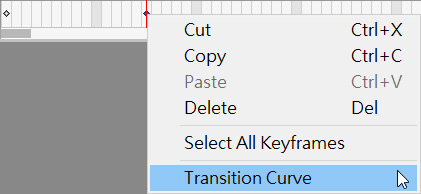
Right-click on the Later one. Select the Transition Curve entry in the Menu.

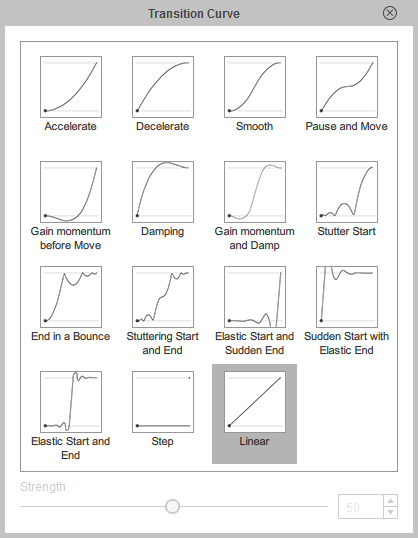
- You will see the Transition Curve panel display on the screen.

- Move your cursor onto the transition profiles and the thumbnail will play an animated guide to show you the effect of the transition method.

- Click on the desired transition effect profile and close the panel.
- Drag the Strength slider to dramatizing or weaken the transition curve effect.

 Note:
Note:Only the Accelerate, Decelerate, Smooth and Pause and Move profiles can be applied with the Strength value.
- The transition curve will then only be generated between these two keys.

|
Accelerate |
Decelerate |
|
Smooth |
Pause and Move |
|
Gain momentum before Move |
Damping |
|
Gain momentum and Damp |
Stutter Start |
|
End in a Bounce |
Stuttering Start and End |
|
Elastic Start and Sudden End |
Sudden Start with Elastic End |
|
Elastic Start and End |
Step |
|
Linear |
|