Modifying Joints with Joint Masks
The joints of two connected body parts have certain layer order by default because of the angles of the character and its body parts.
However, there might be some visual imperfections generated by the layer order at the joints of the character.
|
|
|
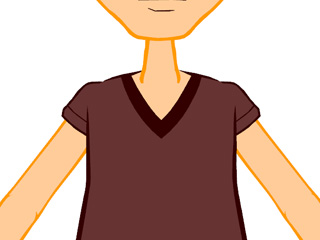
The character in zero degree. |
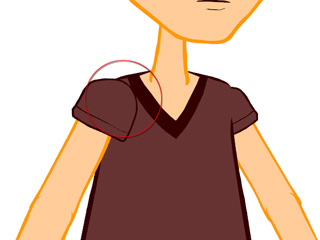
The character in 45 degree, which causes the shoulder joint display a visual flaw. |
You may need to use the Joint Masks to modify it.
-
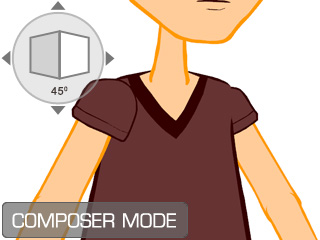
Apply a character, select it and click the
 Composer button to enter the Composer Mode.
-
Click the Angle Switch to an angle when the flaws show around the joint
area.
-
Pick the child body part and you will see a circle shows around the
joint, it is the Joint Mask.

 Note:
Note:-
If the joint mask does not show, then click the Edit >>
Add Joint Mask command to add one.
-
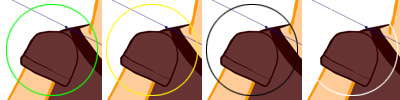
Click the Edit >> Switch Joint Mask Color command to circularly change
the color of the mask color.
-
If the joint mask does not show, then click the Edit >>
Add Joint Mask command to add one.
-
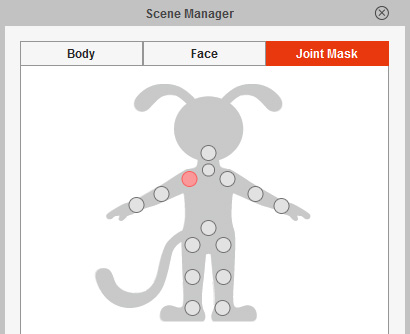
Click on the circle to select the mask. Alternatively, you may open the
Scene Manager (F5) and switch to the Joint Mask tab to
show the dummy for more easily select the masks.
-
Transform the mask (move, rotate or scale) to the area where you want to apply the mask effect to.

- Click on the child body part again.
-
Click the
 Sent to Front or
 Sent to Back buttons on the Properties Toolbar to change the layer order of the body part.
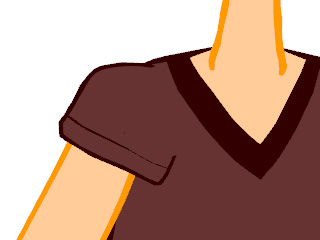
-
Click the
 Back to Stage button to return to the stage.
Note:
Back to Stage button to return to the stage.
Note:- Please note that the change of the layer order can only be seen within the joint mask.
- If you remove the mask and click the layer order buttons, then you will not see any influence.