Importing Methods
There are several methods for importing FBX or OBJ files into Character Creator for creating custom characters or props.
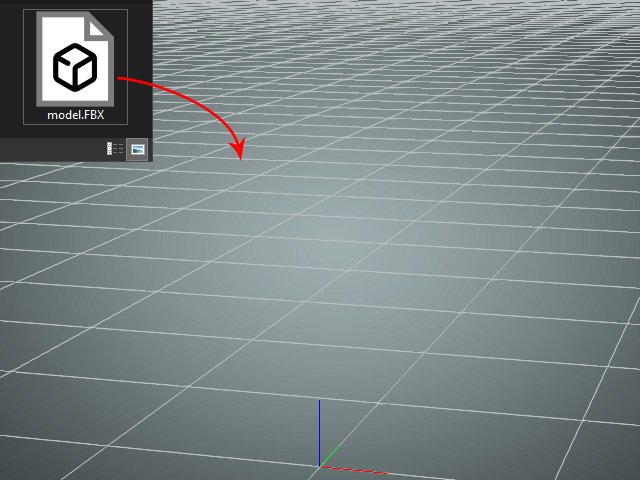
- OBJ
If you drag and drop an OBJ file into the 3D viewport, it will instantly convert into a prop without any further steps.
- FBX
- Drag and drop an FBX file into the 3D viewport.
- You will see the Import FBX panel displayed for choosing the target object you want to create.
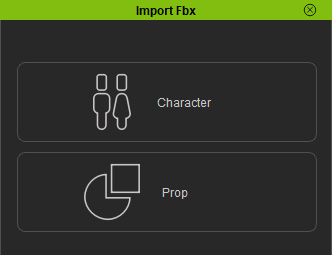
- If you click the Character button, then the Import Fbx panel pops up.
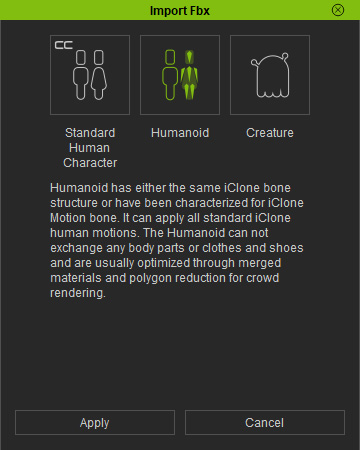
- Click either one of the button to proceed the rest of the conversion steps.
- Go to the Create menu and execute the Create Character or Prop command.
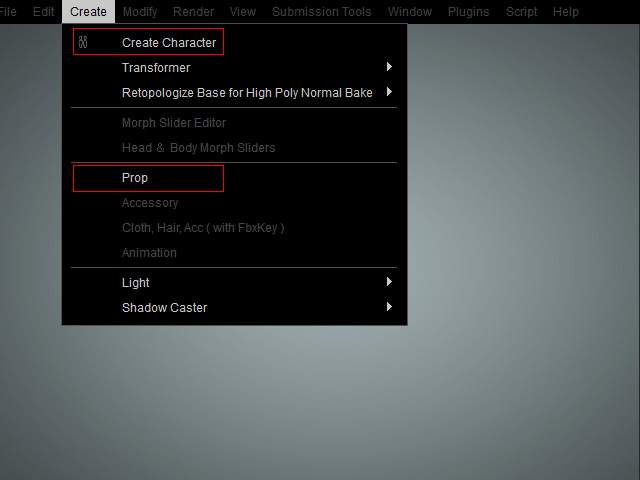
- For the Create Character command, browse and select a desired FBX file and click the Open button.
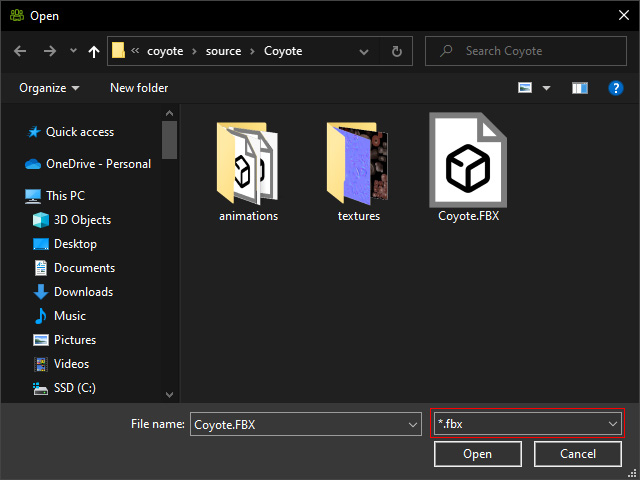
System starts the auto-conversion process.
Click OK to create a Humanoid character or click Cancel to create a Creature character.
You can convert it to Humanoid character using the Characterization feature afterward.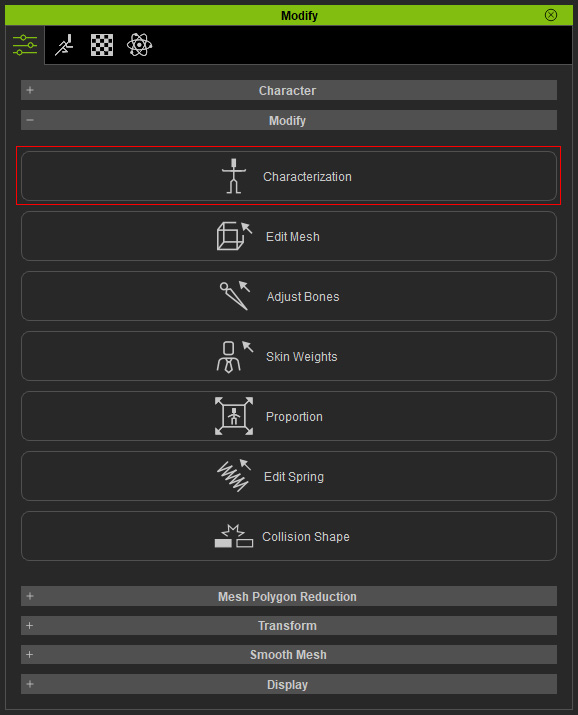
- For the Prop command, simply browse and select a desired OBJ or FBX file and click the Open button.

The file will be converted into a prop instantly. You can convert it to Creature or Humanoid characters afterward.
- For the Create Character command, browse and select a desired FBX file and click the Open button.
Click an empty space in the 3D viewport. You can import character or prop through the buttons in the Modify panel.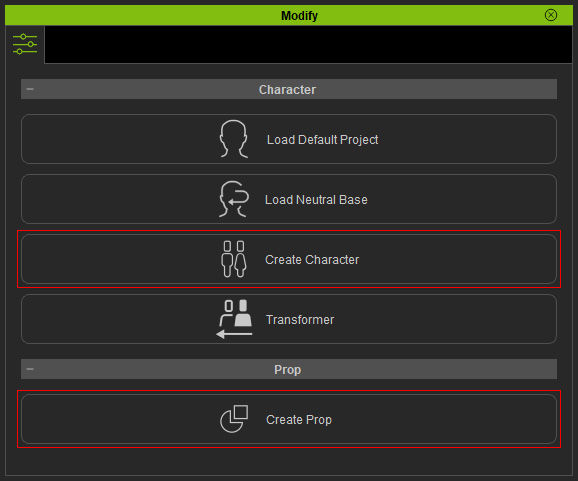
- For the Create Character button, browse and select a desired FBX file and click the Open button.

Click OK to create a Humanoid character or click Cancel to create a Creature character.
You can convert it to Humanoid character using the Characterization feature afterward.
- For the Create Prop button, simply browse and select a desired OBJ or FBX file and click the Open button.

The file will be converted into a prop instantly. You can convert it to Creature or Humanoid character afterward.


