Settings in the Appearance Editor - Lip Makeup
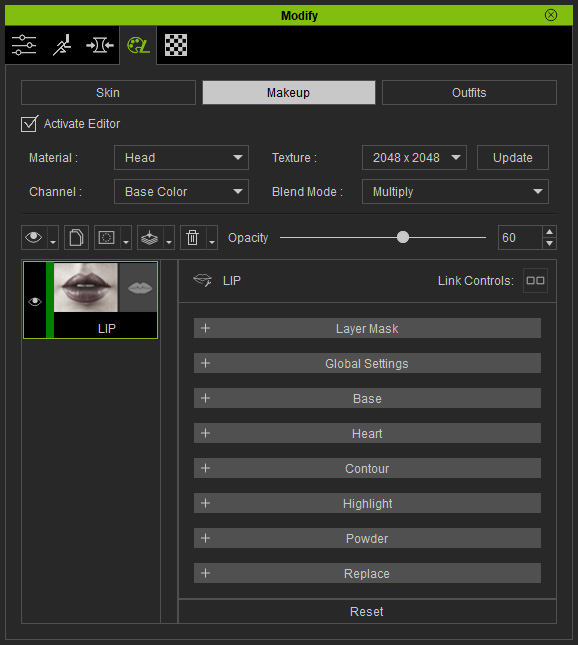
Regions of the Lips
The lips are divided into four different regions: Base, Heart, Contour and Highlight.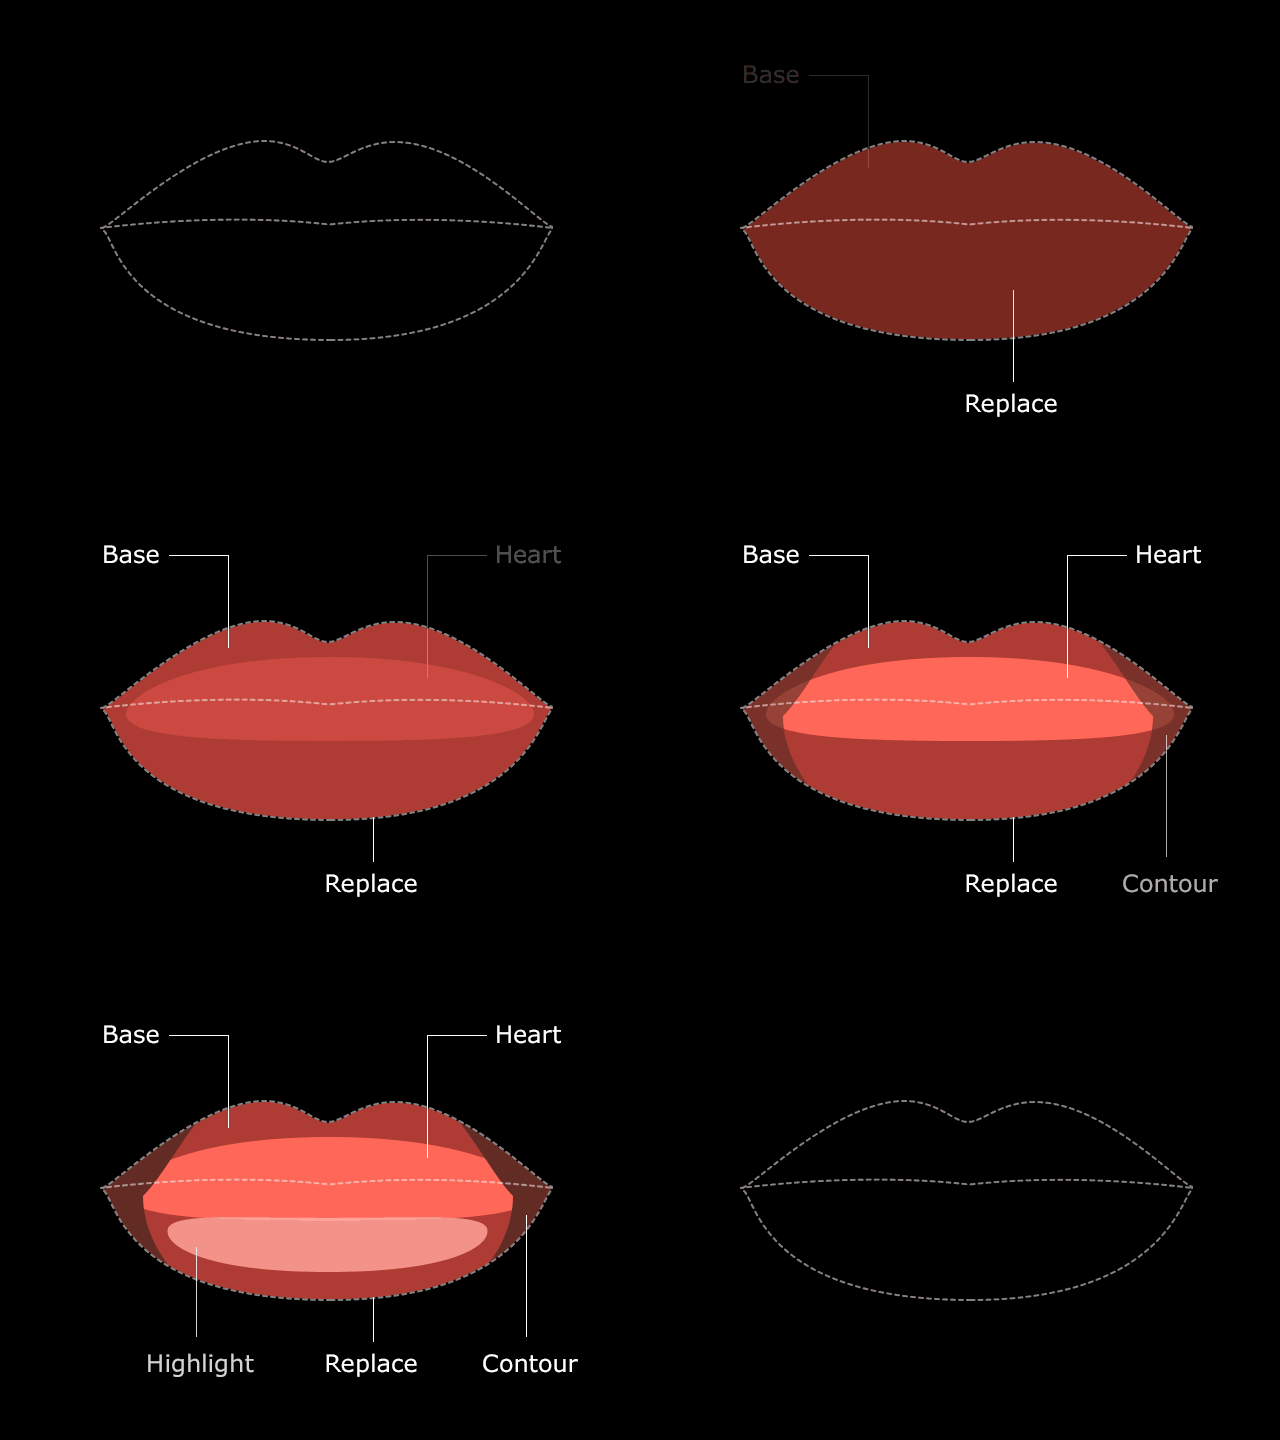
 Layer Mask
Contains the mask for the entire layer effect. The textures in this section can be edited if you have purchased and installed the SkinGen Plugin.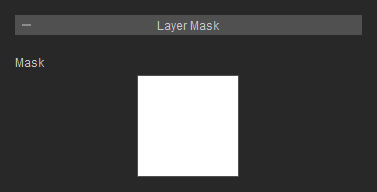
Refer to the Layer Mask section for more information.
Global Settings
The settings in these sections can be used to adjust the entire color, smoothness and moisture of the lips.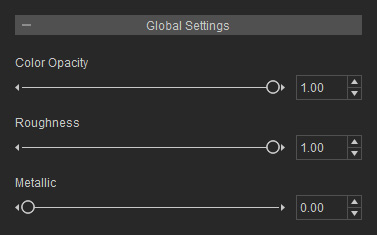
- Color Opacity
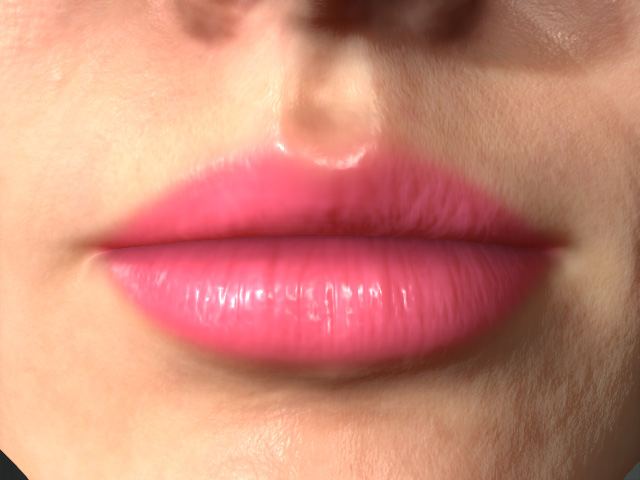
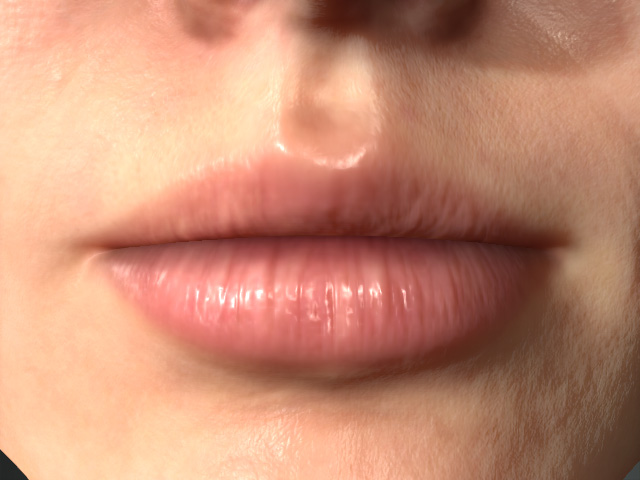
Color Opacity = 1.00
Color Opacity = 0.50
- Roughness and Metallic
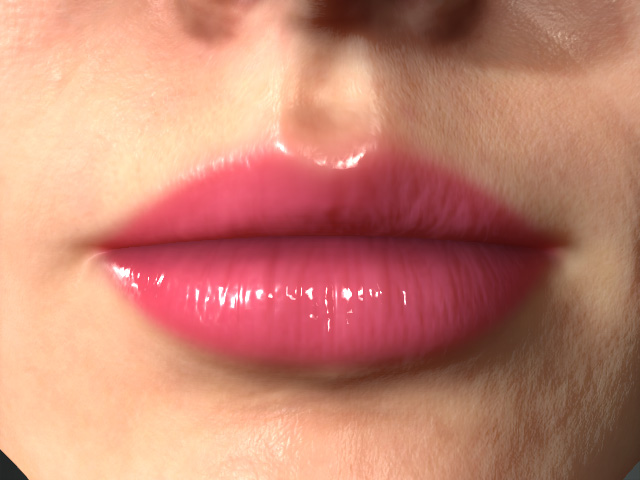
Roughness = 0.5
Metallic = 0.6
Roughness = 0.00
Metallic = 0.80
Base
Contains sections for setting the base layer of the lips. The textures in this section can be edited if you have purchased and installed the SkinGen Plugin.
Texture Settings
It contains two textures for defining the shape of the base layer and the normal on the lips. The textures in this section can be edited if you have purchased and installed the SkinGen Plugin.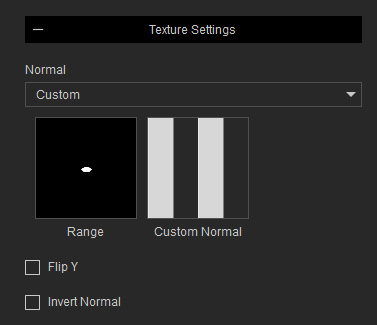
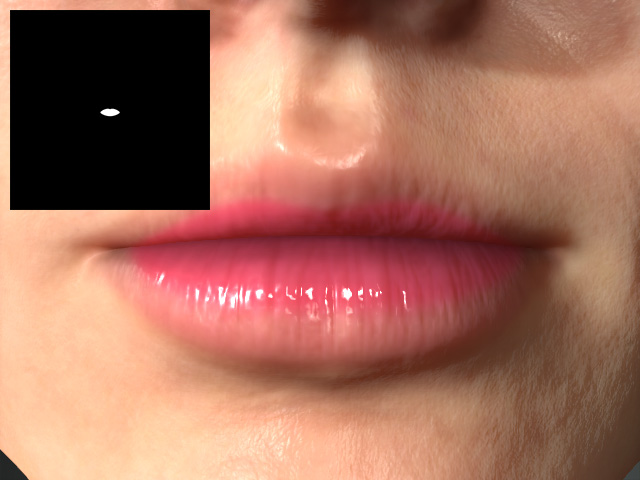
- Range: This texture defines the shape of the base layer.
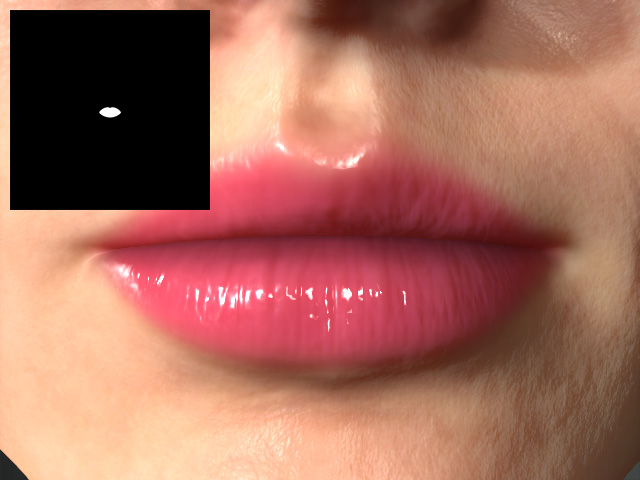
Range = Default
Range = Custom
- Custom Normal: If you select the Custom item from the Normal drop-down list, then you can apply a custom normal texture onto the lips.
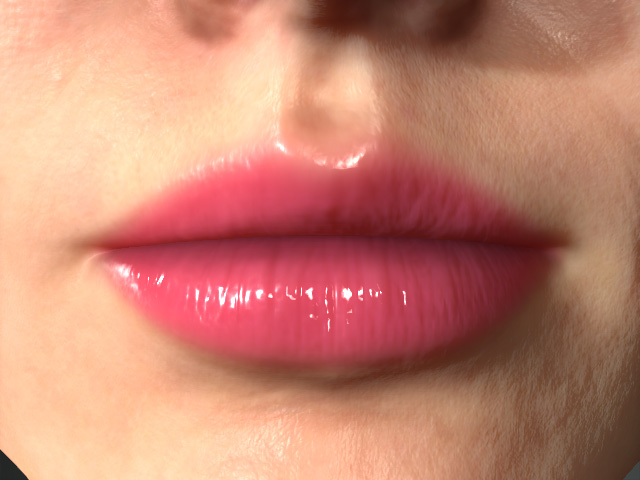
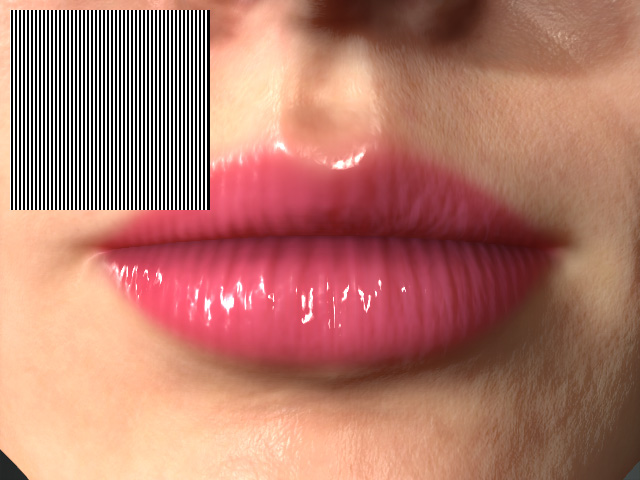
Custom Normal = Default
Custom Normal = Custom
Material
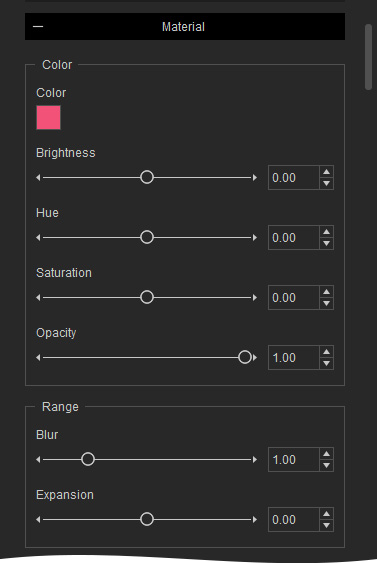
Color
The settings in this group can be used to apply base color onto the lips.
- Color and Opacity
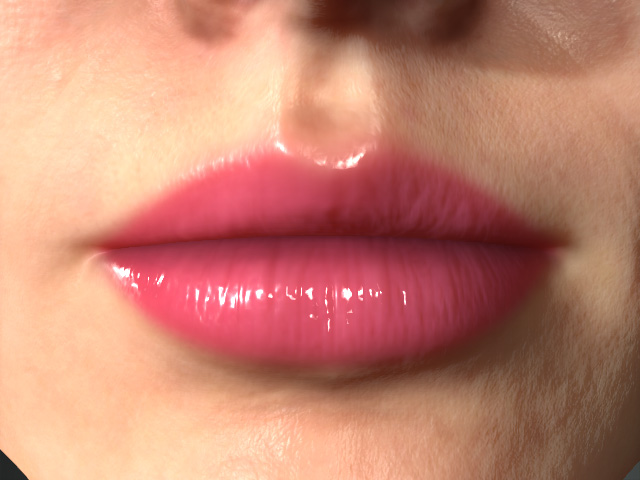
Color = #F25278 (peach pink)
Brightness = 0.00
Hue = 0.00
Saturation = 0.00
Opacity = 1.00
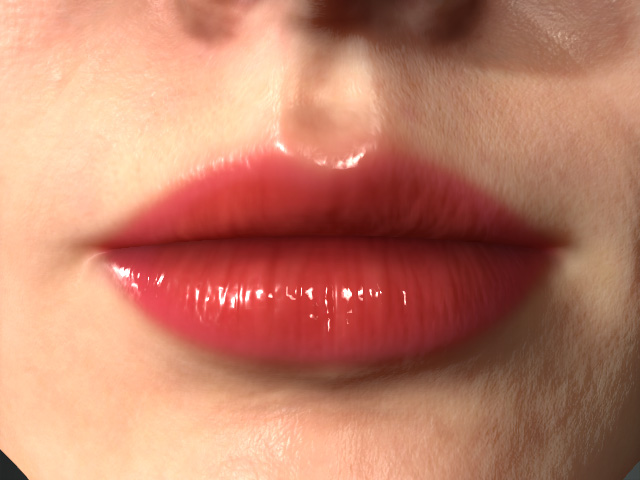
Color = #D12C2C (dark red)
Brightness = -0.10
Hue = 1.00
Saturation = 1.00
Opacity = 0.60
Range
The settings in this group can be used to adjust the range texture for the lips' base color.
- Expansion: This setting expands or shrinks the range of the base color on the lips.
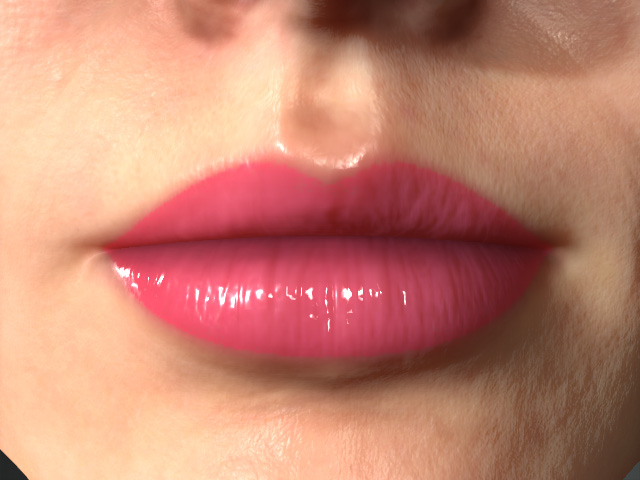
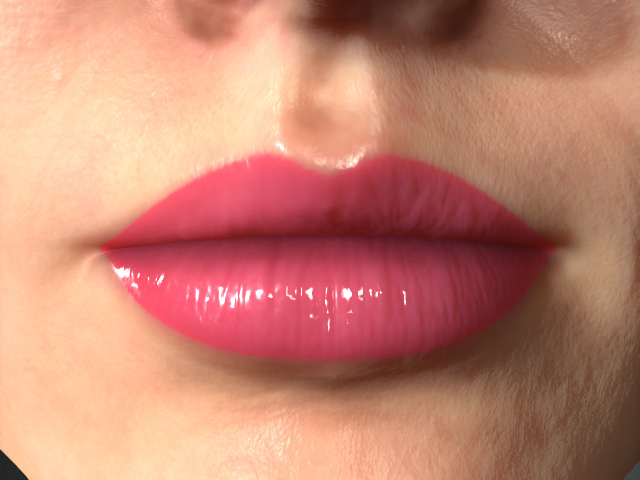
Expansion = 0.00
Expansion = 1.00
- Blur: This setting blurs out the edge of the range.
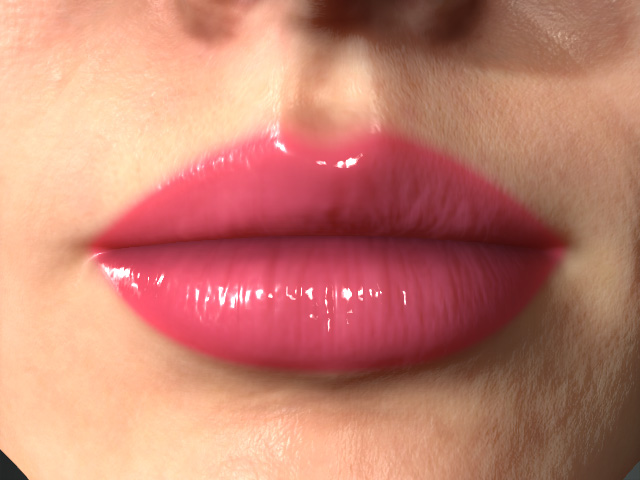
Blur = 0.00
Blur = 1.00
Normal
The settings in this group can be used to adjust the bumpiness of the base color on the lips.
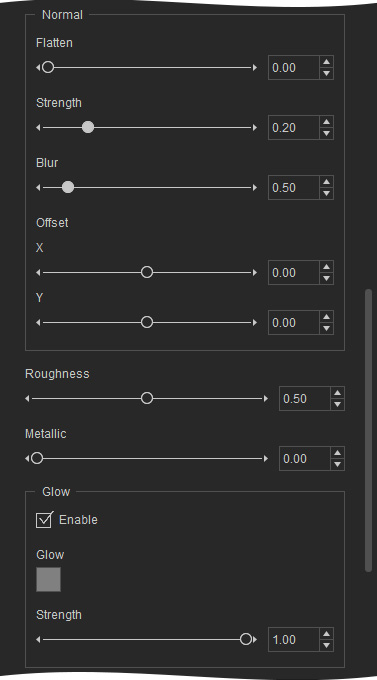
- Flatten: Sets the blending level of the normal effect.
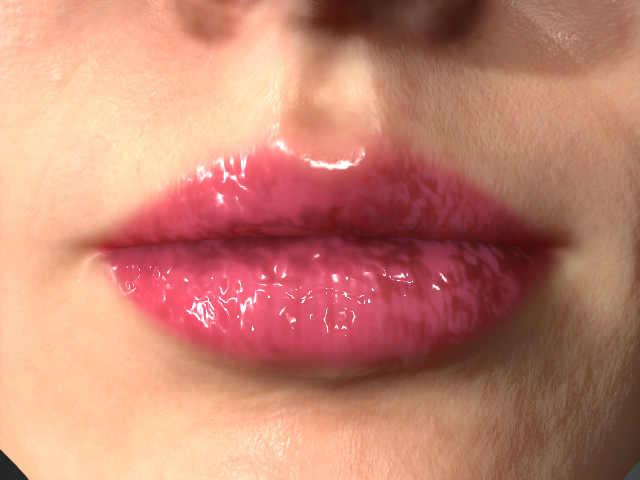
Flatten = 0.00
Flatten = 5.00
- Strength: The bump strength of the normal.
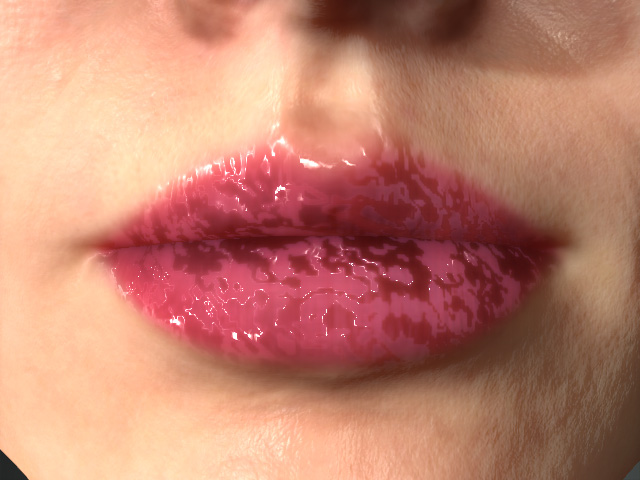
Strength = 0.00
Strength = 5.00
- Blur: The bumpiness can be smoothed out with this setting.
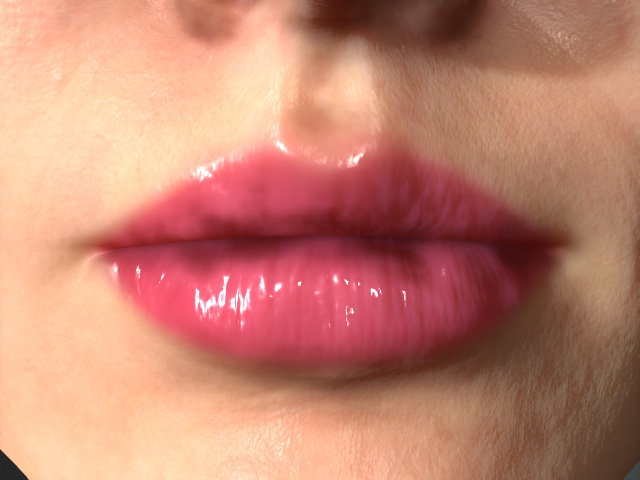
Blur = 0.00
Blur = 0.80
- Offset X, Y: The normal effect can be transformed independently.
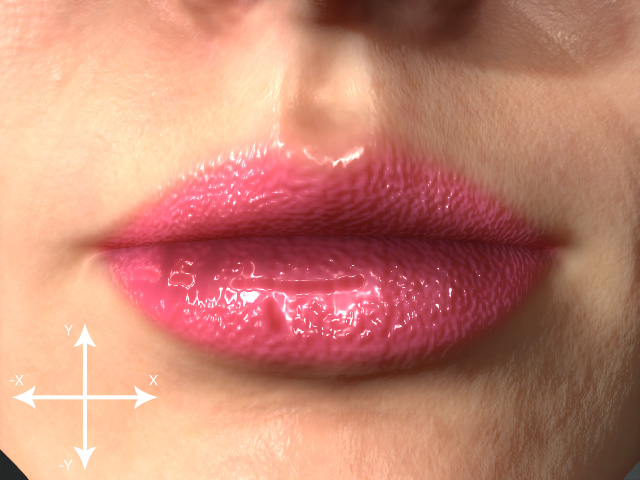
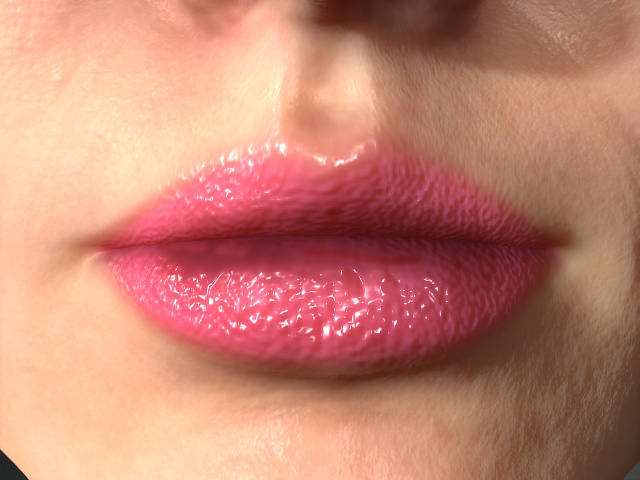
Offset X, Y = 0.00, 0.00
Offset X, Y = 1.00, 0.50
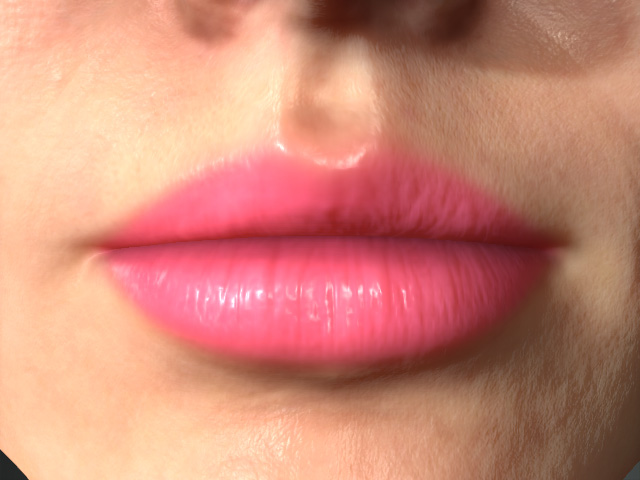
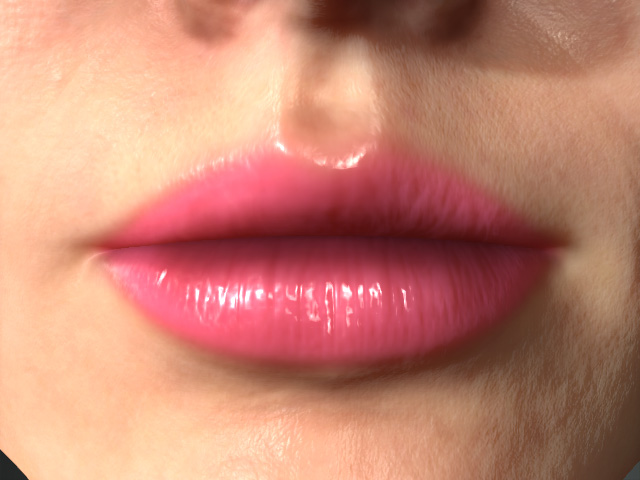
Roughness and Metallic
The settings in this group can be used to adjust the smoothness and reflectivity of the base color.
|
|
|
Roughness = 0.20 Metallic = 0.00 |
Roughness = 0.00 Metallic = 1.00 |
Glow
The settings in this group can be used to apply glow to the powder effect.
- Color
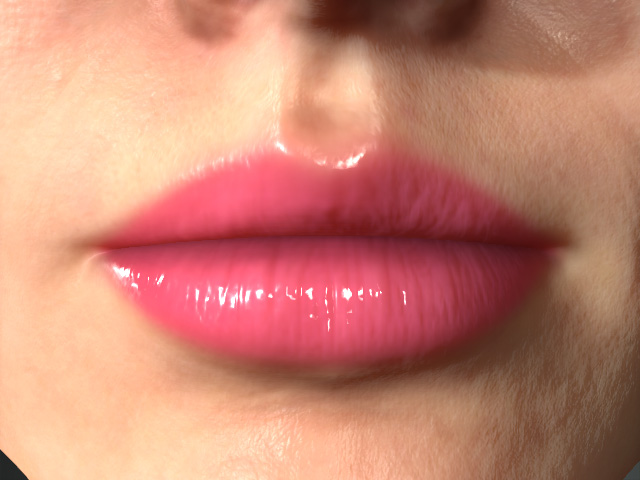
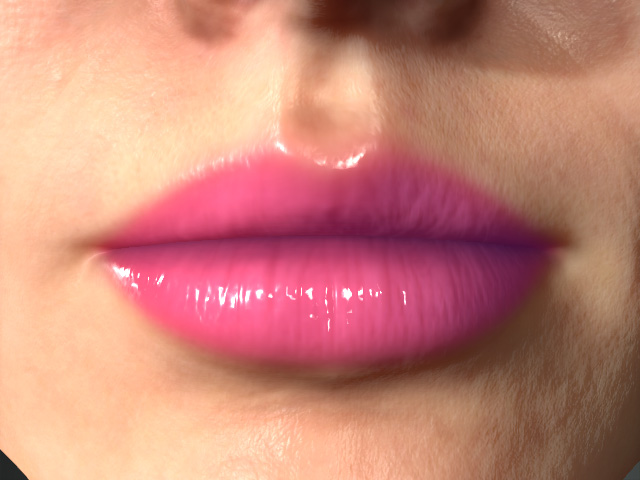
Enable = Off
Enable = On
Color = #00007F (dark blue)
Strength = 0.20
- Strength
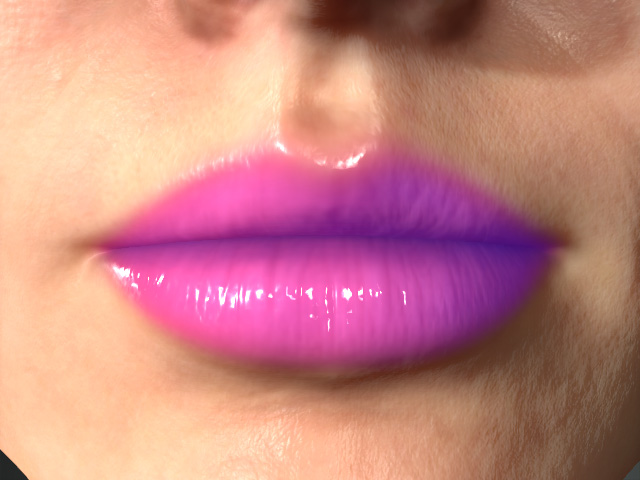
Strength = 0.20
Strength = 0.80
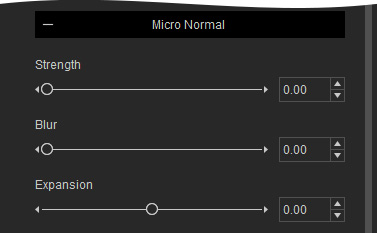
Micro Normal
The settings in this group can be used to adjust the micro normal of the noise.
- Strength
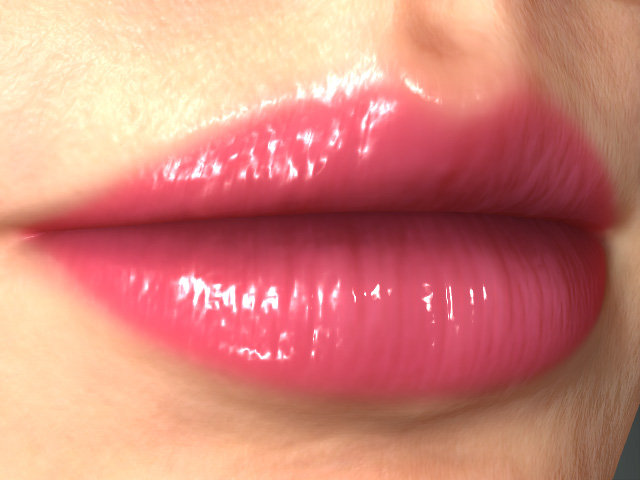
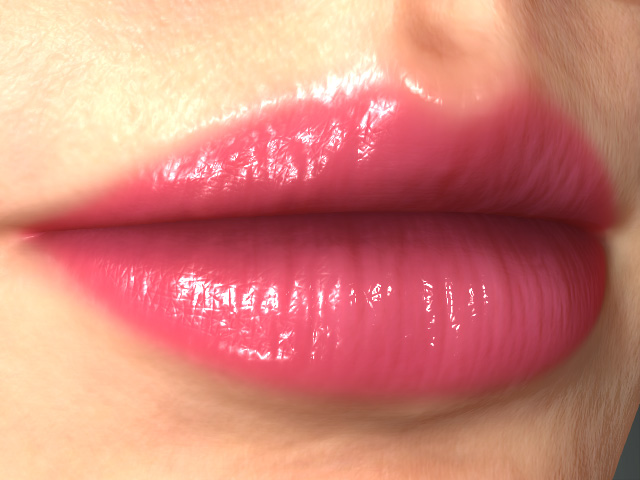
Strength = 0.00
Strength = 1.00
- Expansion
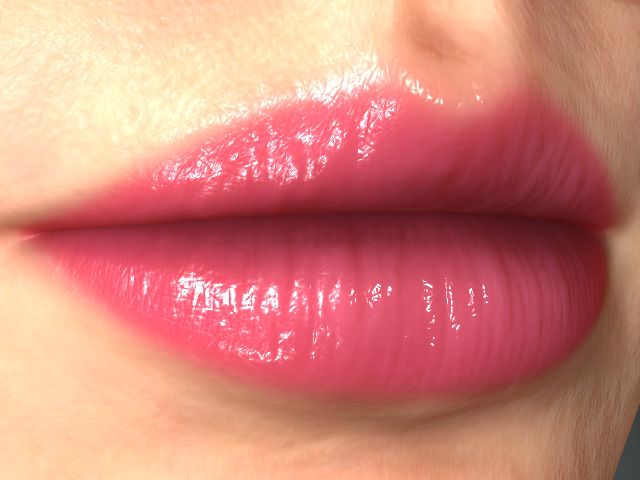
Expansion = -1.00
Expansion = 1.00
- Blur: This setting blurs out the edges of the micro normal range.
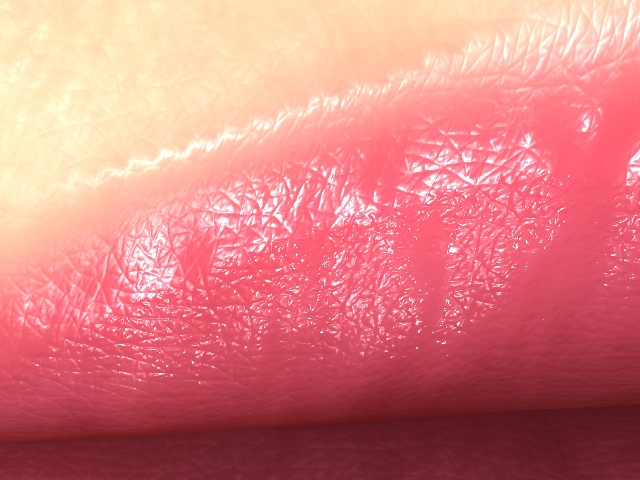
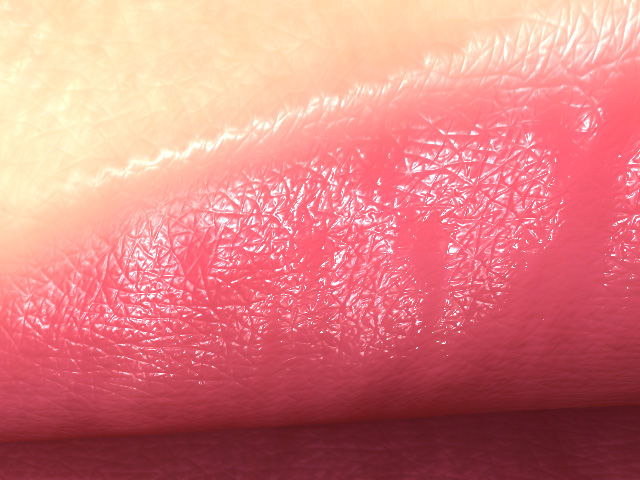
Blur = 0.00
Blur = 1.00
Transform
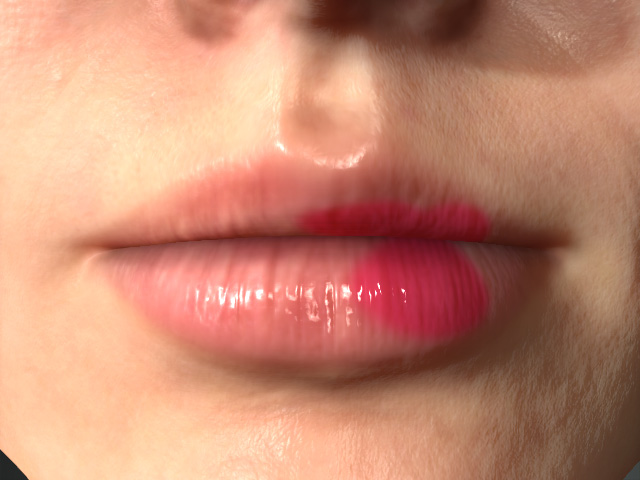
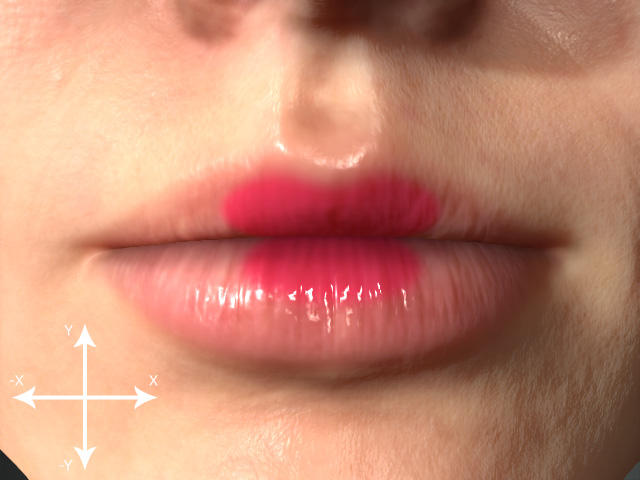
Contains settings for relocating the base layer of the lips. It is useful when the lips range in the Range texture is not ideally positioned.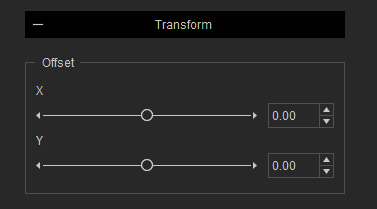
|
|
|
X, Y = 0.00, 0.00 |
X, Y = -1.50, 0.45 |
Heart
It contains sections for setting the heart layer of the lips. The textures in this section can be edited if you have purchased and installed the SkinGen Plugin.
Texture Settings
It contains one texture channel for defining the shape of the heart region. The textures in this section can be edited if you have purchased and installed SkinGen Plugin.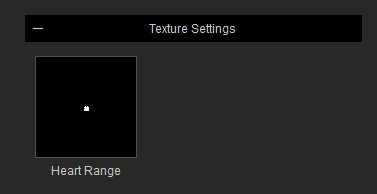
- Heart Range: This texture defines the shape of the heart layer.
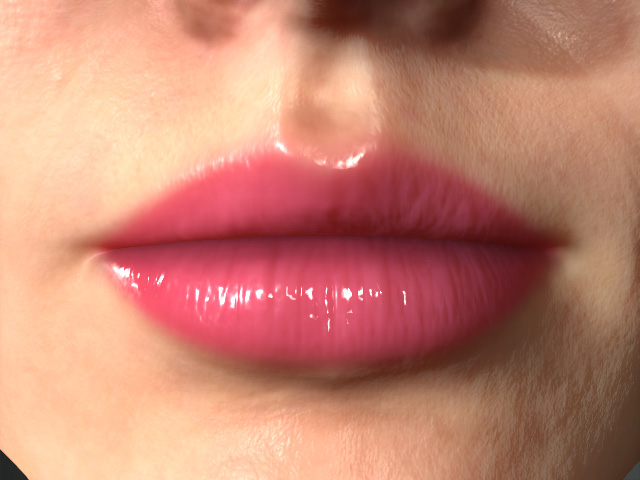
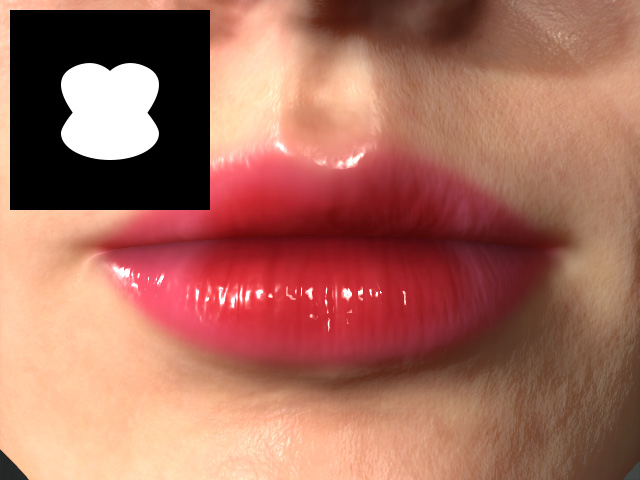
Heart Range = None
Heart Range = Custom
Material
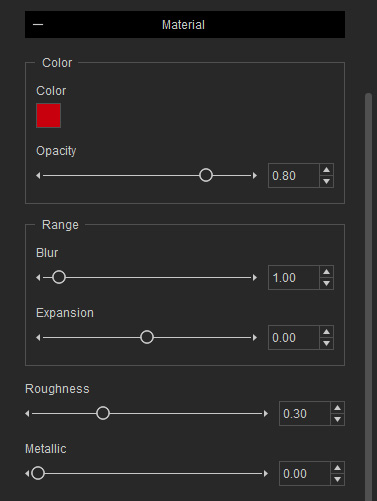
Color
The settings in this group can be used to put color of the heart onto the lips.
- Color and Opacity
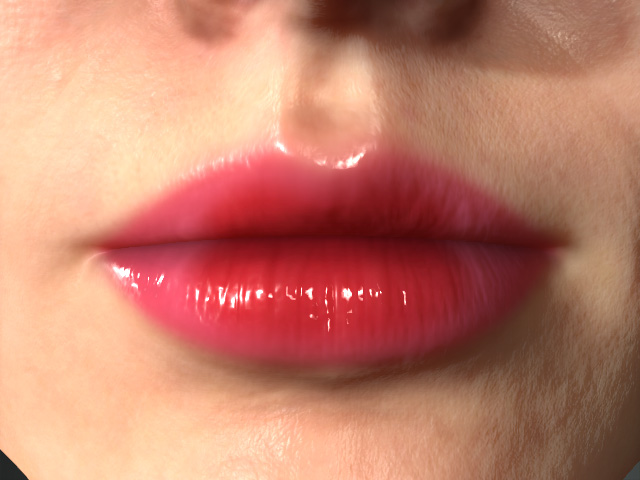
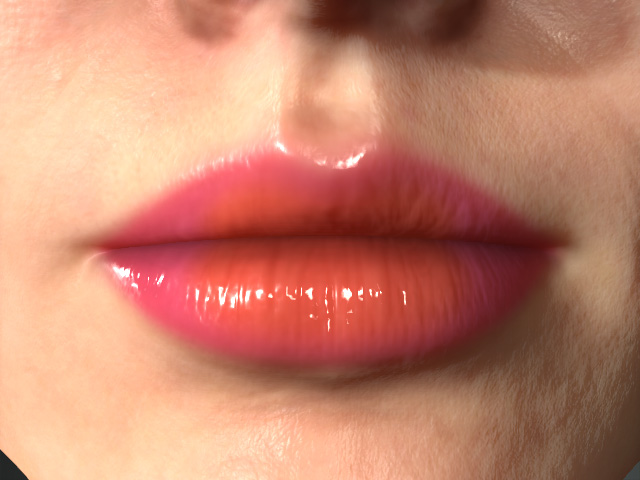
Color = #C8000D
Opacity = 0.80
Color = #FF5500 (orange)
Opacity = 0.50
Range
The settings in this group can be used to adjust the range texture for showing the color of the heart.
- Expansion: This setting expands or shrinks the range of the heart.
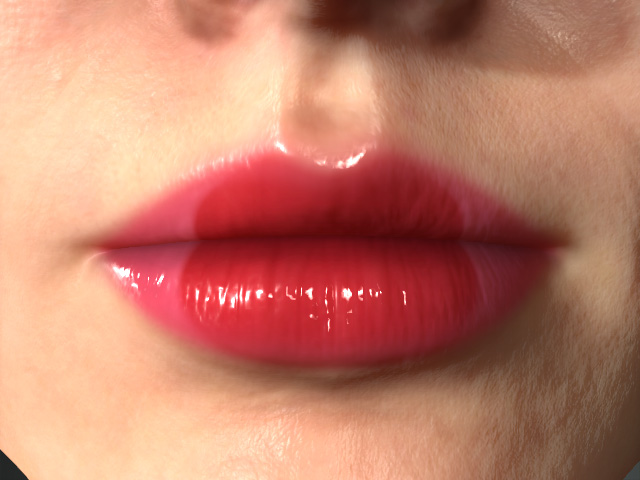
Expansion = 0.00
Expansion = 1.00
- Blur: This setting blurs out the edge of the range.
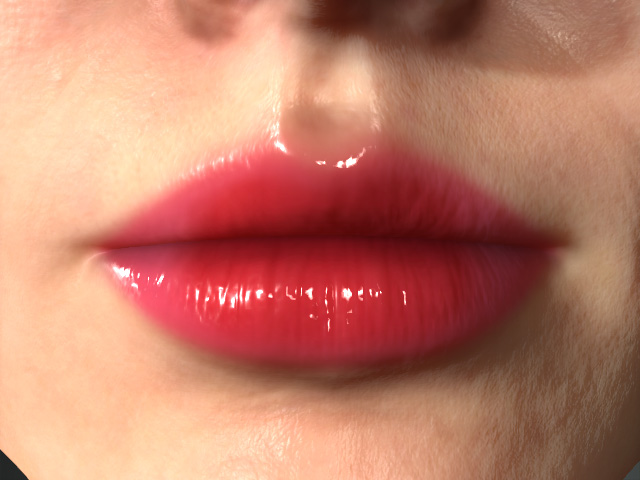
Blur = 1.00
Blur = 1.00
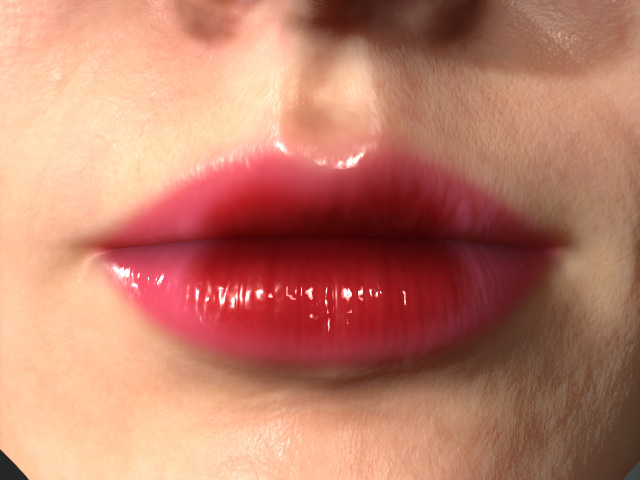
Roughness and Metallic
The settings in this group can be used to adjust the smoothness and reflectivity of the heart region.
|
|
|
|
Roughness = 0.50 Metallic = 0.00 |
Roughness = 0.00 Metallic = 1.00 |
Contour
It contains sections for setting the contour layer of the lips. The textures in this section can be edited if you have purchased and installed SkinGen Plugin.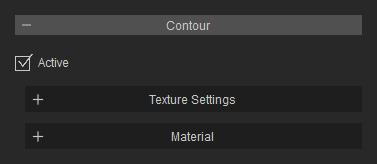
Texture Settings
It contains one texture channel for defining the shape of the contour of the lips. The texture in this section can be edited if you have purchased and installed SkinGen Plugin.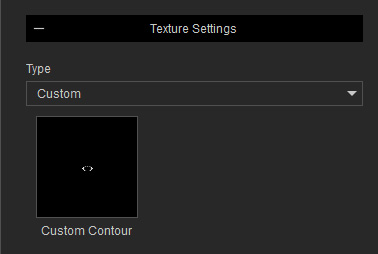
- Custom Contour: This texture defines the shape of the contour layer. You can use the Type drop-down list to choose to use the custom contour texture.
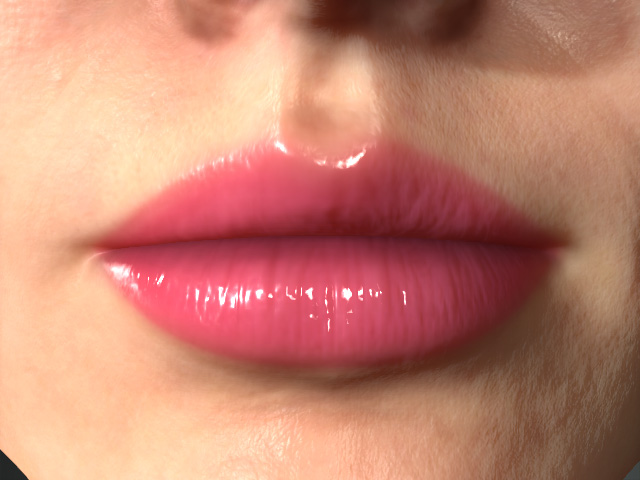
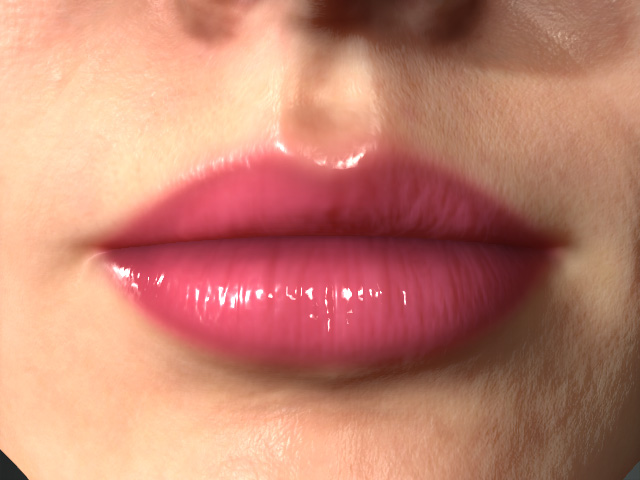
Custom Contour = None
Custom Contour = Custom
Material
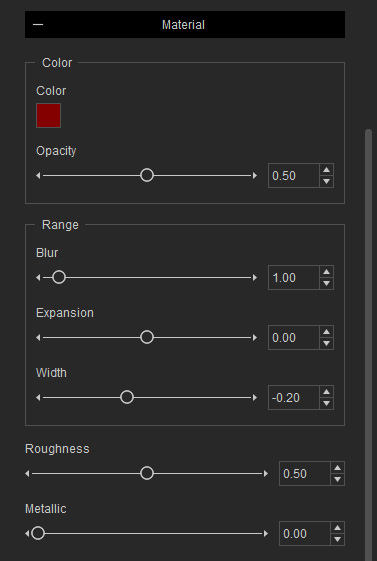
The usages of the sliders in this subsection are identical to the ones in the Heart section. The only different slider is the Width in the Range group. Refer to the previous section for more information about the other sliders.
- Width in Range Group
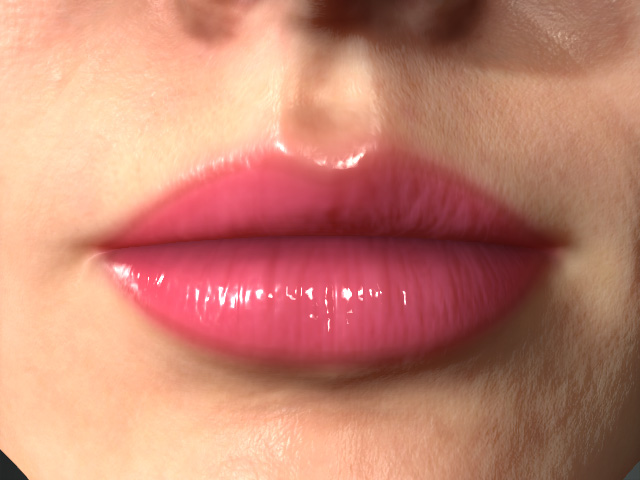
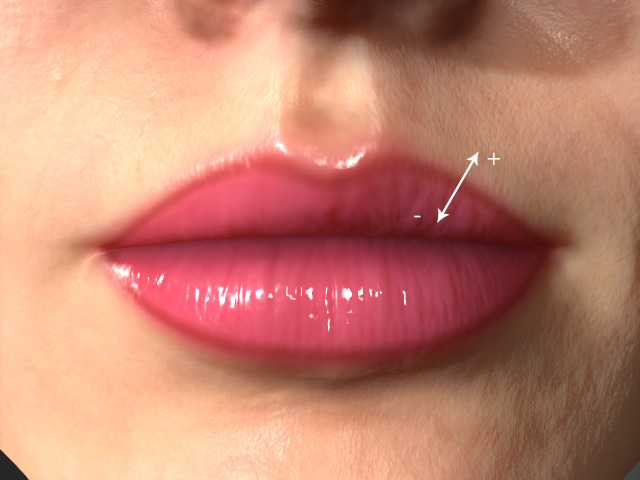
Width = -0.20
Width = -0.30
Highlight
It contains sections for setting the highlight layer of the lips. The textures in this section can be edited if you have purchased and installed SkinGen Plugin.
Texture Settings
It contains one texture channel for defining the shape of the highlight of the lips. The texture in this section can be edited if you have purchased and installed SkinGen Plugin.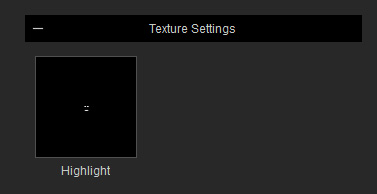
- Highlight: This texture defines the shape of the highlight layer.
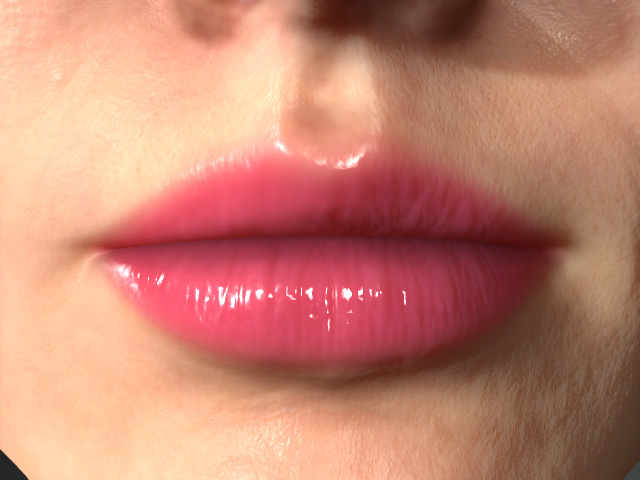
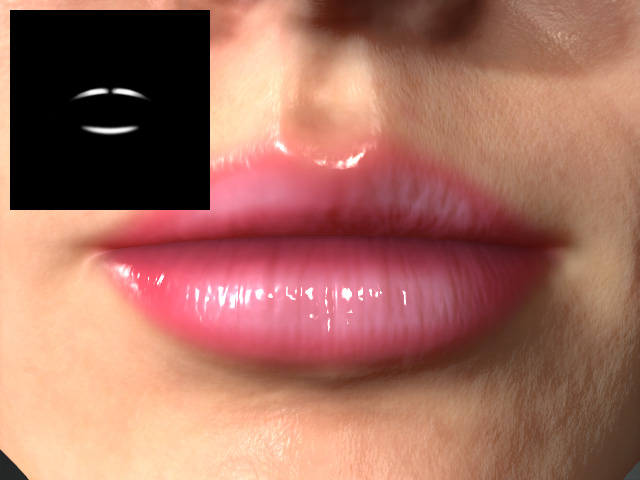
Custom Contour = None
Custom Contour = Custom
Material
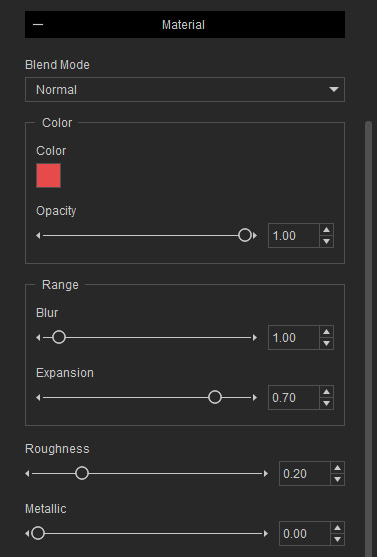
The usage of these sliders in this subsection are identical to the ones in the Heart section. The only different setting is the Blend Mode drop-down list. Refer to the previous section for more information about the other sliders.
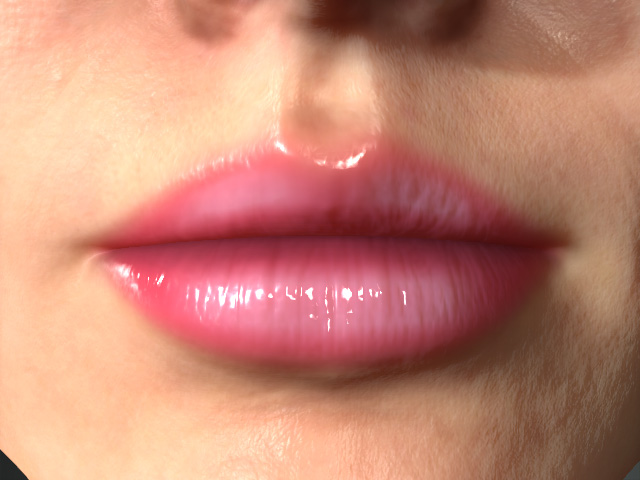
- Blend Mode
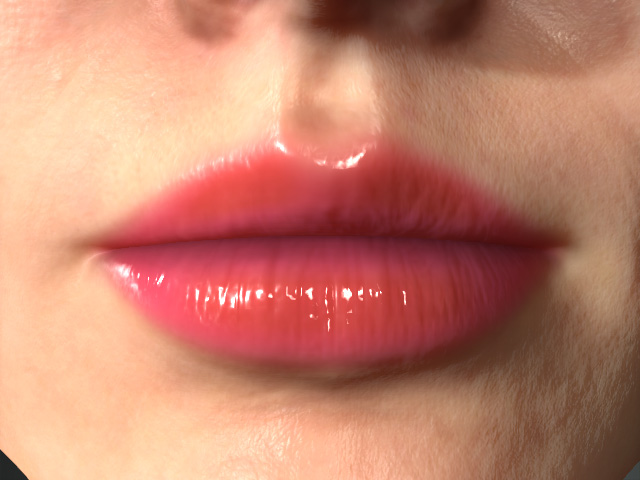
Blend Mode = Normal
Blend Mode = Lighten
Transform
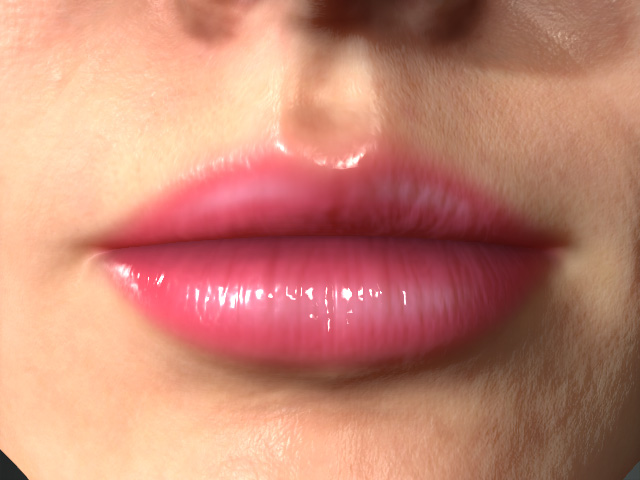
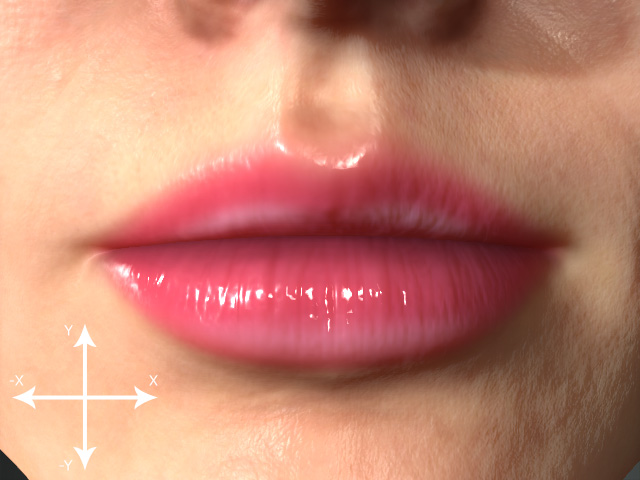
It contains settings for relocating the highlight layer of the lips.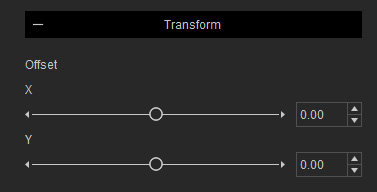
|
|
|
X, Y = 0.00, 0.00 |
X, Y = 0.00, -0.30 |
Powder
The Powder section contains three subsections with settings for sprinkling powder on the lips.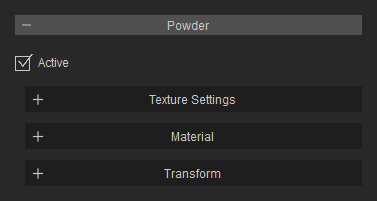
Texture Settings
There are two drop-down list and two channels to determine the sprinkling pattern of the powder. The textures in this section can be edited if you have purchased and installed SkinGen Plugin.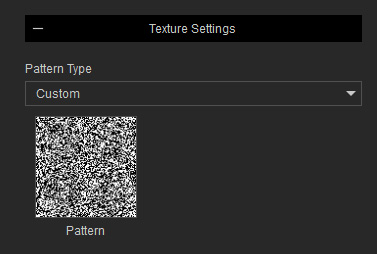
- Pattern Type: You can use this drop-down list to determine the pattern type of the powder.
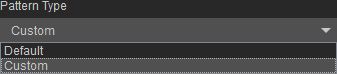
If you choose the Custom from the list, then the pattern is determined by the texture in the Pattern channel.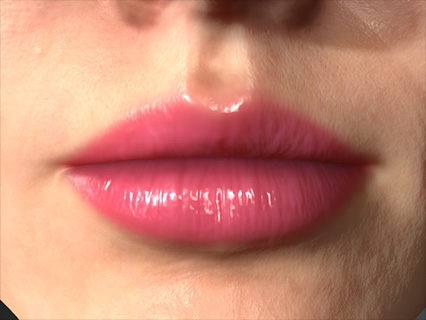
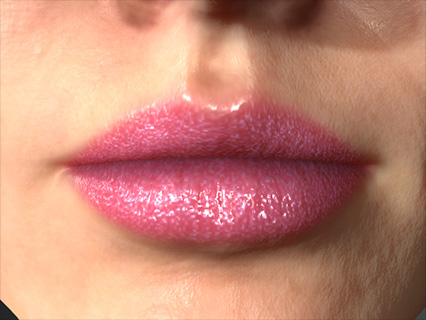
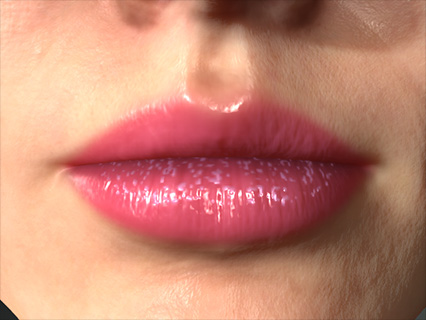
Powder = Off
Pattern Type = Default
Pattern Type = Custom
Material
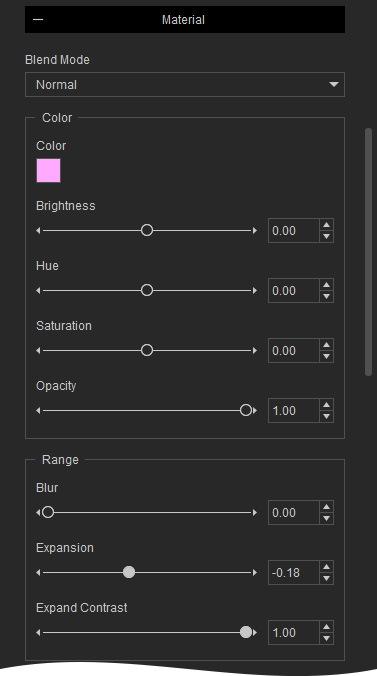
Blend Mode: You can determine the color blending method through the items in the Blend Mode drop down list.
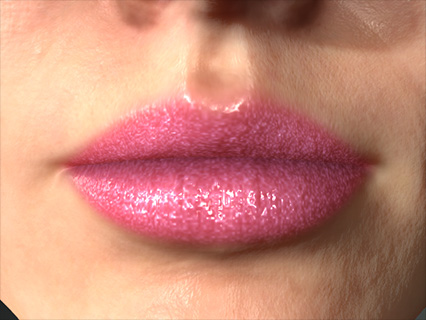 | 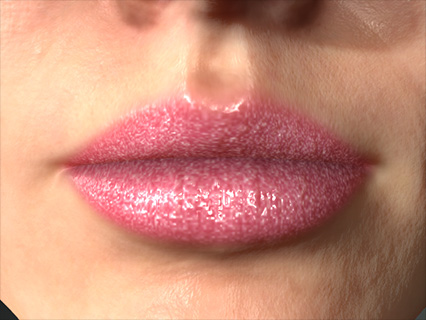 | 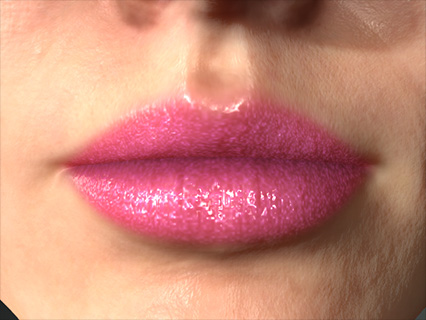 |
Blend Mode = Normal | Blend Mode = Lighten | Blend Mode = Overlay |
Color
The settings in this group can be used to dye color onto the powder and the blending method to the layers underneath.
Color and Opacity
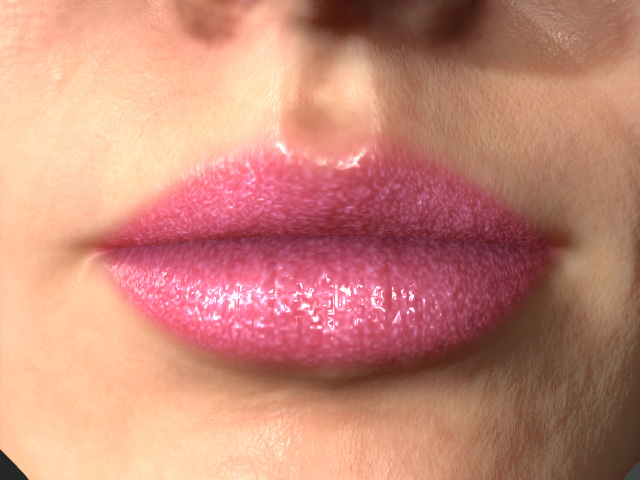 | 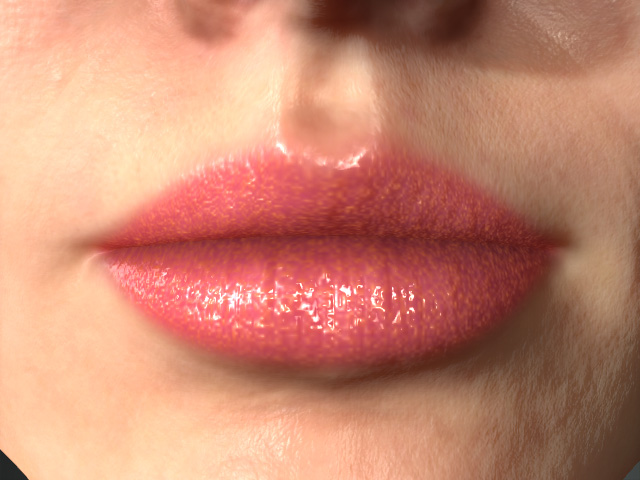 |
Color = #FFAAFF Brightness = 0.00 Hue = 0.00 Saturation = 0.00 Opacity = 1.00 | Color = #FF00FF Brightness = 0.00 Hue = -0.70 Saturation = 1.00 Opacity = 0.50 |
Range
The settings in this group can be used to adjust the range texture for showing the powder.
- Expansion: This setting scales each grain of the powder.
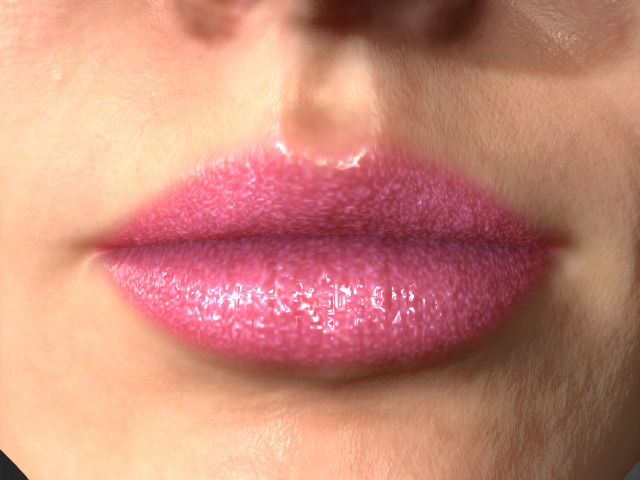
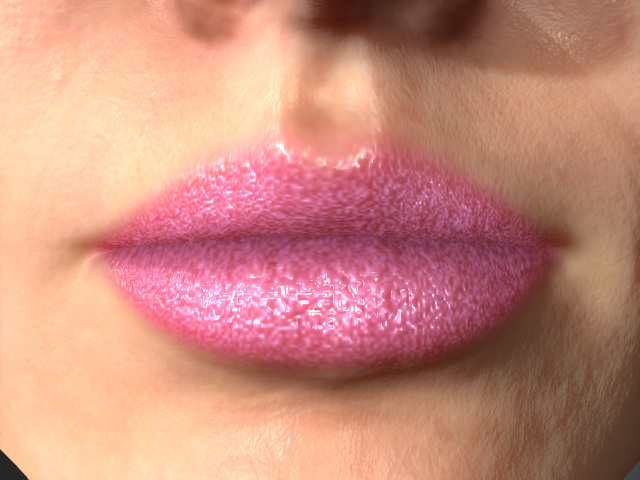
Expansion = -0.18
Expansion = 0.00
- Expand Contrast: This setting smooths or sharpens the edge of each grain of the powder.
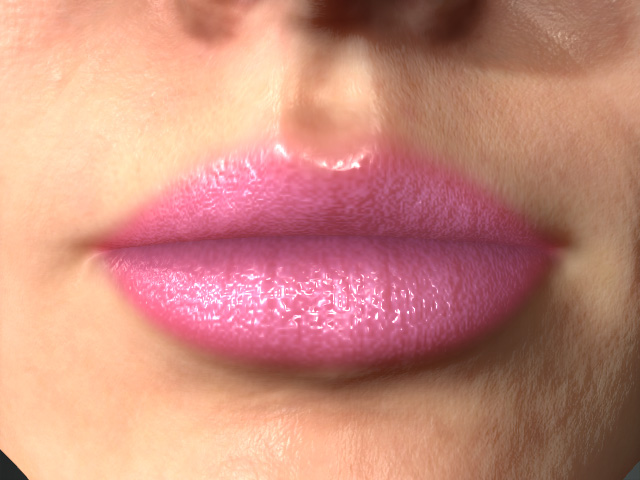
Expand Contrast = 1.00
Expand Contrast = 0.00
- Blur: This setting blurs out the edge of the powder range.
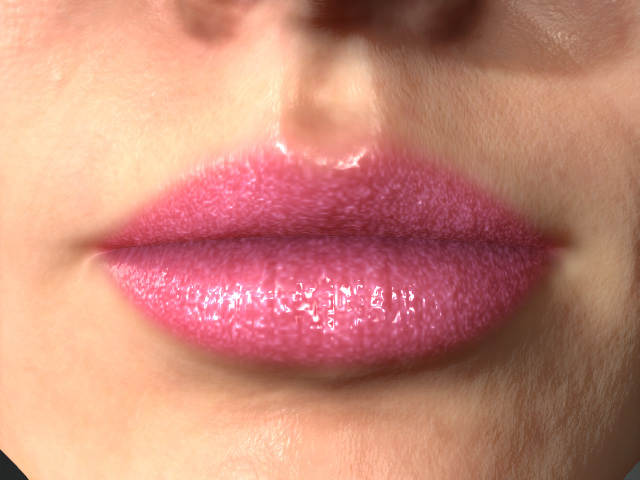
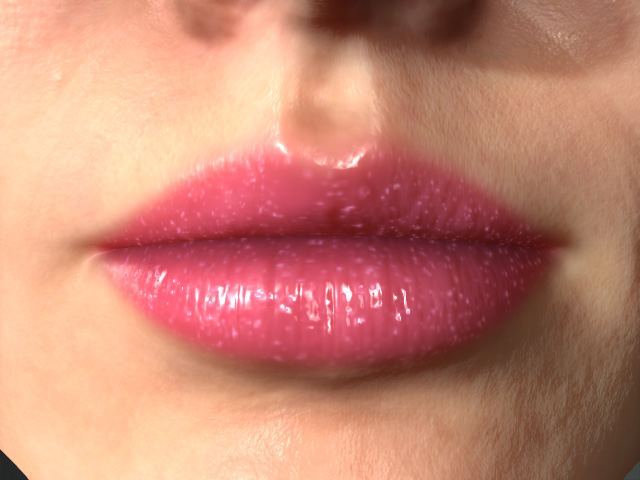
Blur = 0.00
Blur = 0.40
Normal
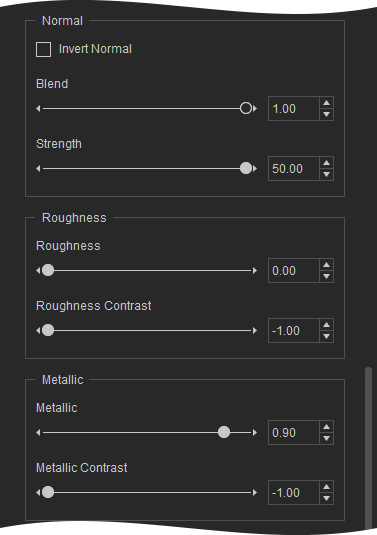
The settings in this group can be used to adjust the bumpiness of the powder.
- Blend: This setting sets the blending level of the normal effect.
- Strength: The bump strength of the powder.
Blend = 1.00
Strength = 00.00
Strength = 50.00
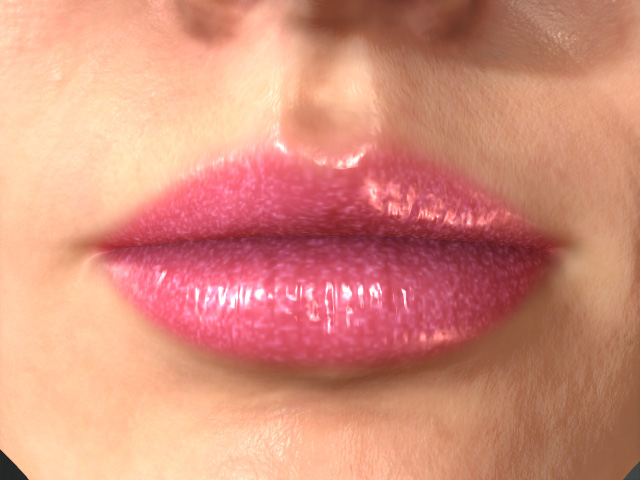
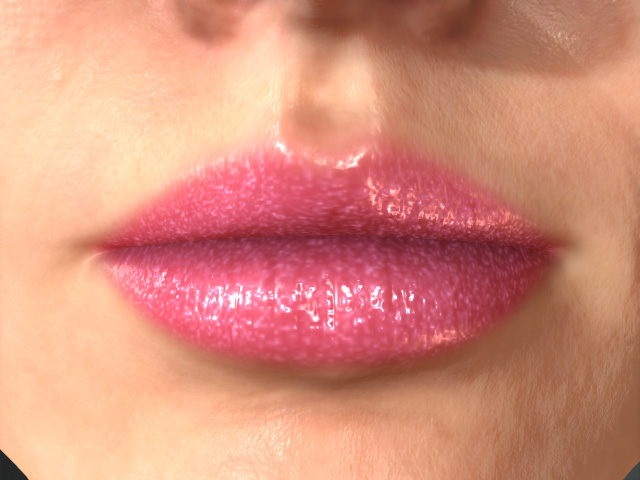
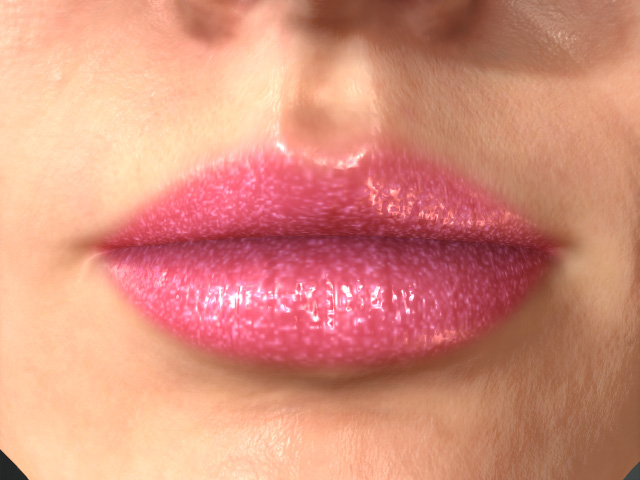
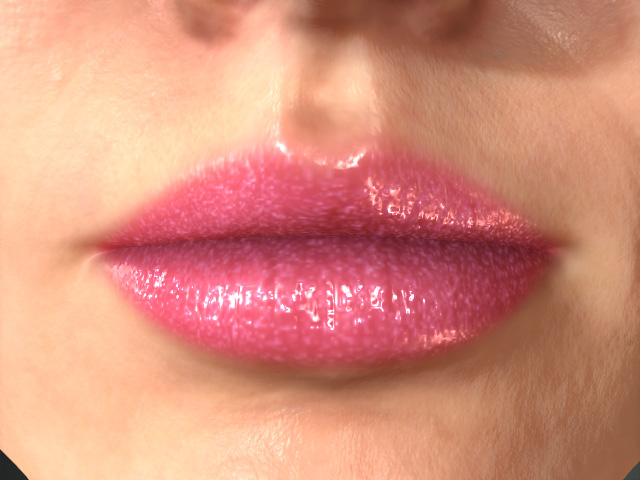
Roughness and Metallic
The settings in this group can be used to adjust the smoothness and reflectivity of the noise.
|
|
|
Roughness = 0.50 Metallic = 0.00 |
Roughness = 0.00 Metallic = 1.00 |
Glow
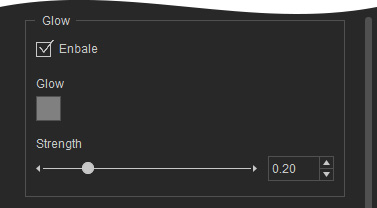
The settings in this group can be used to have the powder glowing.
- Color
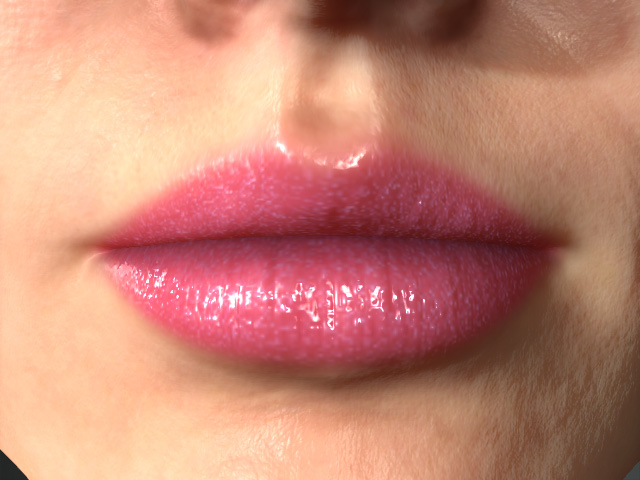
Enable = Off
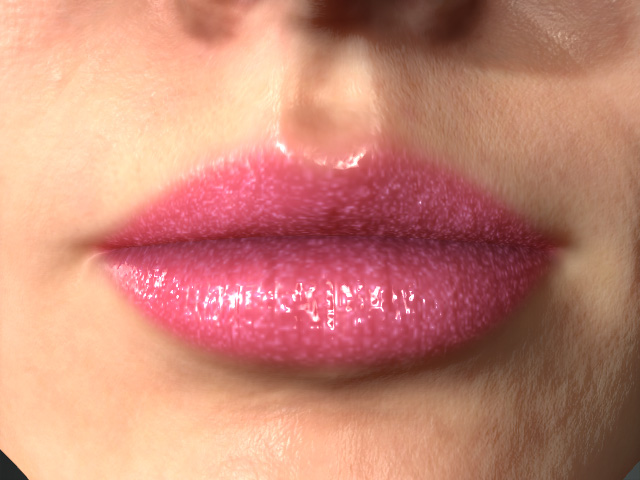
Enable = On
Color = #808080
- Opacity
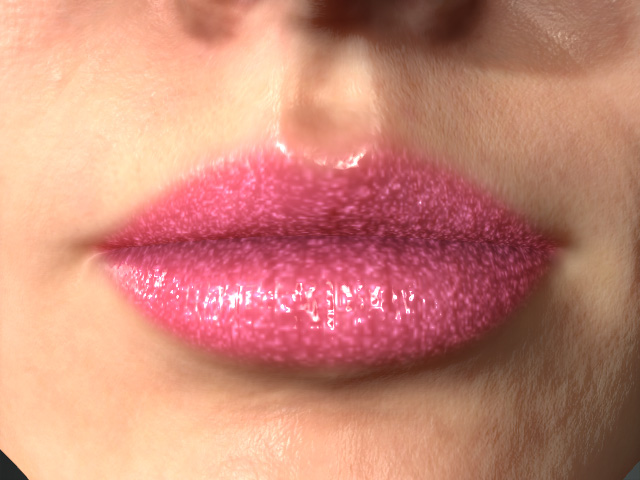
Opacity = 0.20
Opacity = 0.50
Transform
The settings in the Transform subsection can be used to scale the powder.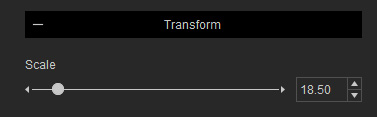
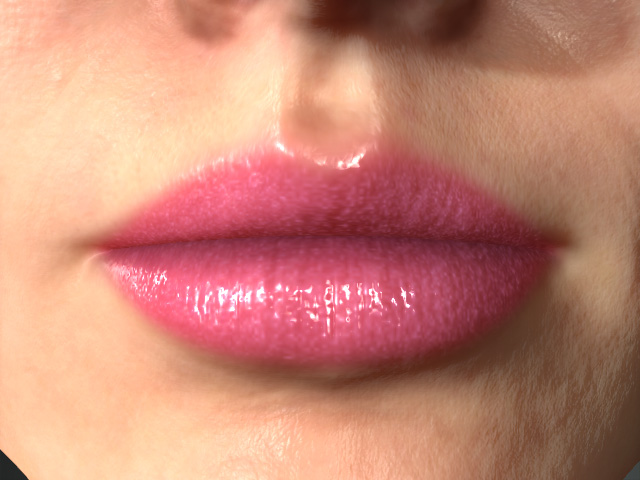
- Scale: You can use this slider to determine the size of each grain of the powder.
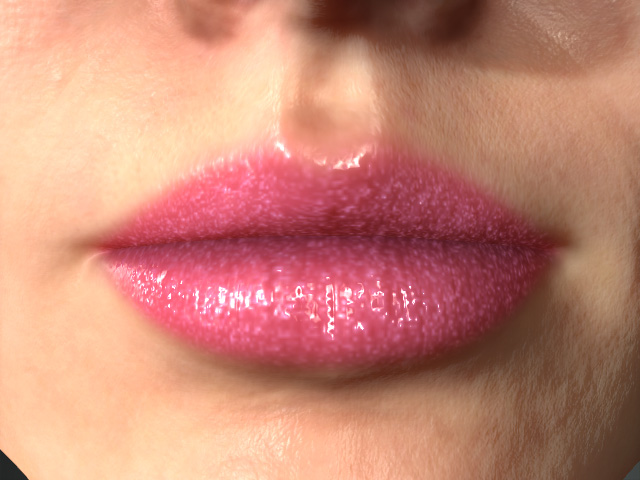
Scale = 19.00
Scale = 10.00
Replace
The Replace section contains two subsections with settings for adding one more layer underneath the Base layer in order to create more dramatic effects and varieties of the lip makeups.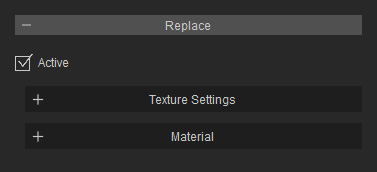
Texture Settings
There are one drop-down list and two channels to determine the shape and normal of the Replace layer. The textures in this section can be edited if you have purchased and installed SkinGen Plugin.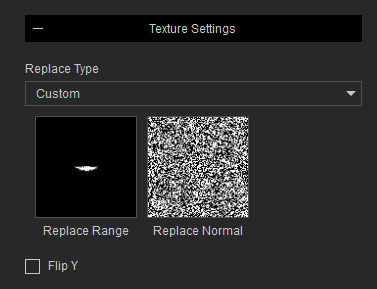
- Replace Type: You can use this drop-down list to choose to use the Replace Range and Replace Normal textures.
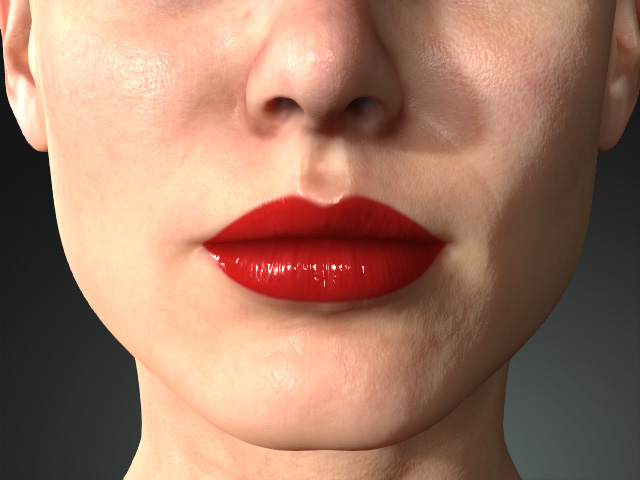
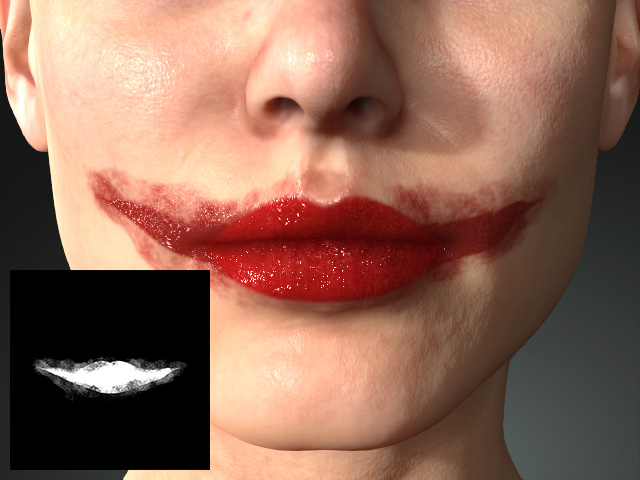
Replace Type = Default
Replace Type = Custom
Material
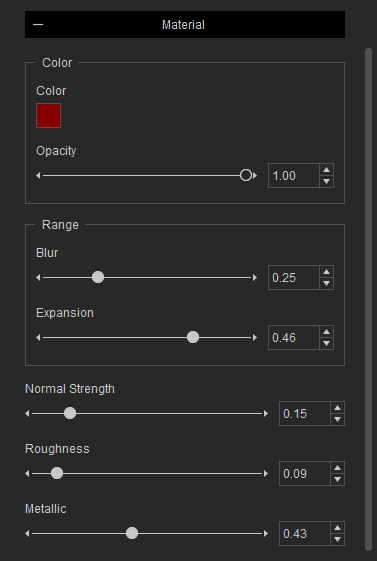
Color
The settings in this group can be used to dye color onto the replace layer.
Color and Opacity
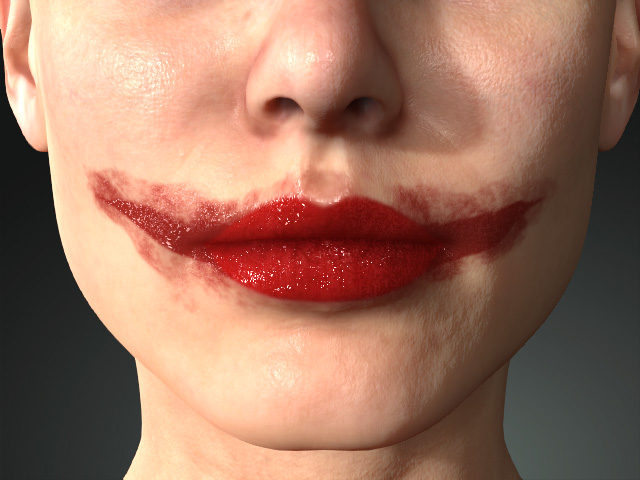 | 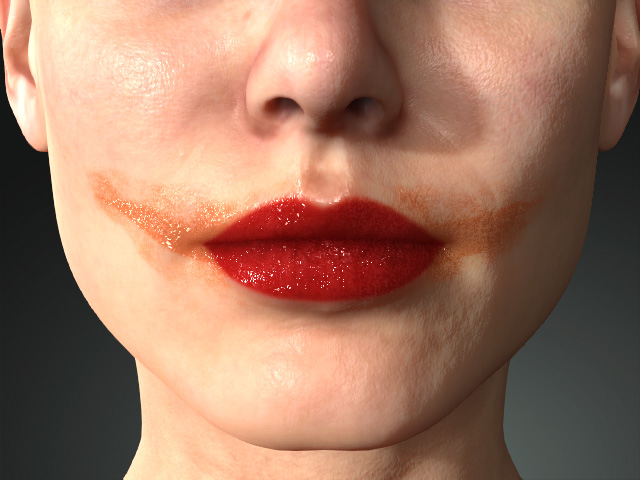 |
Color = #880000 (chrome red) Opacity = 1.00 | Color = #FF5500 Opacity = 0.50 |
Range
The settings in this group can be used to adjust the range texture for showing the Replace result.
- Expansion: This setting scales the Replace Range texture.
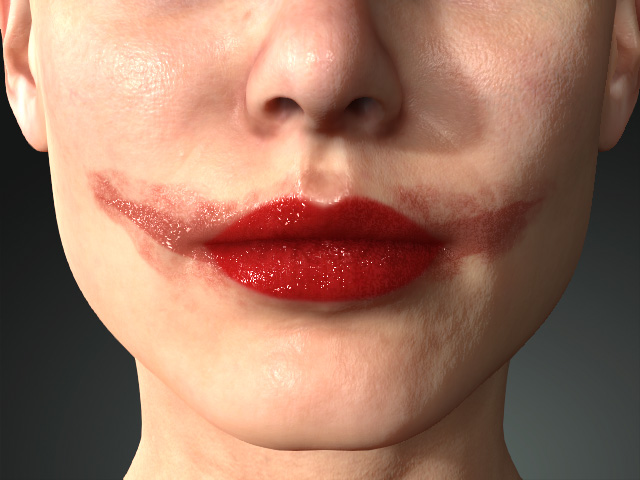
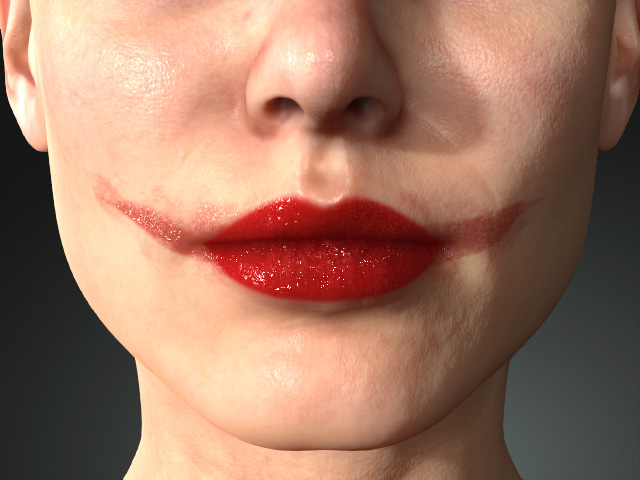
Expansion = 0.50
Expansion = -0.20
- Blur: This setting blurs out the edge of the Replace Range texture.
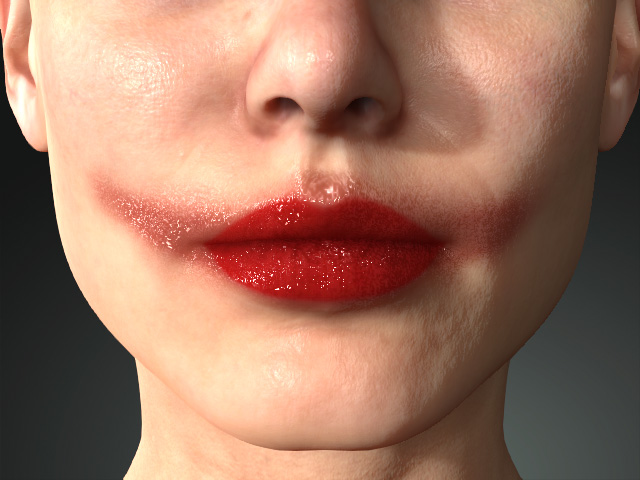
Blur = 0.25
Blur = 2.00
Normal Strength
The setting can be used to determine the strength of the normal effect on the Replace layer.
- Normal Strength
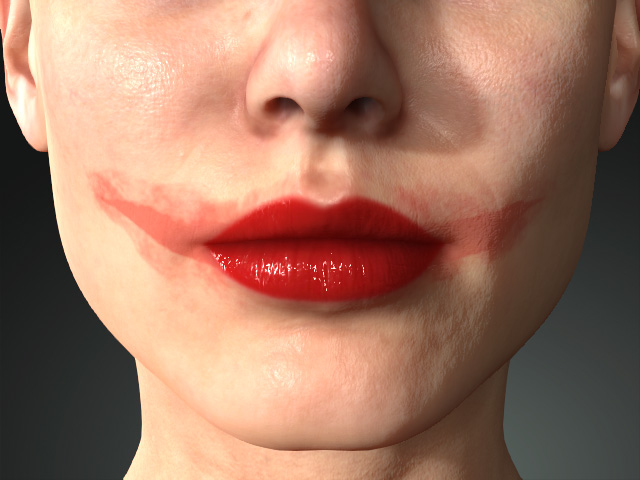
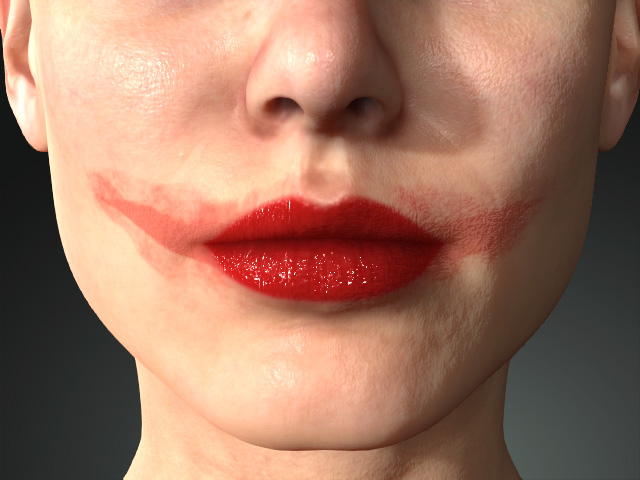
Normal Strength = 0.00
Normal Strength = 0.50
Roughness and Metallic
The settings in this group can be used to adjust the smoothness and reflectivity of the noise.
|
|
|
|
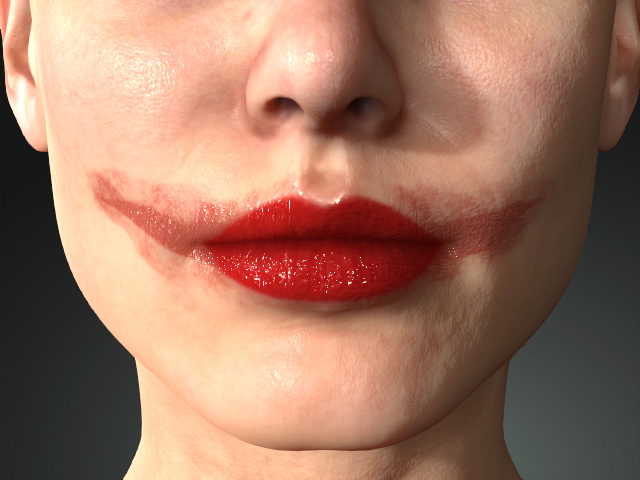
Roughness = 0.50 Metallic = 0.00 |
Roughness = 0.00 Metallic = 1.00 |
