Automatically Hiding Inner Meshes
Purposes for Auto Hide Mesh
There are a few reasons for hiding the inner layer meshes for the entire character
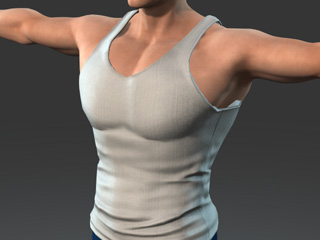
- To solve protrusions and poke-throughs from the mesh underneath the outer-most layer.
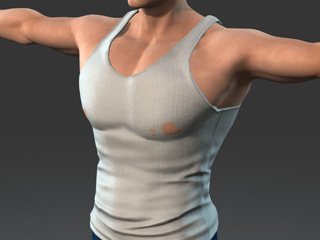
Before Auto Hide Mesh
After Auto Hide Mesh
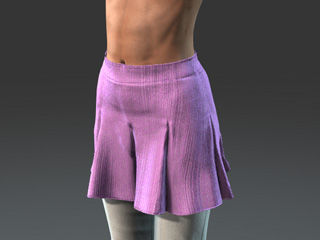
- To maintain the shape integrity of the outer-most layer,whereas conforming would wrap-deform the mesh.
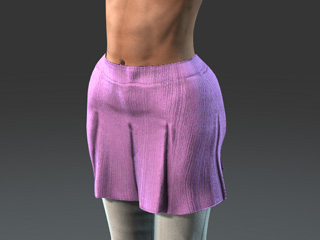
Conform Cloth (mesh has been reshaped)
Auto Hide Mesh (the shape is retained)
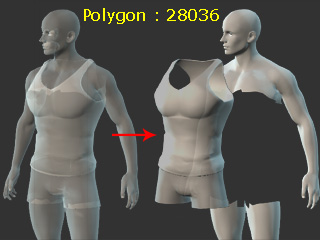
- To decrease the file size when exporting the character in OBJ or FBX format while optimizing for performance in iClone.
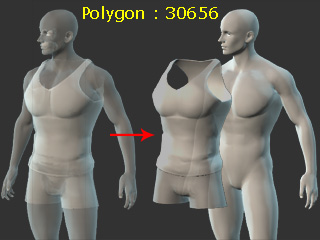
FBX with complete meshes
FBX with mesh auto-hidden
Auto Hide Mesh Algorithm
The Auto Hide Mesh algorithm is as shown in the following animation: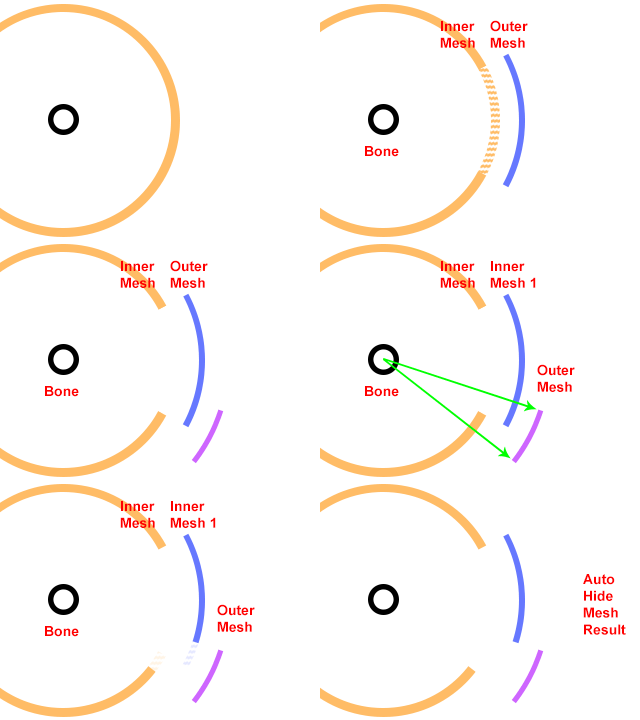
When the Auto Hide Mesh feature is activated, the following will happen in Character Creator:
- Wrist, head, neck, lower neck, and shoulder areas are always shown, thus ignored in the algorithm.
- Vertex weighting are individually evaluated for the bind-bone.
- A ray is sent from the bind bone to the vertex hiding the geometries that lay between it and the outermost mesh.
Using Auto Hide Mesh Feature
-
Create a new project and dress the character.
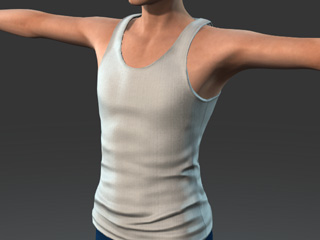
- Adjust the entire body or specific body part with a morph. A perfect opportunity to use Auto Hide Mesh presents itself when parts of the skin pokes through the cloth.

- You can change the display setting of the outer-most mesh into wire-frame mode to get a better view of the poke-through.
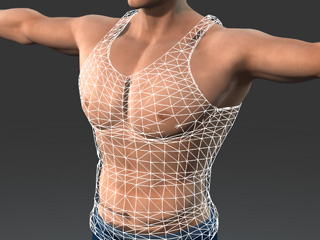
-
Select the cloth at the outer-most layer (in this case, the tank top).
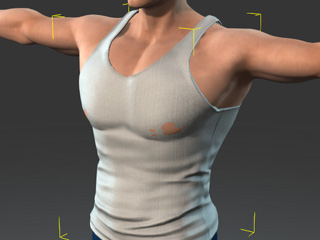
-
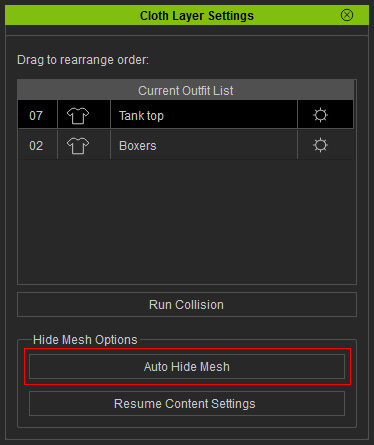
Execute the Window >> Cloth Layer Settings command to launch the Cloth Layer Settings panel.
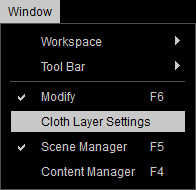
Alternatively, click the Cloth Layer Settings button at the bottom of the Conform Clothing panel.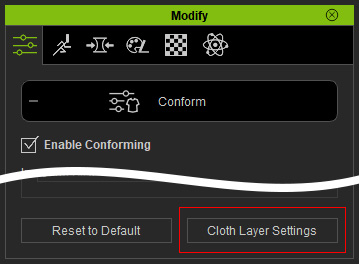
-
Click the Auto Hide Mesh button to hide the inner meshes in order to solve the poke-through issues.
 Note:
Note:- The Auto Hide Mesh feature works on the meshes of the entire character, including the body and clothes instead of individual layer of meshes.
- Click Reset Content Settings button to forgo the results of the Auto Hide Mesh feature and retrieve the original mesh visibility settings embedded by its creator.
-
The inner meshes of the clothes or body will be
hidden, which can remove poke-throughs at the same time.

-
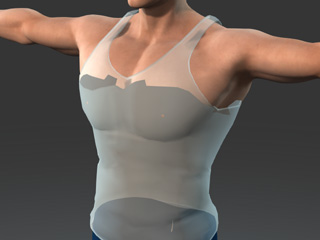
Changing the display setting of the outer-most mesh to X-Ray mode will allow you to see the differences after Auto Hide Mesh has been applied.
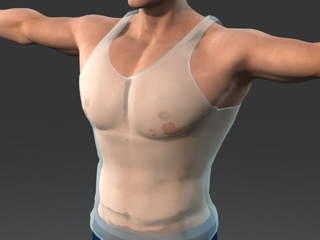
Before Auto Hide Mesh
After Auto Hide Mesh
- If some imperfections still remain such as mesh faces inappropriately hidden, one can use
manual means to remedy these visual artifacts.
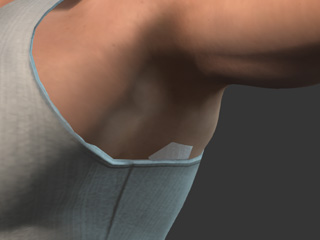
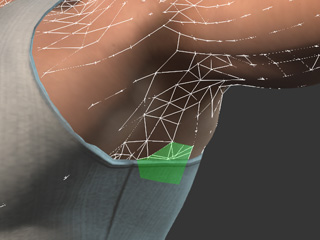
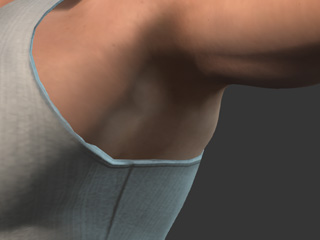
After Auto Hide Mesh has been applied.
Manually select the meshes that should not be hidden.
Visibility "holes" can thus be patched.
-
If you take off the outer layer of the cloth, the layers underneath will
become visible again (one of the benefits of Auto Hide Mesh).

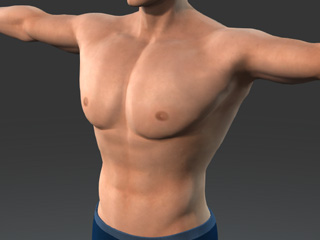
Tank top with Auto Hide Mesh applied.
When the tank top is taken off.
Auto Hide Mesh Feature and Opacity Texture
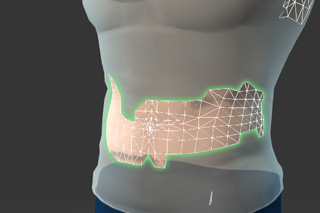
Auto Hide Mesh has the ability to detect see-through areas of the Opacity texture channel.
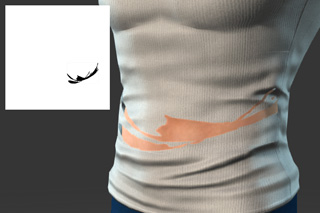
|
|
|
Cloth tear created by the Opacity texture. |
The meshes underneath are kept after applying Auto Hide Mesh. |
- Visible portions of the meshes laying directly underneath the transparent areas of the Opacity texture will maintain a ring of extra visible mesh faces as a safe visual buffer.
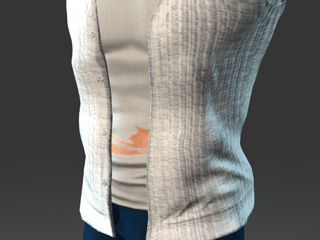
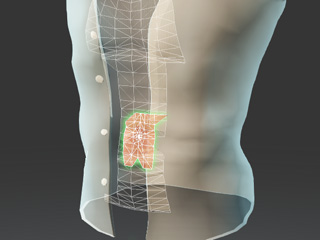
Auto Hide Mesh works across multiple layers, so everything under the outer-most layers can be affected.
|
|
|
Multiple layers of clothes are applied to the character. |
The meshes underneath are shown or hidden accordingly. |


