Sculpting Meshes with Brushes
In addition to editing the mesh components in Vertex, Face or Element modes, you are able to use the Sculpt mode to modify the meshes with different brushes. This feature can be used when the imported custom assets do not fit the character in an ideal manner, and you want to quickly pull up or push down on the mesh faces right inside Character Creator.
-
Import an asset in OBJ format into Character Creator; by default, it will
be classified as an accessory.
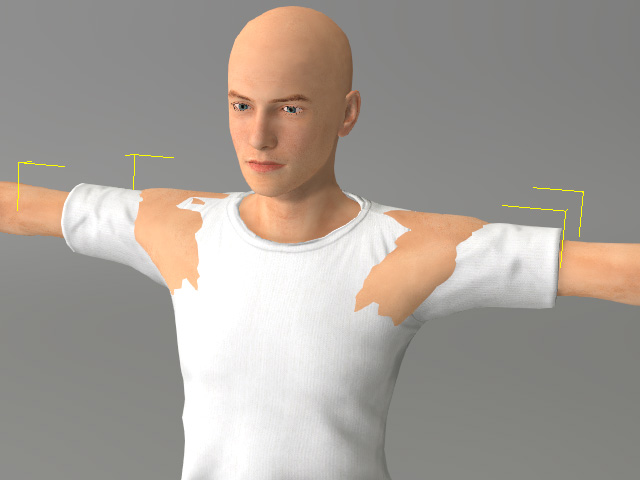
You may sometimes find that the assets do not always fit to the shape of the character's body or head. -
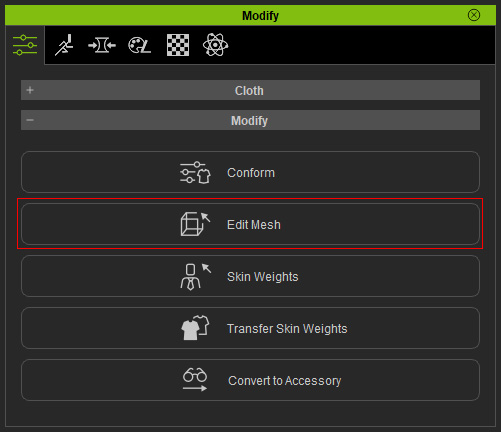
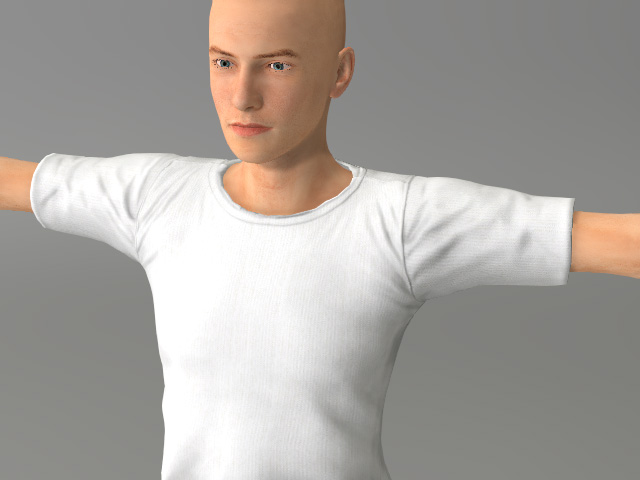
Select the T-shirt and go to the Modify panel >> Edit tab >> Modify section.
-
Press down the Edit Mesh button and switch to the Sculpt mode.
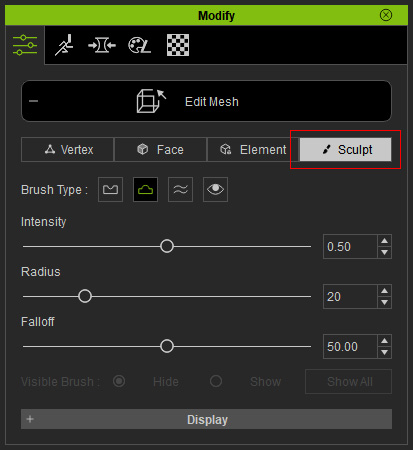
- Brush Type: There are three brush types from left to right for pushing down (Shorcut: Ctrl + drag) , pulling up (Shorcut: Ctrl + drag) and smoothing (Shortcut: Shift + drag) the vertices in order to modify the mesh faces.
- Push: To push down the mesh faces painted by the brush.
*Notice that you can hold Ctrl key to temporarily switch to Pull brush. - Pull: To pull up the mesh faces painted by the brush.
*Notice that you can hold Ctrl key to temporarily switch to Push brush. - Smooth (Shortcut - Hold Shift key): To average the levels of the mesh faces painted by the brush.
- Show Mesh Brush: Use the brush to paint on the surface of the object to show or hide certain mesh faces.
- Push: To push down the mesh faces painted by the brush.
- Intensity (Shortcut: B key + drag with left mouse button): The strength to paint the effects on the surfaces.
- Radius (Shortcut: B key + drag with right mouse button): The size of the brush circle.
- Falloff (Shortcut: B key + drag with middle mouse button): The blurriness of the edge for each brush stroke.
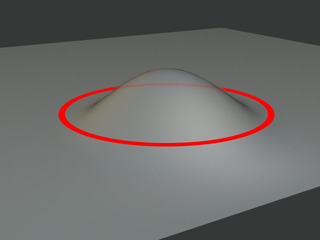
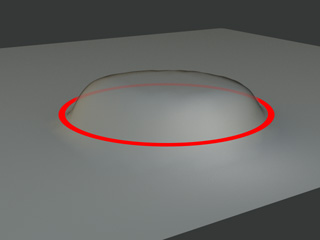
Falloff = 100
Falloff = 0
- Brush Type: There are three brush types from left to right for pushing down (Shorcut: Ctrl + drag) , pulling up (Shorcut: Ctrl + drag) and smoothing (Shortcut: Shift + drag) the vertices in order to modify the mesh faces.
- Hover mouse cursor on the accessory and you will see a circle represents the brush on the surface.
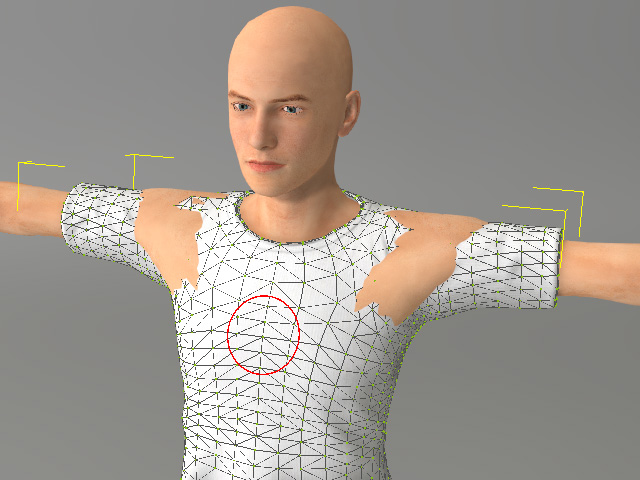
-
Switch to the Pull Up brush type and paint on the surface.
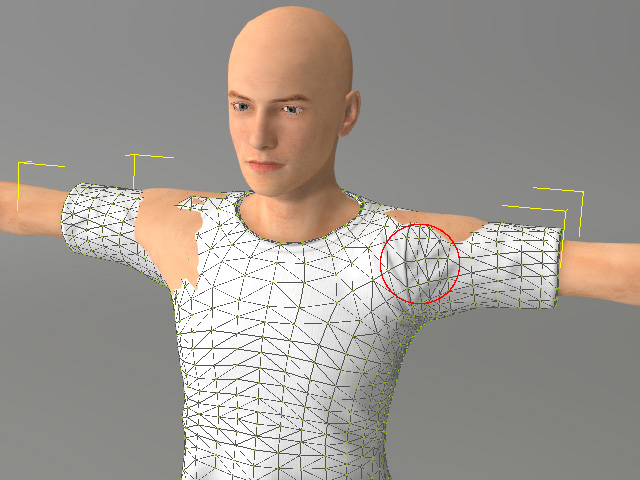
-
Repeat painting strokes on the mesh faces until the shape is
satisfactory.
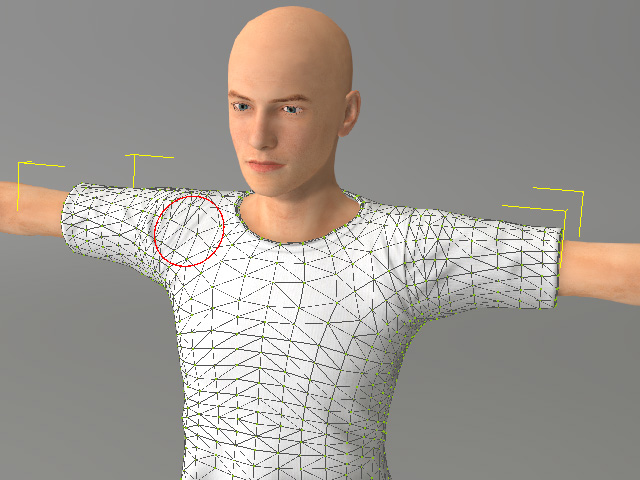
-
If the faces is over pulled-up or pushed-down, then use the Smoothing and Relaxing feature to ease out the folds of the surface.
-
This accessory is thus ready to be converted into a custom piece of clothing.
 Note:
Note:You are allowed to edit the mesh whenever you want to modify the surface of the objects.
