Moving Content between Custom Packs
The virtual contents added in a custom pack can be moved to any other pack in the Packager panel.
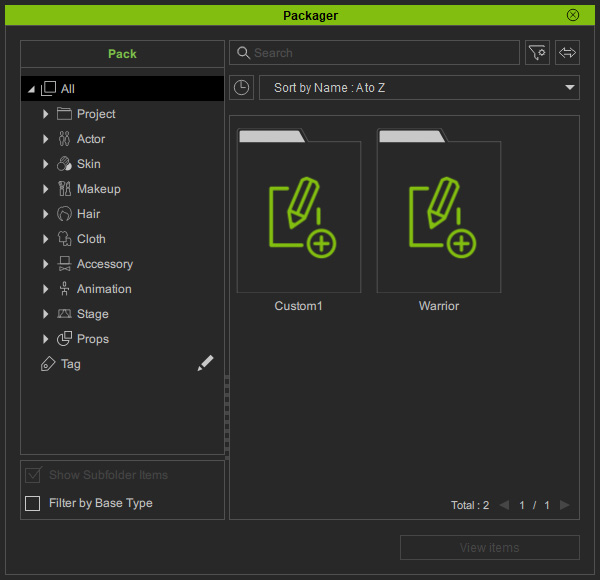
- In the Packager panel, make sure you have created several custom packs.
- Make sure you have added contents to the custom pack.
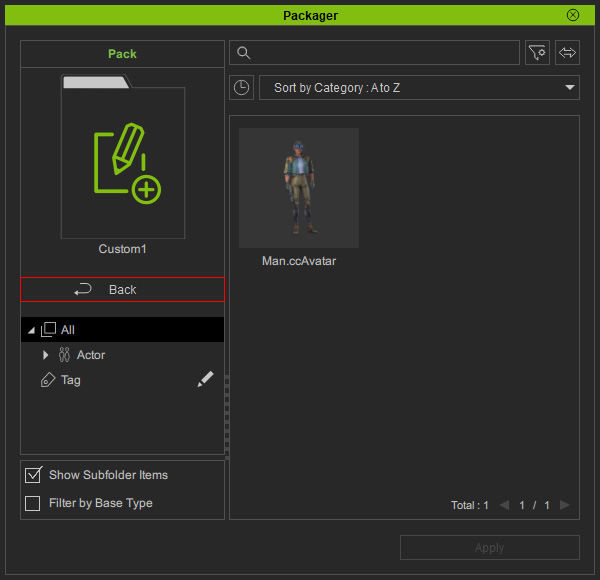
- In this case, double-click on the Custom1 pack to open it.
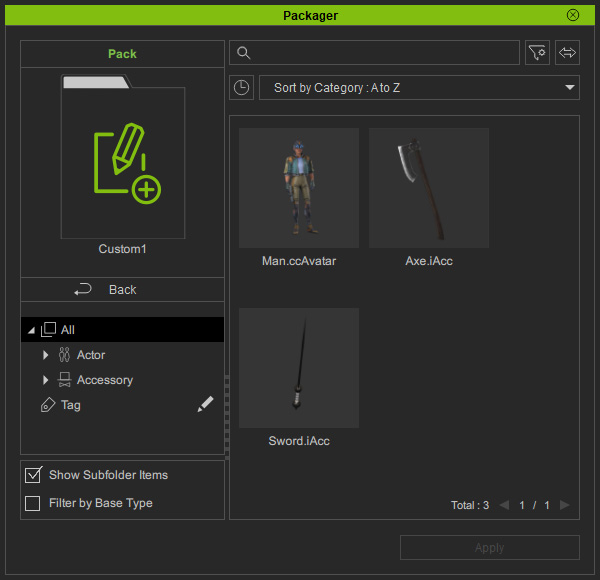
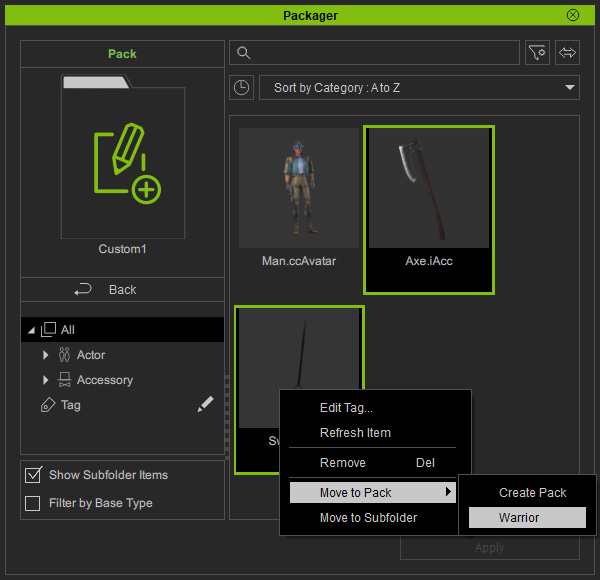
* Make sure the Show Subfolder Items checkbox is activated to view all items in the subfolders. - Select the contents that you want to transfer (notice that multi-selection is allowed).
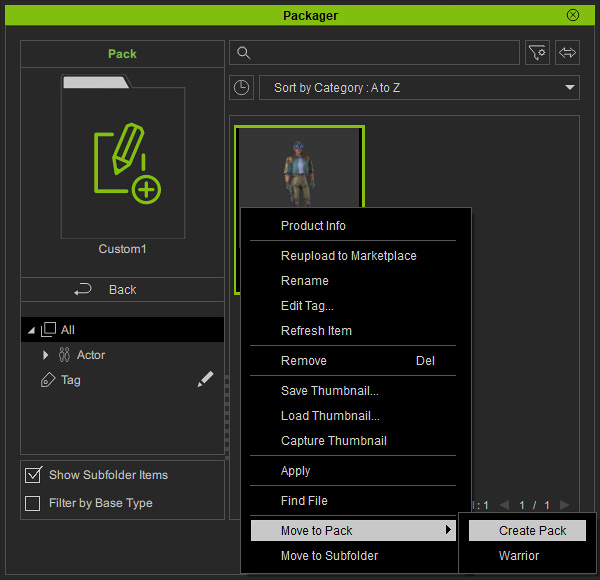
Right-click on the selected item and execute the Move to Pack > [Target Pack Name] command (in this case, Warrior).
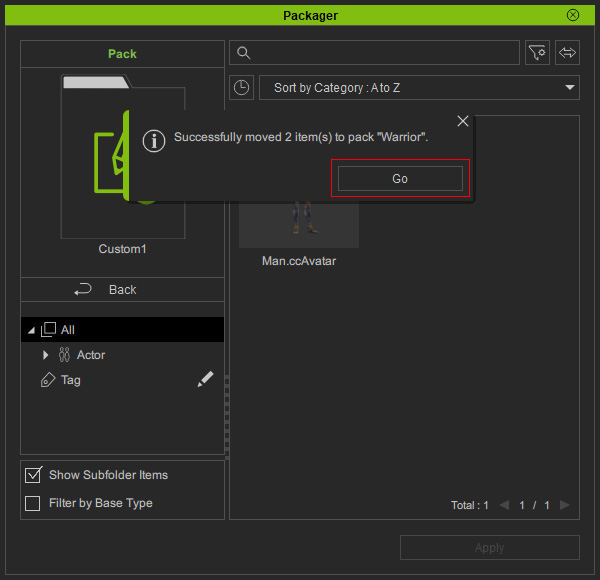
- A message will appear for the moving result.
Click the Go button.
- If you do not click the Go button right away, then click on the Back button to exit the current pack.
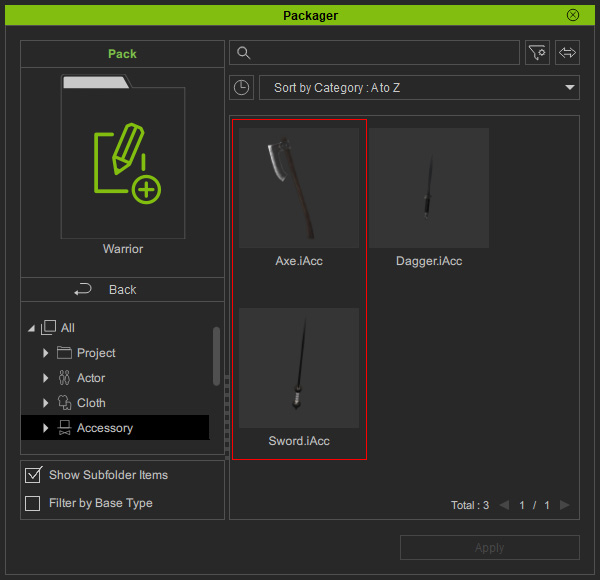
- Double-click to open the target custom pack.
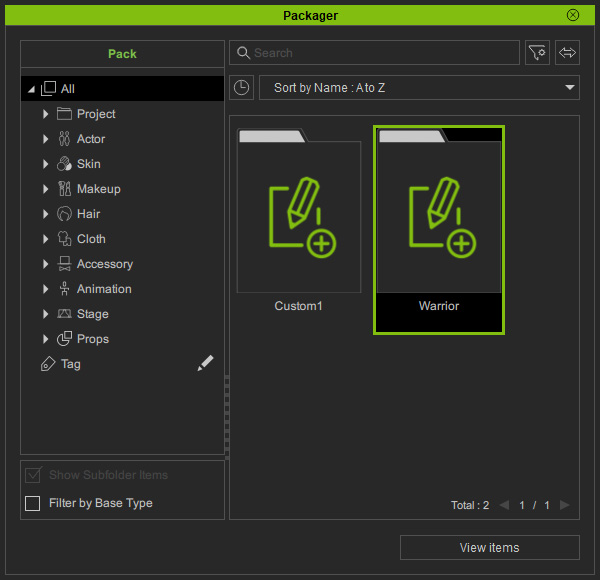
- As you can see the items are now moved into this pack and automatically sorted to the corresponding category.
- Switch back to the Custom1 pack and select another content.
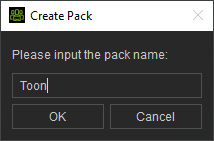
Execute the move command again, but choose the Create Pack command from the context menu.
- Type in the new pack name and click the OK button.
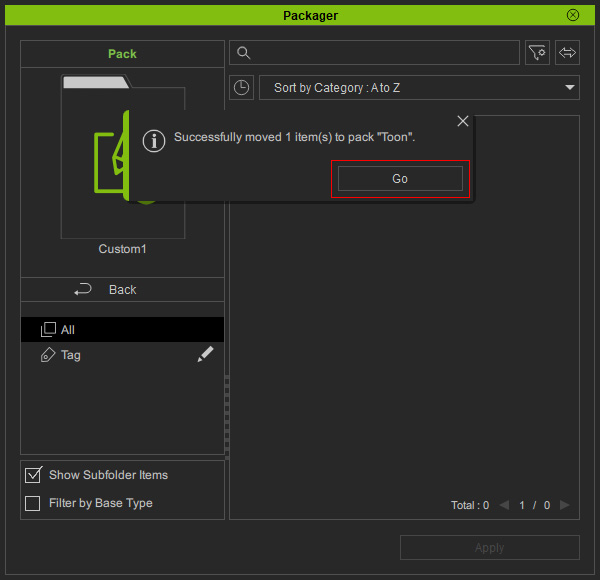
- A message will appear after the items are moved.
Click the Go button.
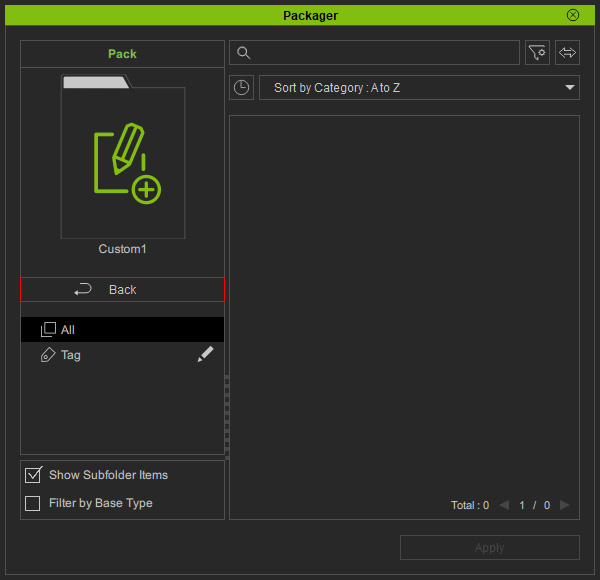
- If you do not click the Go button right away, then click the Back button to exit the current pack.
- As you can see there will be one more pack added.
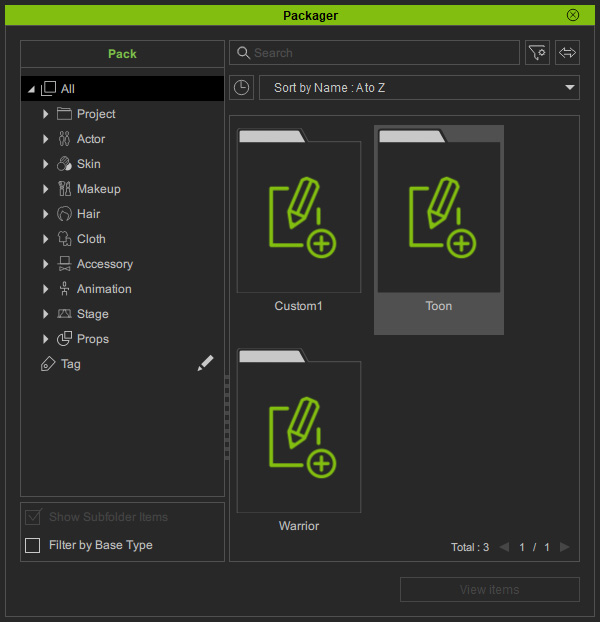
- Double-click the pack to open it, and the items should have moved into this pack.

