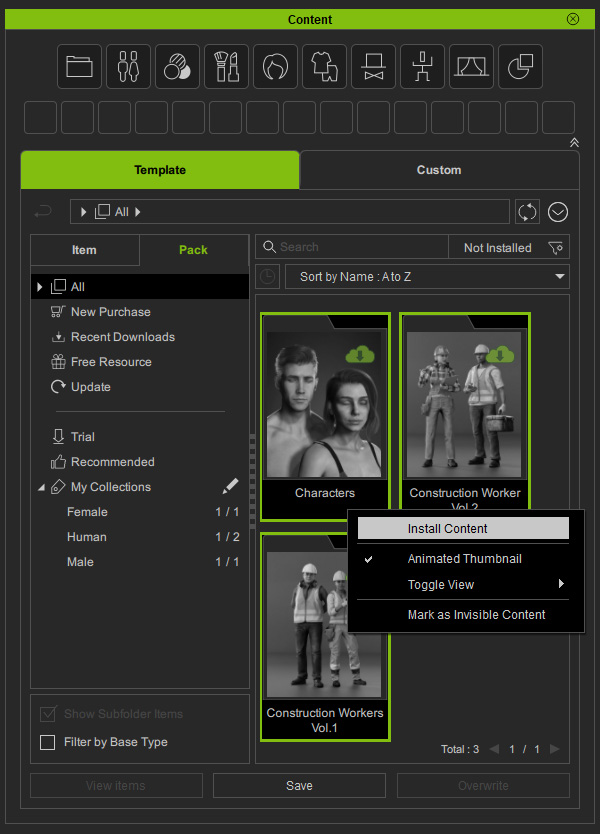
Exporting and Importing Custom Packs 
The Content Manager allows you to export all of the custom packs with their original content files, including the information and collections assigned to them. You can then quickly transfer the assets from one computer to another. It is convenient when picking up existing projects on a new computer or for project collaboration among team members.
- This feature is suitable for those contents that are added to custom packs in the Packager. For content files under the Custom tab, you can drag-and-drop them to any directory to move location or make backup copies at any time.
- As certain content are not sharable between programs, you can only import content to the source program where they are exported.
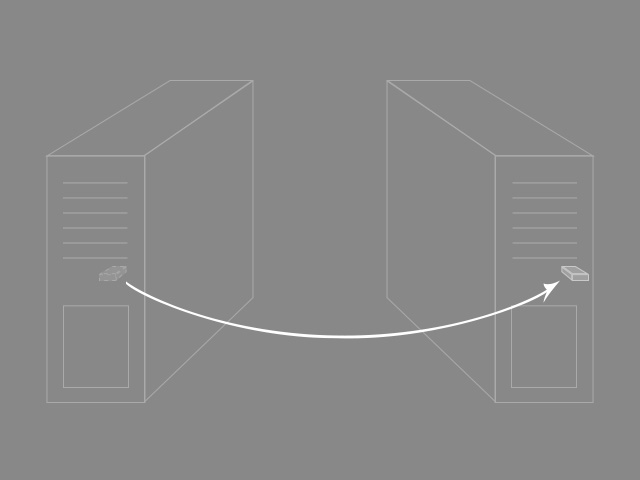
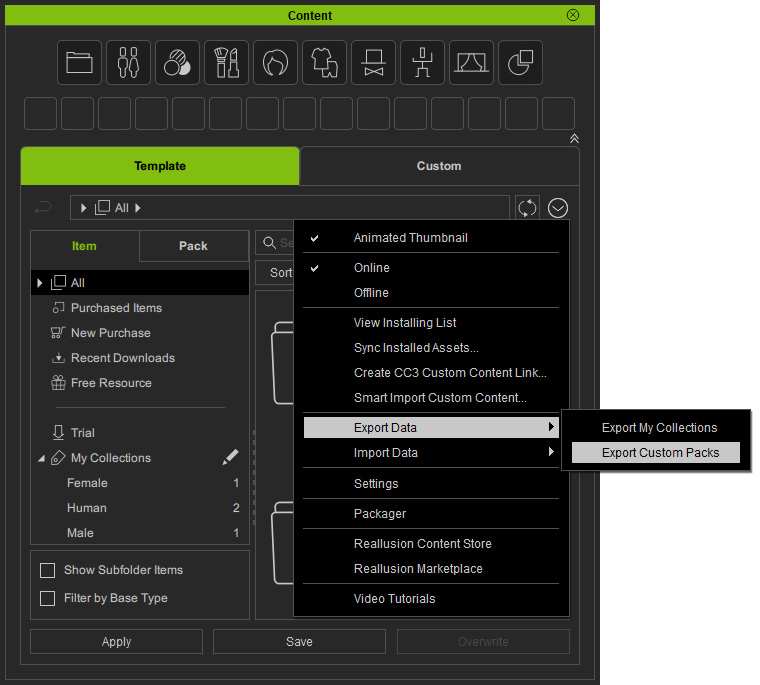
- On the source computer, click the Content Manager Menu to execute the Export Data and then the Export Custom Packs command (any tab will do).
Alternatively, open the Packager panel and right-click on the empty areas under the Pack tab to execute the Export Custom Packs function.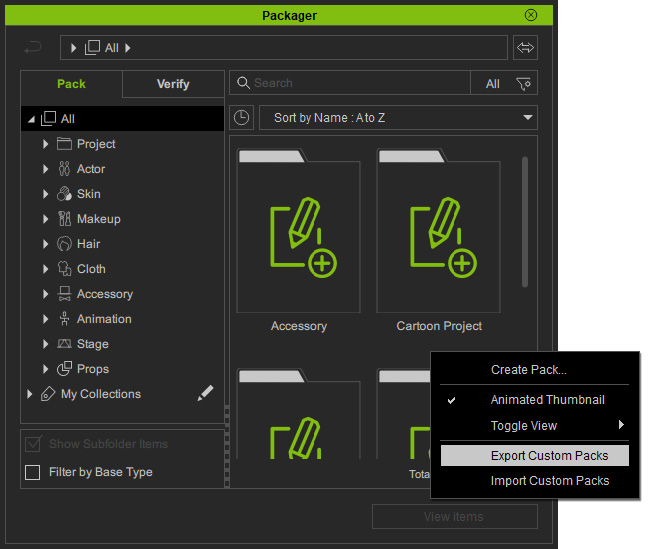
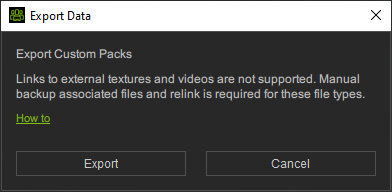
- In the Export Data dialog, you are reminded that this operation will not export the external files (textures or videos) linked to the content, so you will have to backup these files manually.
Click the Export button to continue.
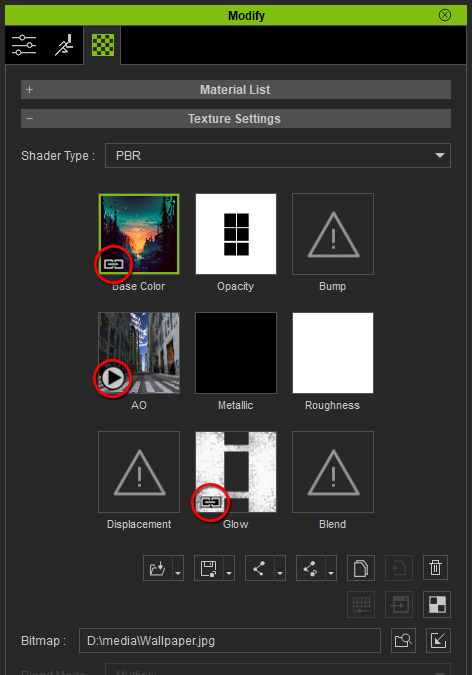
 Log for External Files:
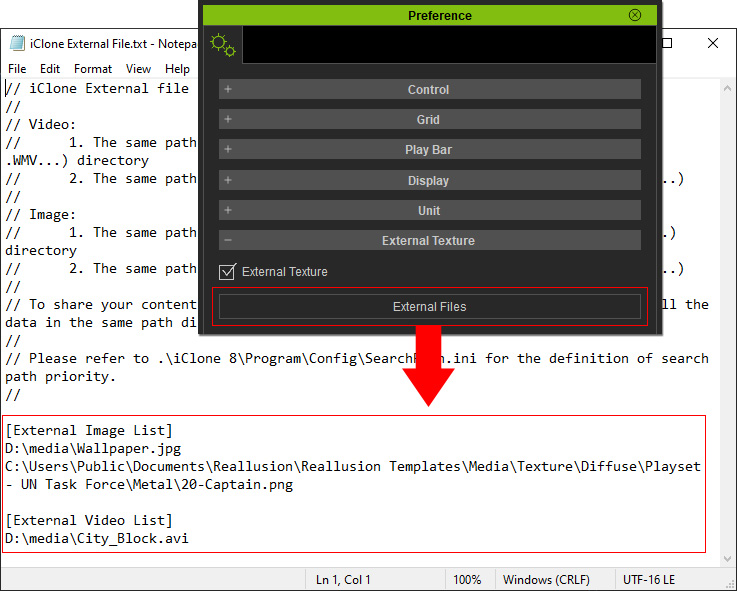
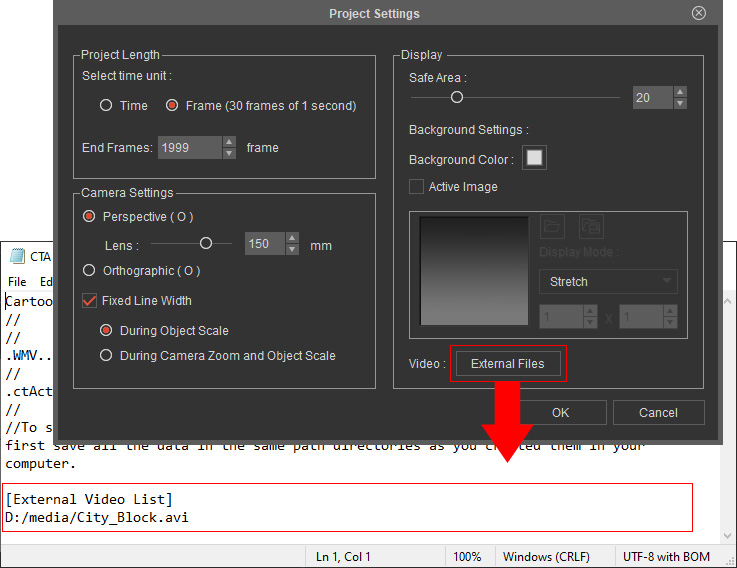
When the External Texture is enabled, the storage path of external files will be logged in a text file for reference. Backup the files stored in custom folders.
- For iClone 8 and Character Creator 4, you can find the log file by clicking the External Files button in the External Texture section of Preference (Ctrl + P).
- For Cartoon Animator 5, you can find the log file by clicking the External Files button in the Project Settings panel (Ctrl + Shift + P).
- For iClone 8 and Character Creator 4, you can find the log file by clicking the External Files button in the External Texture section of Preference (Ctrl + P).
- Browse to a target folder in the network or USB drive for saving the custom packs and content files.
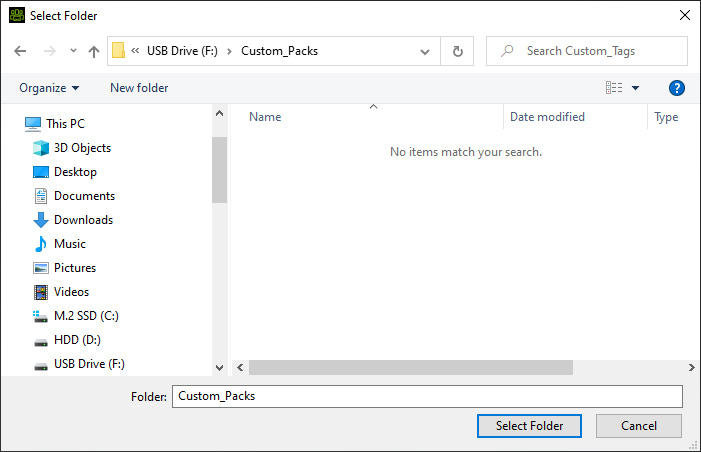
Click the Select Folder button and wait for the process to finish.
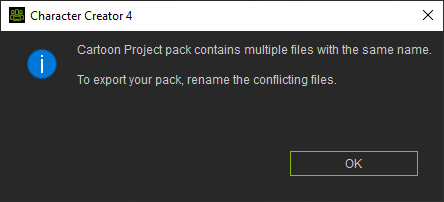
 Name Conflict Notification:
Naming conflicts can occur as one custom pack can include contents of identical names in different custom folders. You will need to rename these conflicting content files.
- Click the OK button when the export is done.
* The following data are exported to individual folders for each pack: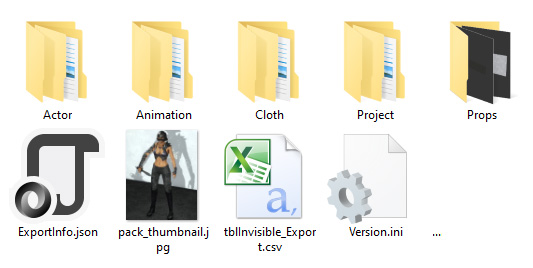
- Original content files for the virtual items (reference links) in custom packs (exported by categories).
- File structure by subfolders (under each category).
- Information and thumbnails for each pack and item.
- Collection folders for template and custom content.
- Information on packs marked as invisible.
- Information on program version.
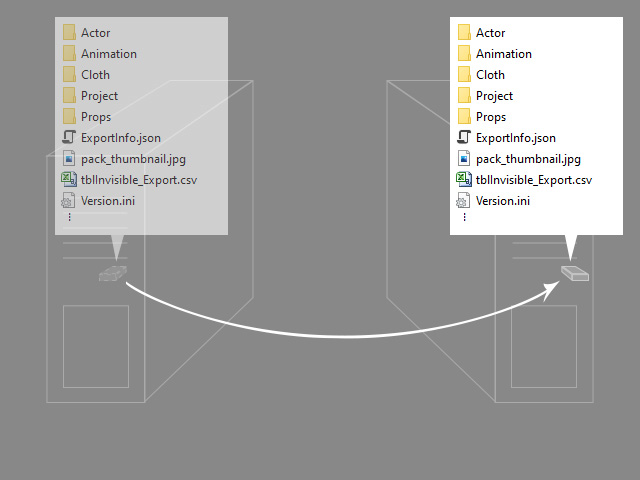
- You can now move the USB drive in which the Custom Packs and Content Files are stored to another computer.
Refer to the Importing Data section for ensuing steps.
- Open the Content Manager and Packager on the new computer.
There are currently no packs or collections in the Packager.
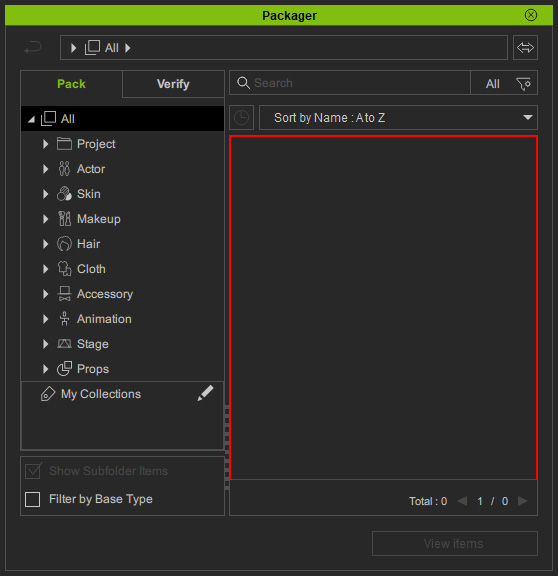
- Right-click on an empty area under the Pack tab of Packager to execute the Import Custom Packs function.
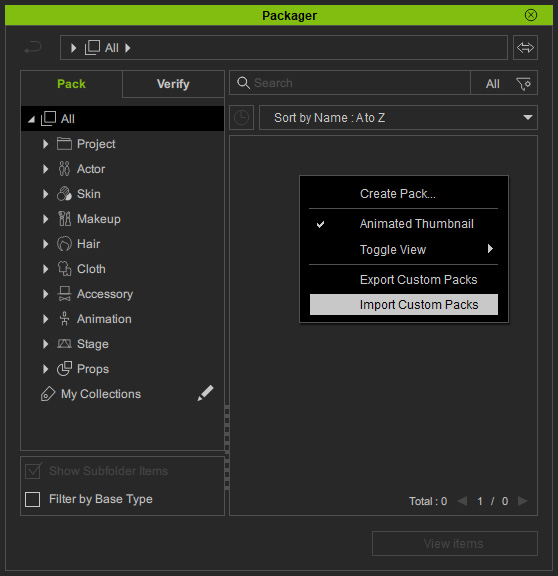
Alternatively, click the Content Manager Menu to execute the Import Data and then the Import Custom Packs command.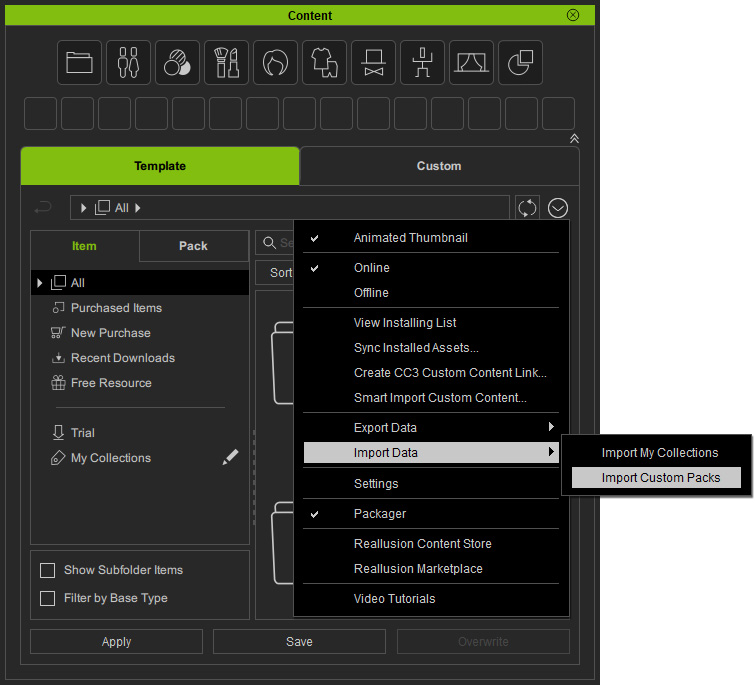
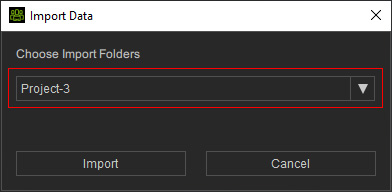
- In the Import Data dialog, choose an existing Custom Folder from the drop-down list for storing the custom contents you have exported.
Click the Import button.
- Choose the folder in which the export data is saved (as mentioned in Exporting Data > Step 2).
As the custom packs are exported by name, you can choose to import one pack at a time, instead of importing them all.
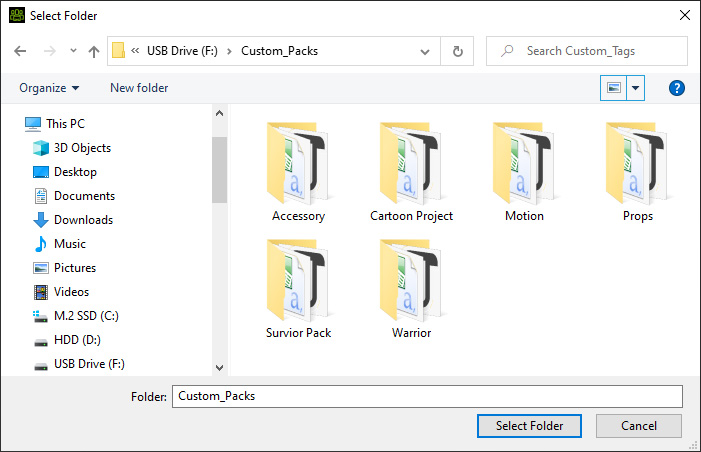
Click the Select Folder button and let the procedure finish.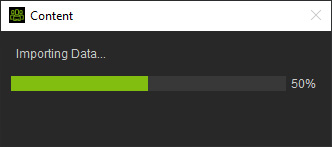
 Name Conflict Notification:
If there are packs with identical names on the new computer, then you will encounter a request to overwrite the files.
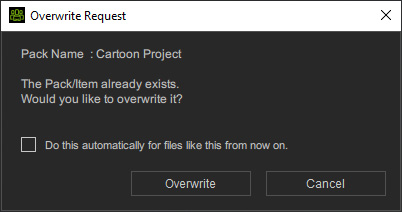
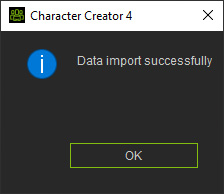
Click the Overwrite button to import the collection settings and content files for the pack and rebuild the same file structures as the source computer. Or, click the Cancel button to leave the current pack intact. - Click the OK button when the data is imported.
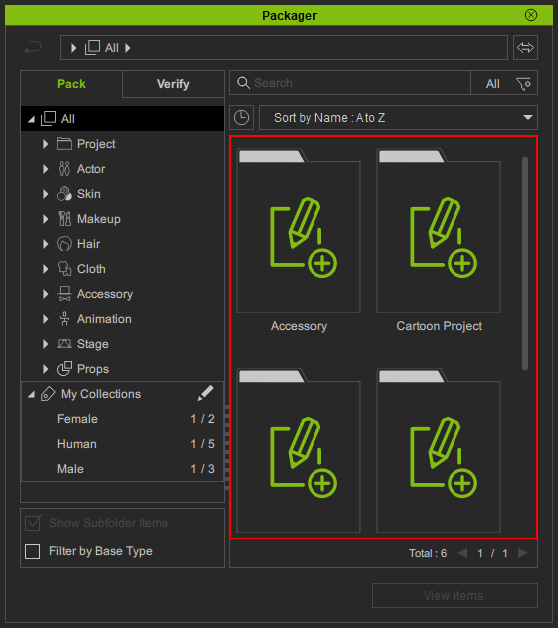
- As you can see, the packs and their collection sets are all rebuilt in the Packager.
Virtual items within are also shown in well-organized categories and subfolders.
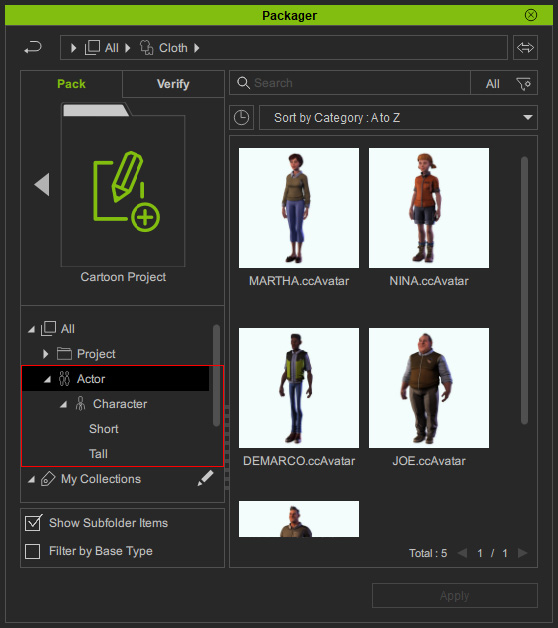
- Switch to the custom folder specified in Step 3 under the Custom tab of Content Manager to find the original content of the pack items.
You can see that custom content are imported into corresponding categories and file structures under each category are rebuilt.
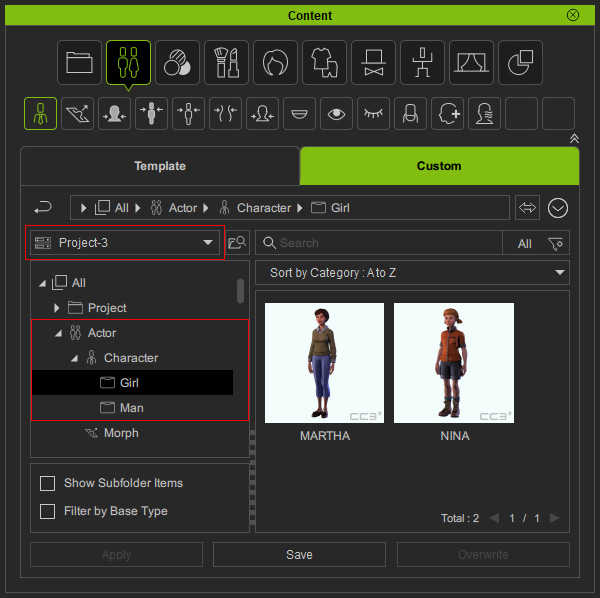
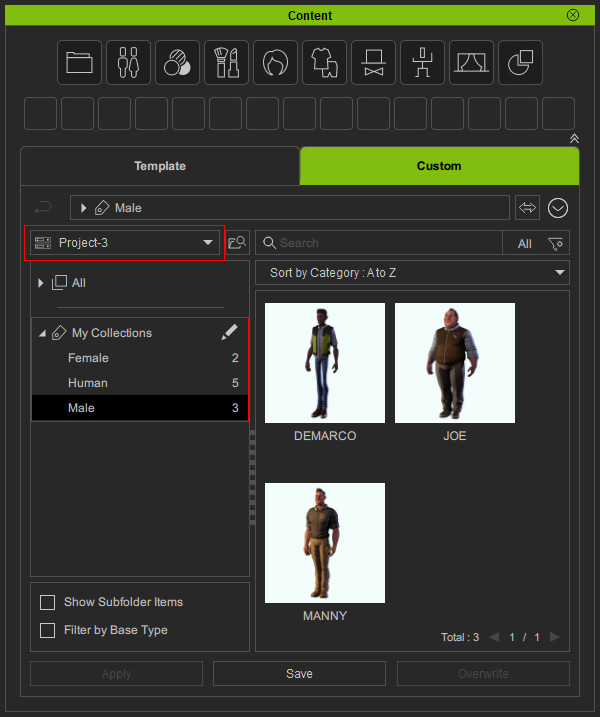
- As the collections are retrieved under the My Collections node, you can filter and apply content from the same custom folder as usual.
- If there are external files (textures or videos) linked to the custom content, make sure these external files are stored in identical locations on the network drives, or manually transfer them to the same folder where the content is located on the new computer.
Otherwise, the custom content will fail to link with the original external files.
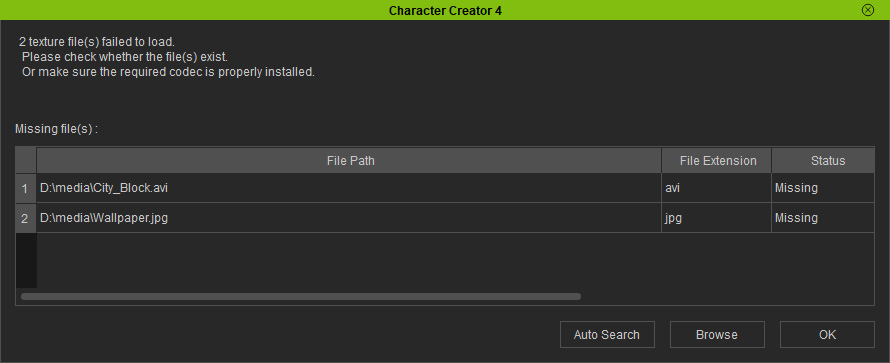
* Refer to the Log for External Files to relink these files. - As for the installed or purchased content on the source computer, you can re-install them from the online server on the new computer.
