How to fade out Lens Flare effect with Culling settings
iClone provides Culling to fade out the lens flare effect when it leaves out of the camera perspectives or being obscured by other objects.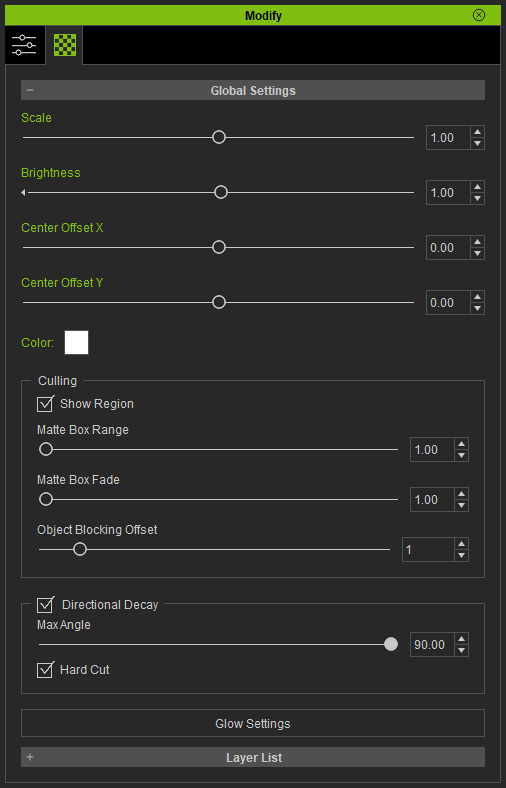
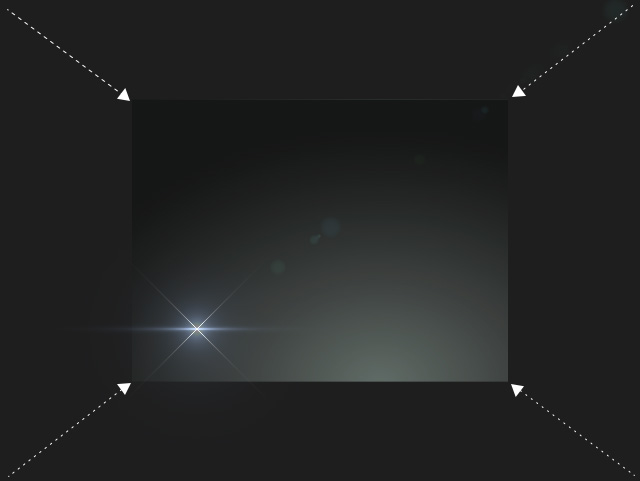
Show Fading Out Region
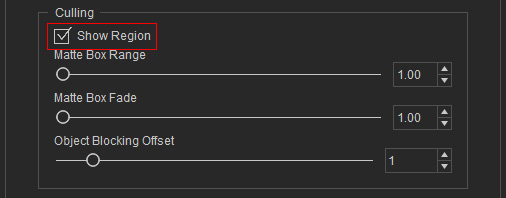
- Activate the Show Region checkbox first, and iClone will direct you to the Preference > Display section.
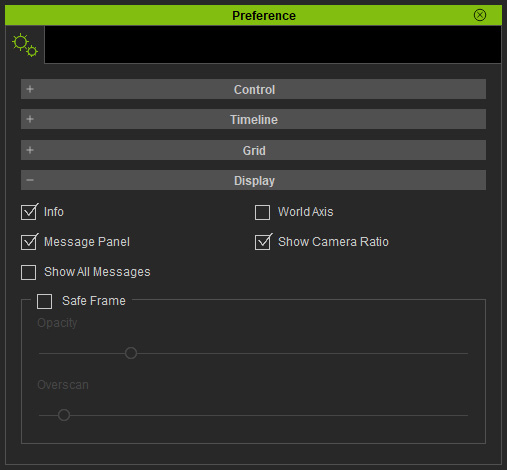
- Activate the Safe Frame checkbox and drag the Overscan slider to zoom out the entire view. This step ensures that you can observe the
fade out region.

Overscan

Overscan

- Make sure the lens flare object is selected, switch back to the Modify panel > Material tab, In the Culling group, activate the Show Region checkbox.
You will see colored region encompassing the camera perspective. The inner box is the Fade Out Start and the outer box is the Fade Out End.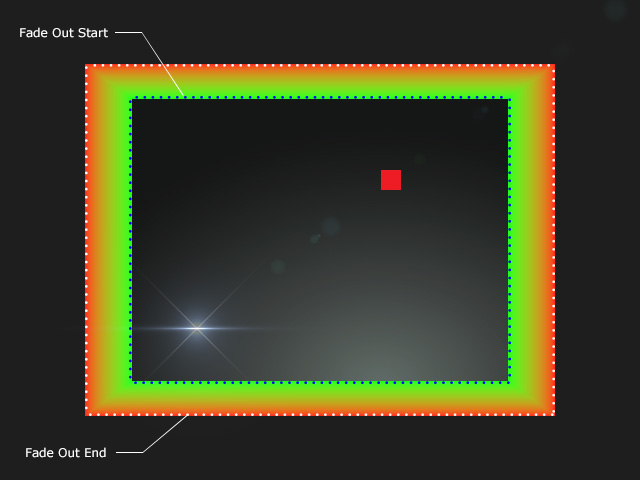
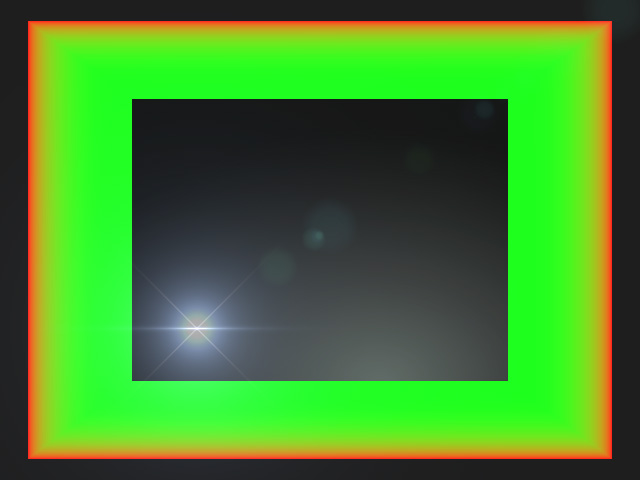
- Adjust the Matte Box Range slider to set the boundary where the Lens Flare effect becomes completely invisible.

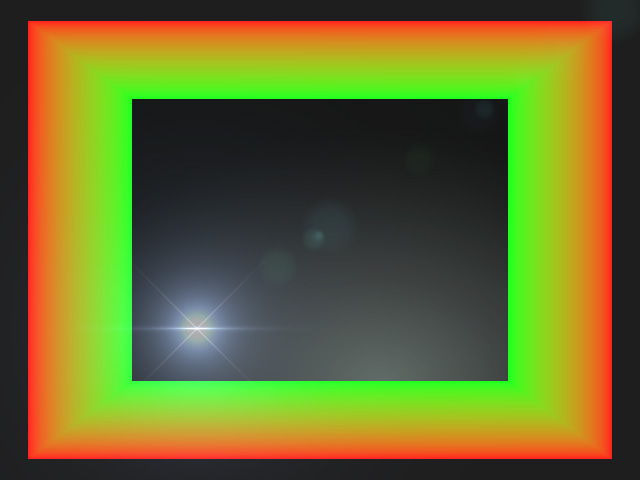
Matte Box Range = 1.25
Matte Box Range = 1.50
Play back to view the fading out result.Matte Box Range = 1.25
Matte Box Range = 1.50
- If you want to fade out the effect linearly or non-linearly, then you can drag the Matte Box Fade slider.
Matte Box Fade = 5.00 (fading out linearly)
Matte Box Fade = 1.00 (fading out non-linearly)
Play back to view the fading out result.Matte Box Fade = 5.00 (fading out linearly)
Matte Box Fade = 1.00 (fading out non-linearly)
- The Object Blocking Offset slider can be used to set the fading out effect of the lens flare when it is obscured by any other objects.
Object Blocking Offset = 10 (fading out linearly)
Object Blocking Offset = 1 (fading out non-linearly)
