Controlling Lights with Single Menu
The Using Light Tool
section of the online manual covers the control of a single Light Tool
prop with its own control widget. But what if you were to apply multiple
Light Tool props? Then the control widgets will begin to pile up on the
right-hand side of the preview window. Once the widgets number beyond
what the your screen can hold, you'll need to use the scrollbar to
peruse the list. Thankfully, there is a way to consolidate the controls
of multiple lights under one control widget. Follow the steps below to
find out how.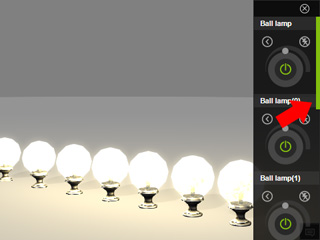
If you close the control menu and you want to reopen it, then please right click on the prop and select the
Script >> Control Menu command to open it.
Controlling Custom Lights with Single Control Menu
In this section, a single embedded Light Tool prop is utilized to apply the desired lighting effects. The remaining custom lights will be managed through its control menu.
-
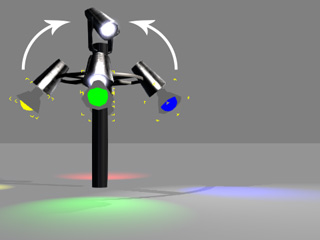
Apply one of the props from the Light Tool library.
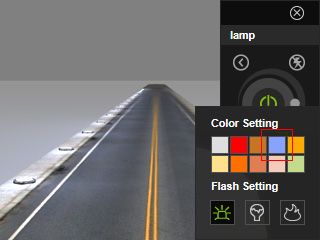
A control menu for the attached light will show at the top-right corner of the preview window.

-
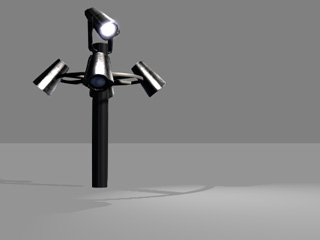
Apply another premade prop.
-
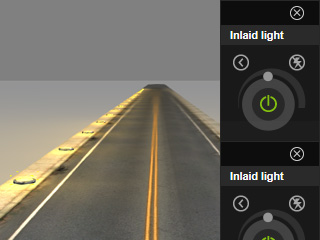
Place four custom lights to the appropriate positions of the newly added prop
and attach them to the prop (or sub-prop).
-
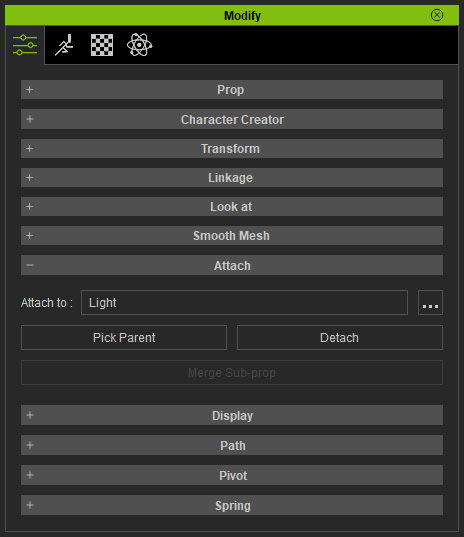
Select the custom lights (or their parent) and then attach them to the Light Tool.
-
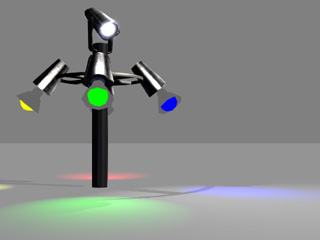
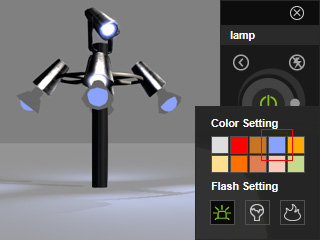
Adjust the controls on the control menu of the Light Tool.
Every light in the scene is controlled with this widget.
Controlling Light Tools with a Single Widget
To control multiple Light Tools with one control widget, follow the steps below.
-
Apply one of the props from the Light Tool library.
A control menu for the attached light will show at the top-right corner of the preview window.

-
Duplicate this prop into multiple Light Tools (multiple control widgets
will show as well).
-
Select the duplicated props and attach them to the initial Light Tool.

-
Modify the settings on the initial Light Tool widget to manipulate
all associated lights in the scene.