Create Your Own Terrain
Other than loading iClone terrain from the supplied templates, you can also load a large-sized 3D surface. In addition to that, you can also add any static 3D props and make them part of the terrain. Please note that if there is no terrain defined in the project, iClone takes the floor (Z axis = 0) as the default terrain.
Convert Props to Terrain
- Go to Set tab >> Props library in the Content Manager.
- Apply the desired prop template to the project.
- Right-click on this object and select Convert to Terrain.
The surface or prop then will be converted to the Terrain of the project.
How to Add a Terrain
-
In the Content Manager,
go to the Set tab >> Terrain library and
apply the desired terrain template
into the 3D viewer as the base terrain.
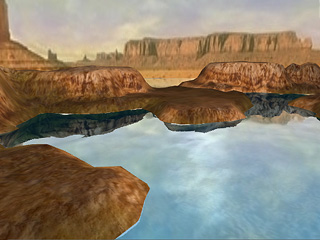
 Note:
Note:You can also use the following steps to create your own detailed terrain.
-
Apply props that you intend to become part of the terrain
from the Template or Custom library.
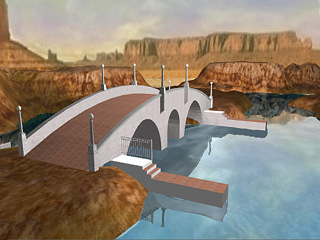
- Right-click on the props individually and select Convert to Terrain from the right-click menu.
- Click the Edit >> Terrain Snap on the menu bar, and check the Snap to Terrain or Follow Terrain option.
-
Use the move tool to move your actor or iProp over the terrain.
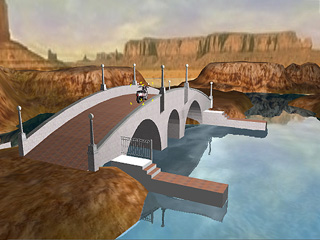
Watch as it follows the contours of the terrain, including the
bridge in the example below.
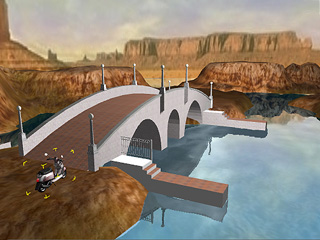
Select the prop for moving
Use the move tool to move it and it will
follow and snap to the terrain
