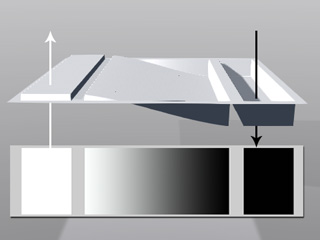
Using Grayscale Images for Displacement
You can create monochrome image maps with popular image-editing tools such as Photoshop or GIMP. By using grayscale height maps, you can push and pull the surface of a 3D model to achieve the ideal look you desire.
|
|

|
|
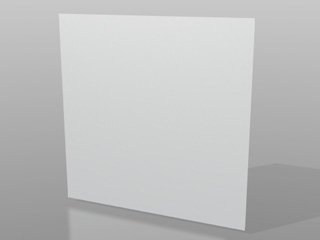
A low polygon 3D plane. |
Diffuse map applied. |
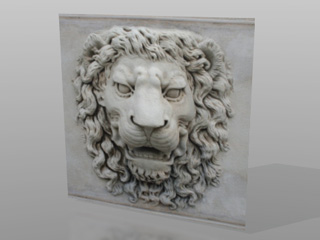
After being applied with Displacement map. The faces are pulled up or pushed down. |
Using Grayscale Images for Displacement
-
Prepare an object.
 Note:
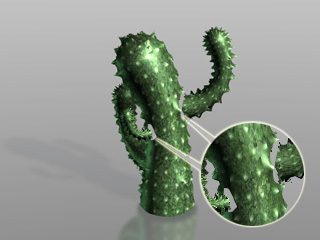
Note:The object can be characters, accessories, or props.
-
Make sure the object is selected and switch to
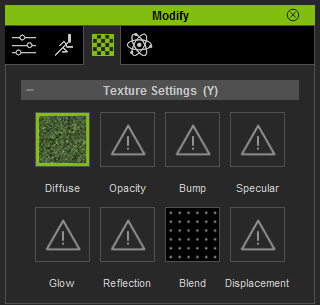
Modify >> Material >> Texture Settings
(in this case, the object has already applied with
Diffuse and Blend textures).
-
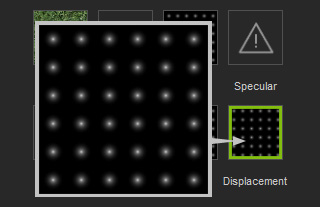
Double click the Displacement channel and load a grayscale image. You will be asked
to set the type of the loaded image.

-
Choose the Height Map (Grayscale) radio button and click OK to load the image.
The object's shape will thus be sculpted. You may need to adjust the UV Tiling values to best fit the displacement image to the object.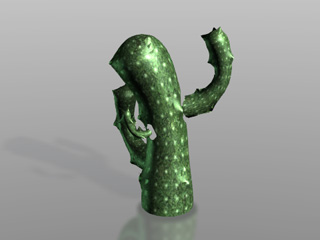
The displacement texture is imported.
UV tiling values are adjusted.
Note:-
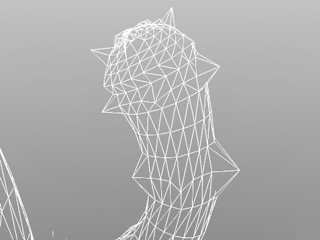
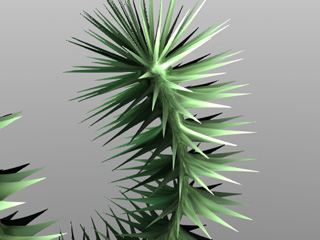
The displacement channel pushes and pulls the mesh up or down according
to the level of the grayness. The white means to pull up while the black
means to push down.
-
When you import a grayscale image into the Displacement channel,
iClone also load it into the Bump channel as well.
Because although the Displacement channel sculpts the meshes,
iClone still take it as the original mesh, which leads to
no shading generated. Therefore, without the
Bump texture (not suggested), the fold of
the object can not be seen.
-
By importing the grayscale to the Bump channel, the
shading of the object
can be shown to increase the visual conviction.
-
The displacement channel pushes and pulls the mesh up or down according
to the level of the grayness. The white means to pull up while the black
means to push down.
-
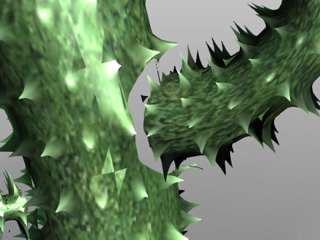
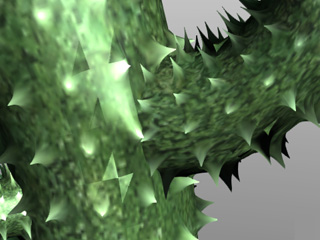
In accordance to the rule described in the note box above, the black area
concaves the mesh, which can cause the original shape to be thinner and
the connecting lines broken.
-
Go to the Tessellation section.
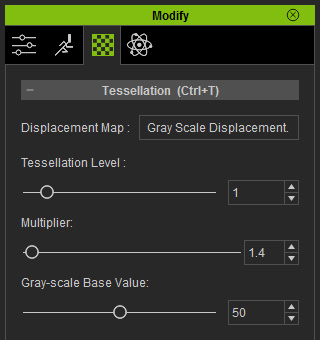
-
Increase the Tessellation value to add more details for the faces.
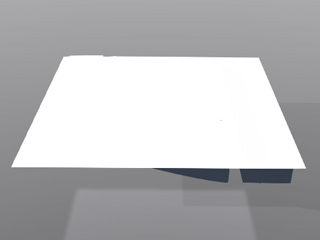
The original topology.
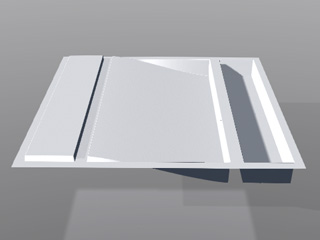
Tessellation value increased (more details are shown).
-
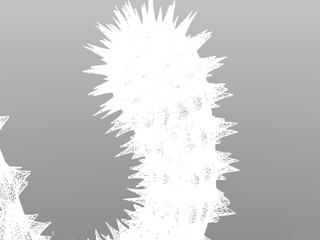
The Multiplier slider is able to increase or decrease the
drops between the ups and downs. In another word, to determine the
distances between the high and low vertices.
Multiplier = 1.
Multiplier = 2.5.
-
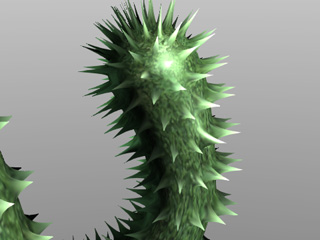
The Gray-scale Base Value takes a color within the
grayscale image as the base of the mesh. The vertices covered by the
colors above the base will be pulled up, while the other will be pushed down.
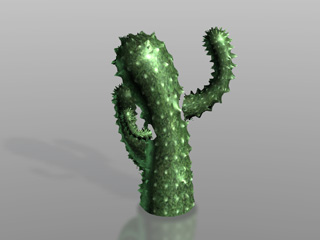
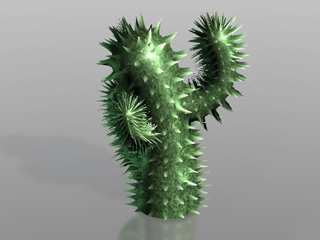
The default value is 50, which takes the middle color of the grayscale image (127, 127, 127) as the base (the vertices covered with the color darker than the base will be pushed down, causing the broken issue described above).
Set the Gray-scale Base Value to 0 so that every vertex will be raised up, this ensure the object intact without breaks or holes.
-
Increase the Tessellation value to add more details for the faces.
-
Adjust the three sliders to optimize the shillouette appearance of the object.
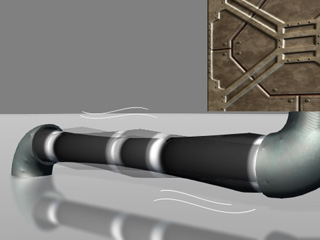
Animating Displacement Effect by UV Adjustments
In addition to create still displacement object, you are able to animate the UV settings of the displacement channel to create displacement animations.
-
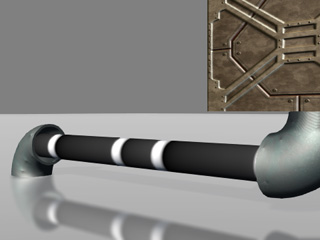
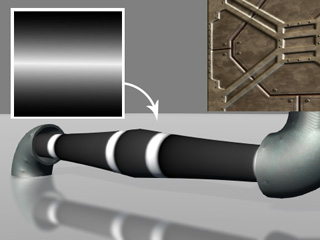
Prepare an object (in this case, a pipe between two connectors).
-
Follow the steps in the previous section to apply a grayscale image
to the Displacement channel of the object.
-
Go to the first frame of the project, set the UV Offset value
of the Displacement channel to move the texture so that the
extrude area is moved to one side of the prop.
-
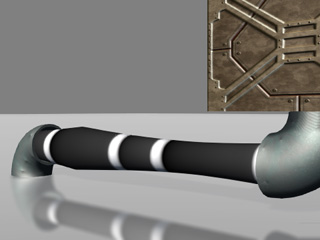
Go to another time frame and set the UV Offset value again to move
the texture so that the extrude area is moved to the other side of the prop.
You will see two keys shown in the Material >> Texture UV track of the prop.
-
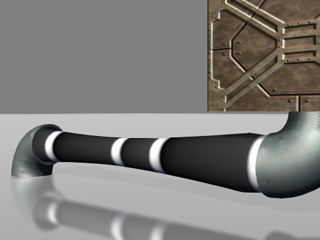
Copy and paste these two keys repetitively so that the extrude area will keep
moving from one side to the other.

-
Play back to view the result.