How to use animation layers for body parts
In iClone, the pose keys produced by the Edit Motion Layer can be kept in different Animation Layers. You can then set the pose keys for different body parts into specific animation layers for managing.
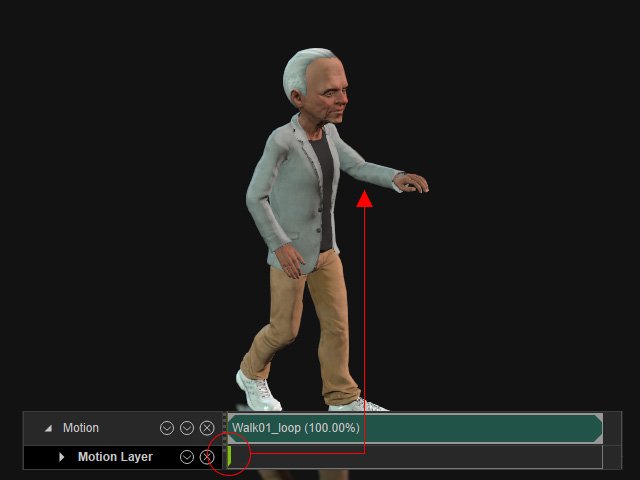
- Create a project and apply a motion to the character.
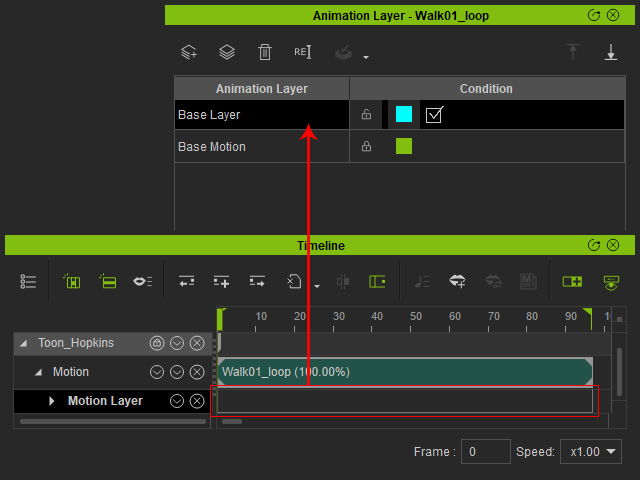
- Open the Animation Layer panel. You will see two non-delete-able layers are already in the list.
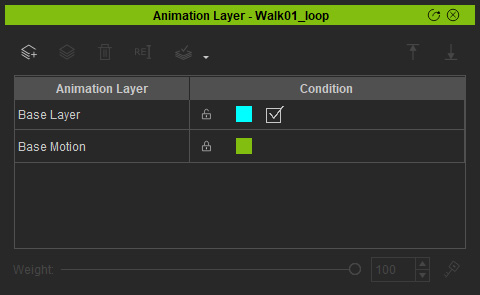 '
'- Base Motion: In this layer, all sampled pose keys from the applied motion clip
are shown. If you select it, you will see these keys in the Motion Layer track in the Timeline.
* Notice that these keys are non-editable because they are the genuine pose data per frame of this motion clip for generating motions.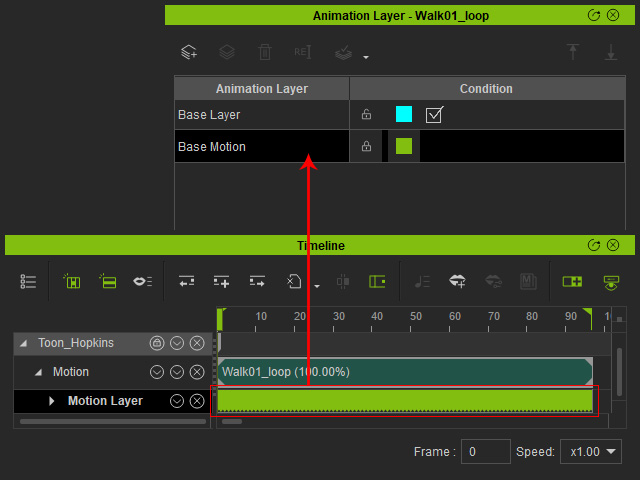
- Base Layer: In this layer, you can set pose keys by
using the Edit Motion Layer panel. However, there are no keys added yet.
- Base Motion: In this layer, all sampled pose keys from the applied motion clip
are shown. If you select it, you will see these keys in the Motion Layer track in the Timeline.
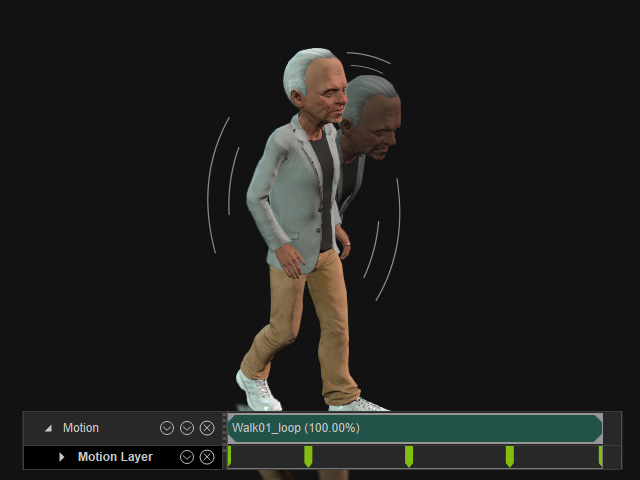
- Make sure the Base Layer is selected. Add keys into it by using the Edit Motion Layer panel.
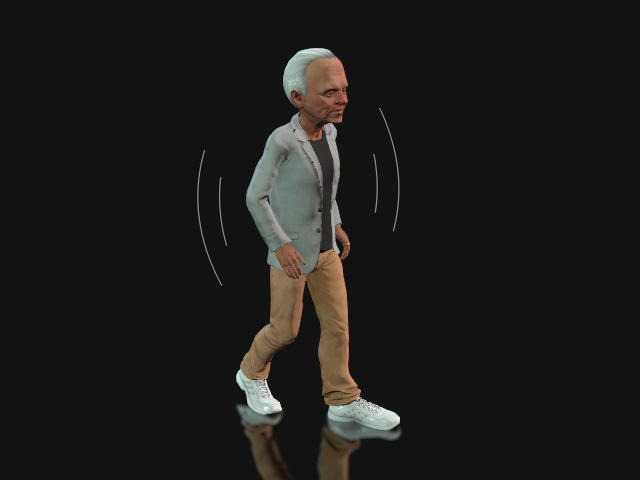
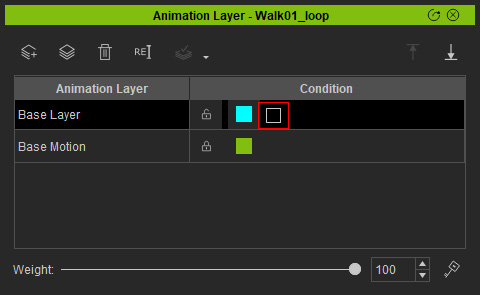
- Turn off the effect of these pose keys by deactivate the
checkbox of the animation layer in which these keys belong.
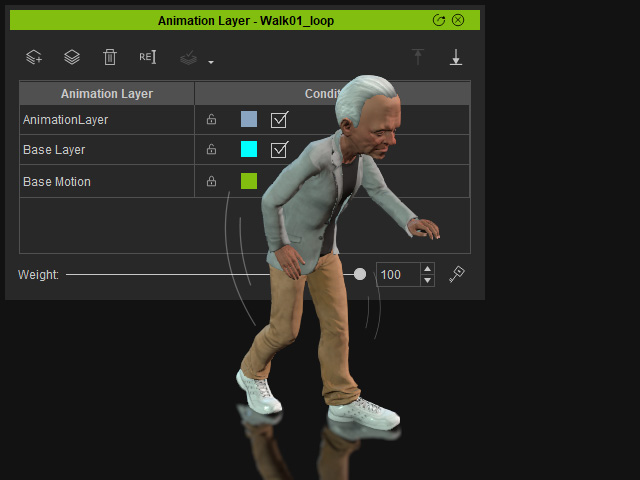
- Click the Add New Layer button to add a new layer. Currently, the layer contains no pose keys.
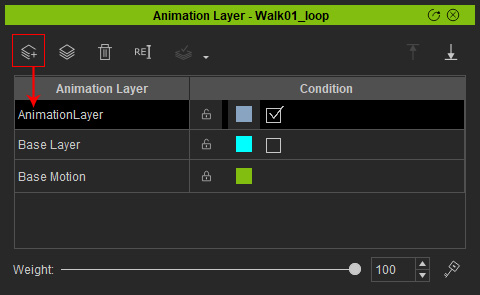
You can also double-click on the name of the layer to rename it.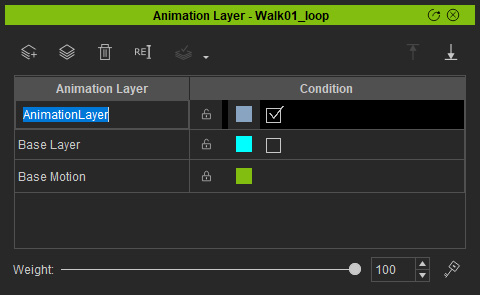
- Use the Edit Motion Layer panel to add keys into this new layer.
- Activate the checkbox of the Base Layer to enable its
effect. Now the body parts keys in all layers take effect.