How to sample keys from motion clips into animation layers
Most motion clips are a collection of pose keys that are non-editable. In order to edit these pose keys, you'll need to extract them from the clip using the Sample.
- Create a project with a character. Apply a motion to the character.
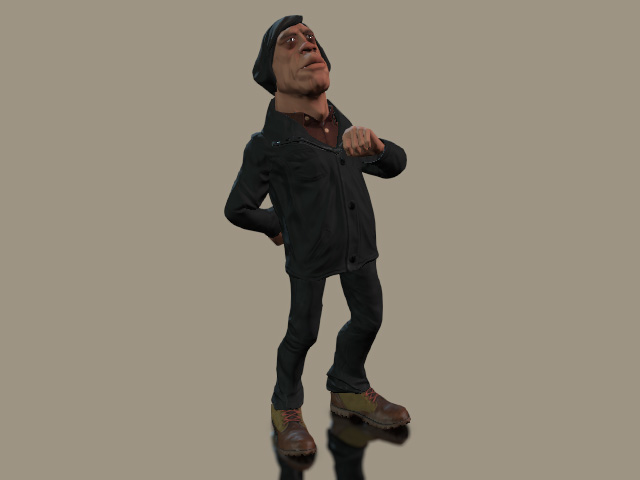
- Make sure the character is selected.
- In the Animation Layer panel, pick the Base Motion layer.
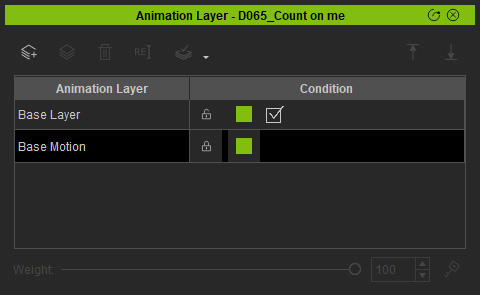
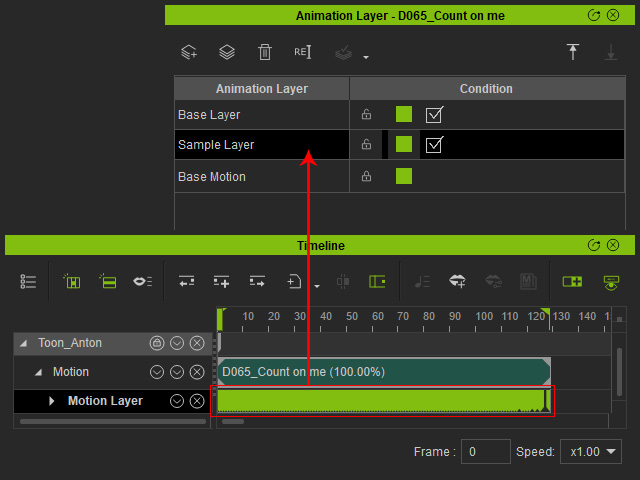
You can see all pose keys of the motion clip in the Motion Layer track. However, these keys are visible but non-editable.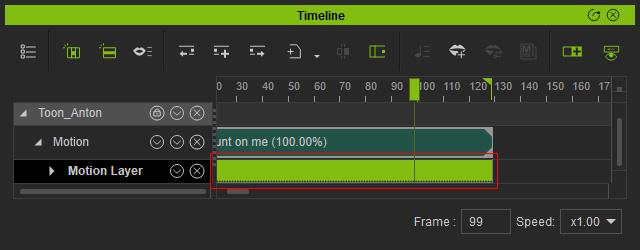
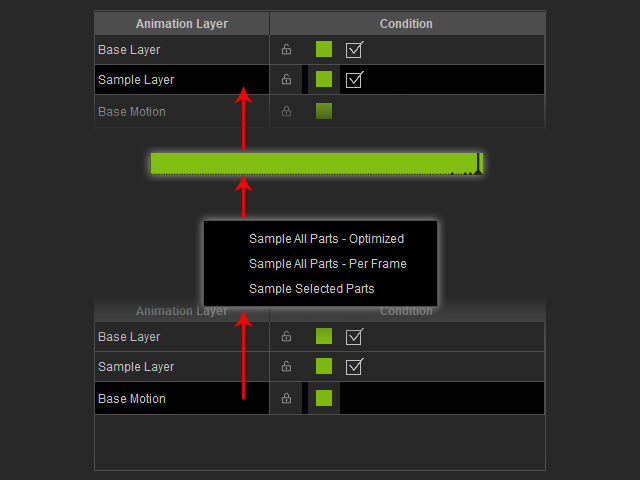
- Right-click on the motion clip and choose one of the commands from the Sample Motion Clip sub-menu. Refer to the How to sample or flatten keys for clips section for more information.
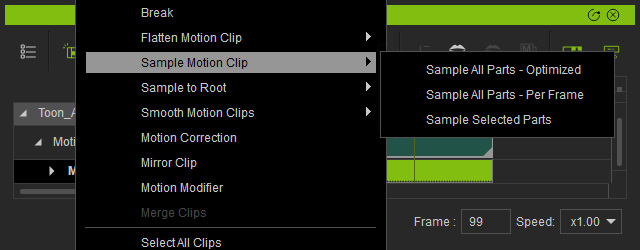
- These keys will be extracted from the motion clip (Base Motion Layer) and moved into a new layer (Sample Layer).
- Select the sample layer, and in the Motion Layer track, the extracted keys are now editable.
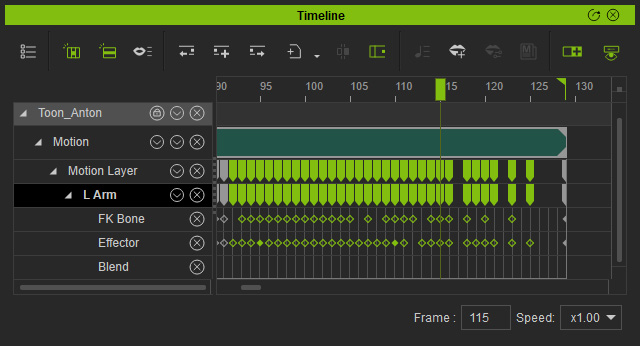
- Go to the timeframes when the character's poses need to be adjusted.
The character's hand pokes into its body.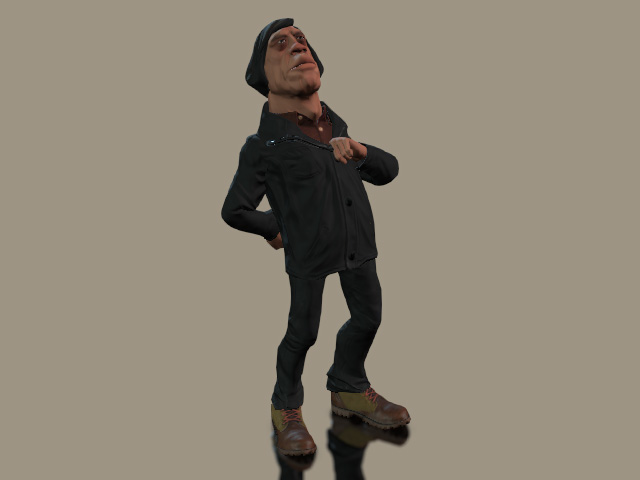
- Adjust the pose keys to correct the character's poses in different timeframe via the Edit Motion Layer.
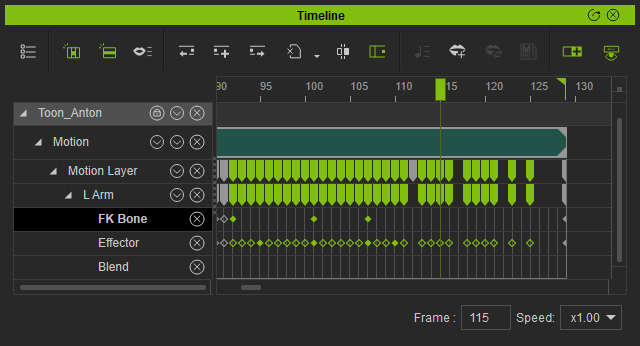
Make sure the corrections are adequate by using playback repeatedly.
- Right-click on the motion clip and choose one of the commands from the Flatten Motion Clip sub-menu. Refer to the How to sample or flatten keys for clips section for more information.
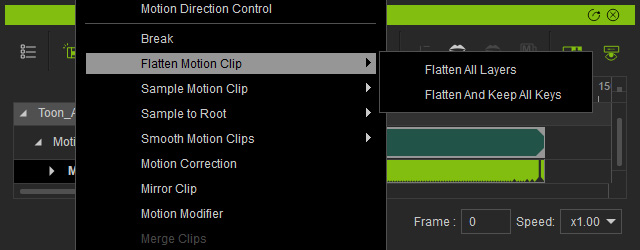
- Flatten All Layers: All pose keys in animation layers will be merged down and moved into the Base Motion (Motion Clip).
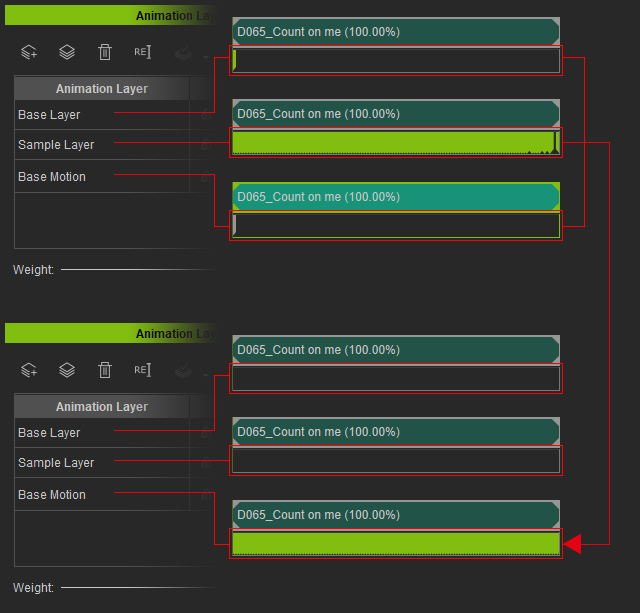
- Flatten And Keep All Layers: All pose keys in animation layers will be merged down and pasted into the Base Motion (Motion Clip).
The pose keys are in animation layers are kept untouched.
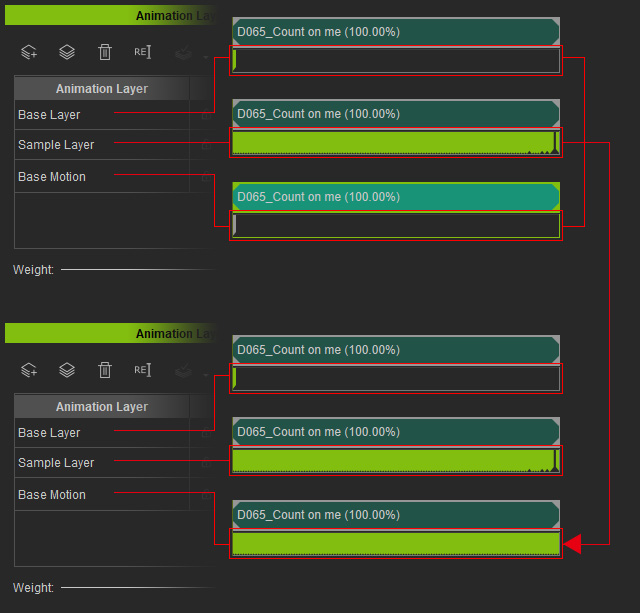
- Flatten All Layers: All pose keys in animation layers will be merged down and moved into the Base Motion (Motion Clip).
- The data in the Motion Clip is modified and updated.
