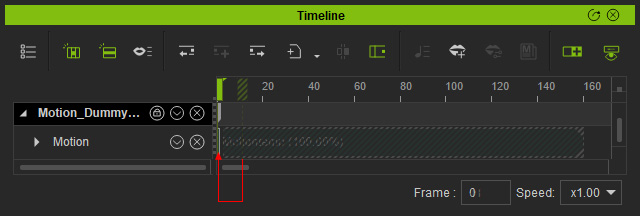
How to set Default Keys and reset Motion Layer Keys
In the Edit Motion Layer panel, there are two buttons for retrieving poses, but they can also have different results for individual purposes.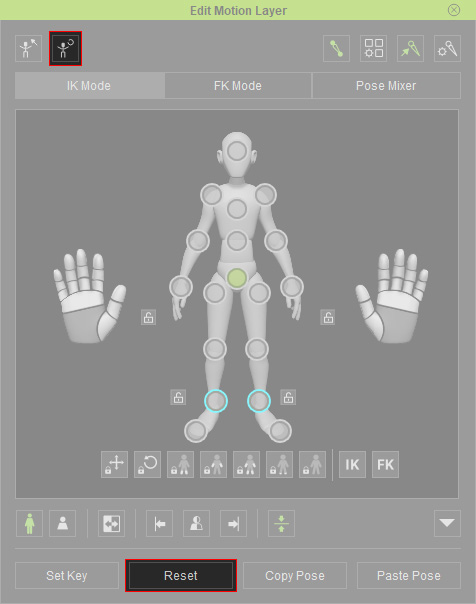
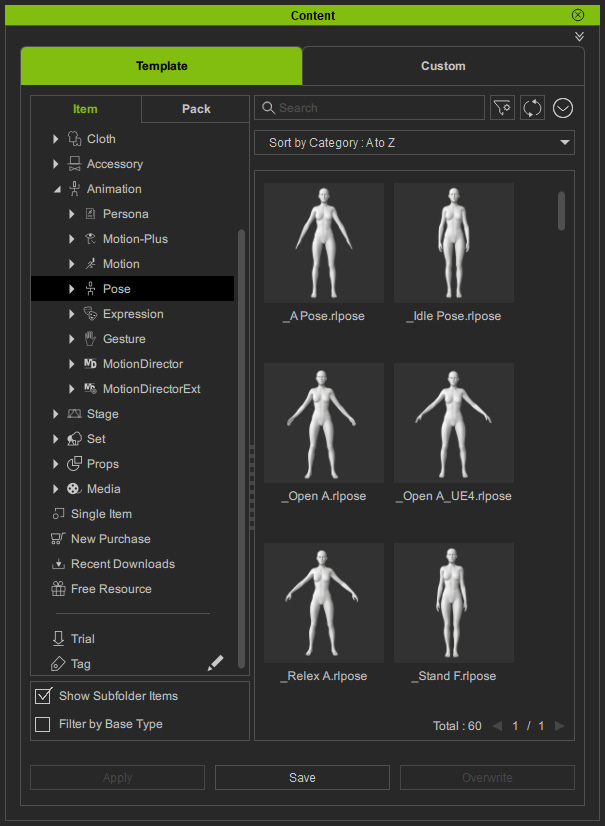
What is the Default Pose in iClone?
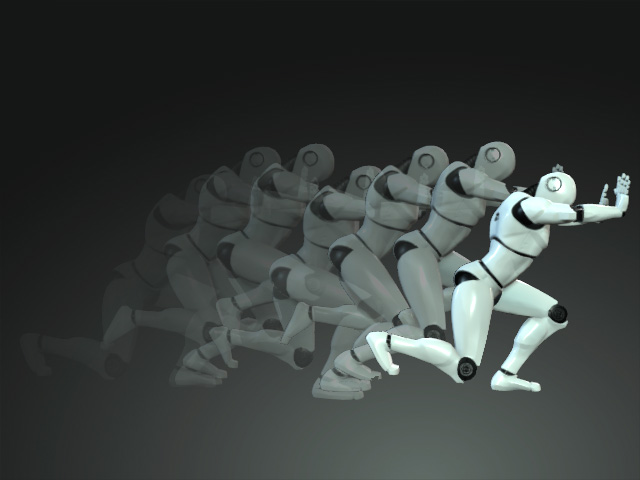
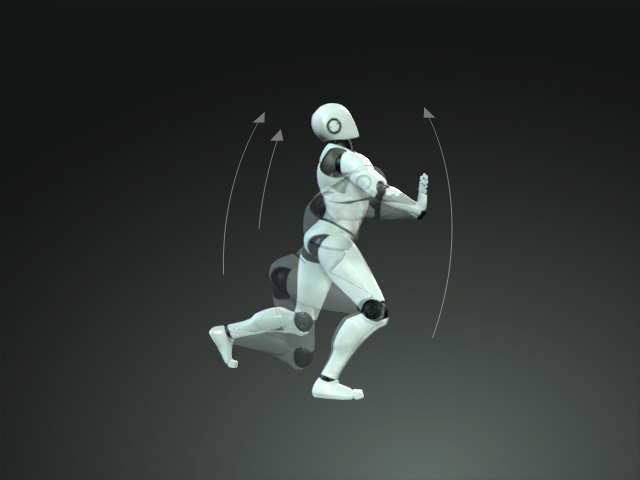
The default pose is loaded when the character is initizliazed. It is also the initial pose for the character's idle motion loop set by its persona, and is used to connect all other motion loops.
The Default Pose is different from the T-pose or A-pose (as shown in the illustration)
that is traditionally used in 3D.
If you want to use these poses, then you can find them in the
Smart Content Manager.
Setting Default Keys (Reset Pose Key)
When you use the Edit Motion Layer panel to modify the pose of the character, you may find it hard to initialize the character to
its original pose. By clicking the Default button, you can add a motion layer key that rectifies all the offsets and has the character stand
straight in the default pose.
In addition to that, if you click the Animation >> Reset Whole Scene command from the main menu bar or
right-click on the character and select Remove Object Animation, then the character will stay in the current pose.
Use the Default feature so that you can have the character stand back to the default pose again.
-
Select a character with a motion or any pose.
You can open the timeline and jump to specific frame for ideal character pose.
-
Click the Animation >> Remove Object Animation command from the main menu bar;
or right-click on the character, then select Remove Object Animation from the right-click menu.

-
The character's pose in the first frame will be replaced by the current pose.
-
Click the Reset to Default button in the Edit Motion Layer panel.
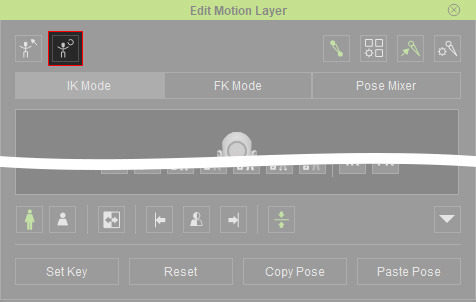
The current pose will be replaced with the default pose.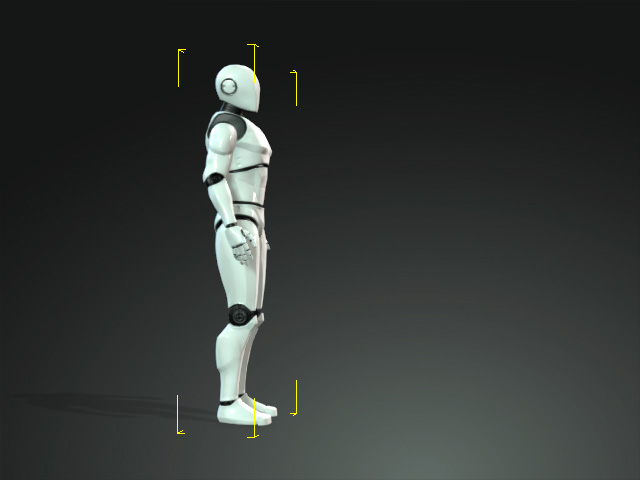
-
You can click this button at any time frame to retrieve the default pose. A motion layer key will be automatically added into the Motion layer track and its
sub-tracks.
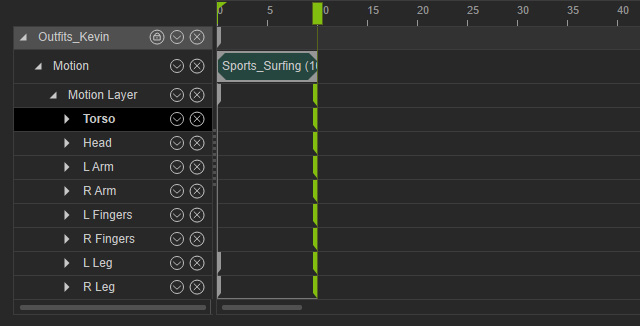
Resetting Motion Layer Keys
This feature is designed especially for the Motion Layer track. Press the button to add a pose key to counteract the Motion Layer effect of the previous key.
When you are modifying the pose via the Edit Motion Layer panel and are not satisfied with the results, then you may also click this button to neutralize the data in the key and start all over again.
-
Select a character that already has an applied motion.
Open Timeline to observe the character's motion clip.
-
Go to the desired frame, set one Motion Layer key to tune the bone offsets for the
motion with the Edit Motion Layer panel.
A new key will be added to influence the proceeding motion.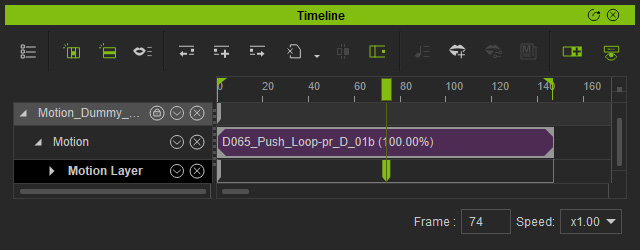
The entire motion clip will be affected by the key.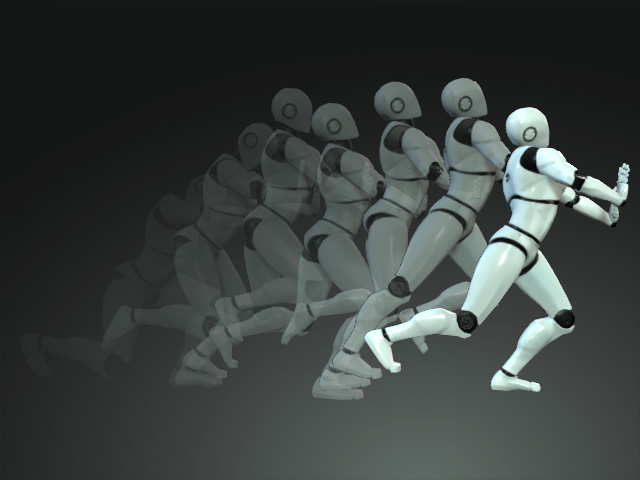
-
If you are not satisfied with the result then you can reset all the offsets:
- Delete this key and add a new key again.
-
Click the Reset button in the Edit Motion Layer panel.

It actually adds a motion layer key that gives the priority back to the underlying motion clip.
